Moving from Composer to Maestro
MaestroThe UI design product. |
Form Builder Platform Developer | All versions
This feature is related to all versions.
Platform Developer | All versions
This feature is related to all versions.
Composer and Maestro are Temenos' visual form-building tools. Composer is still used by a number of our clients, and our end-of-life policy ensures it remains supported until at least 2021, but Maestro is a newer, more frequently updated product that clients are encouraged to use. This topic is for clients who are moving from Composer to Maestro and want to know what to expect when making the transition.
Unlike Composer, Maestro is built with JavaScript, not Flash. This ensures longevity and browser compatibility, as Flash will be deprecated in 2020.
Getting Started
Right off the bat, it's important to note that the Maestro workflow is not dramatically different from the Composer workflow. Features have been added, changed, or removed, but you'll still be:
- Working with organizations, projects, and forms.
- Arranging widgets (now called components) in an interface.
- Assigning functionality to components using rules.
- Applying styles to components.
- Tweaking component properties.
You won't have to learn a fundamentally different way of doing things.
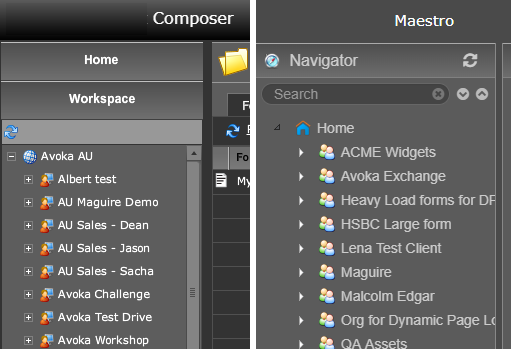
Organizations
Like Composer, Maestro uses the concept of organizations to act as containers for projects and forms. The main difference is that organizations cannot be created in Maestro. They must be created in Journey Manager.
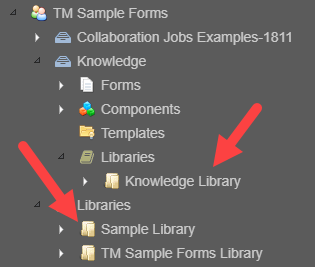
Libraries
In Maestro and Composer, libraries are used to share resources between forms and across organizations. The implementation of libraries in Maestro, however, is quite different.
The most notable difference is that libraries, in Maestro, cannot be attached to accounts. They can only be attached to organizations or projects. This means multiple organizations cannot automatically share the same library. To share a library between organizations, you need to manually export it from one organization and import it into the other.
To share resources between forms or across organizations, they must be published to a library. This allows you to work on an unpublished resource, such as an in-progress component, without affecting how people use the library.
By default, a library is created for every project and this library is the default location for any published resource. If you create another library, such as an organization library, you can select this library when publishing a resource.
Libraries support versions, which are described later in this topic. This provides further control over what exact resources are used by forms.
Projects
When creating a project in Maestro, there are two project types:
- Standard Project
- SCM Project
Standard Projects in Maestro are the same as Standard Projects in Composer. They're projects where only one developer is expected to work on any individual resource at a time. If more than one developer works on a single resource, they may overwrite each others work.
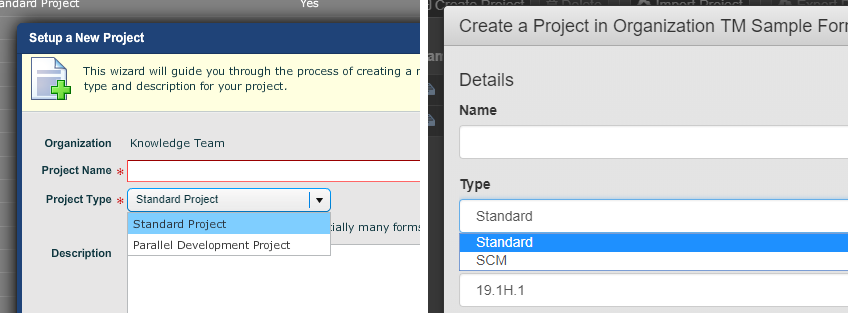
SCM Projects are comparable to Composer's Parallel Development Projects, in that they allow multiple developers to work on the same resources at the same time. The significant difference, however, is that the source-code management tool Git is used to achieve this, which ensures that developers can use their preexisting knowledge and industry-standard tools to collaborate as seamlessly as possible.

Forms
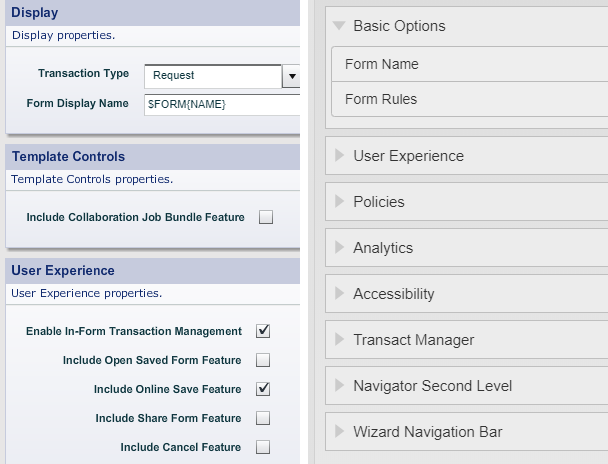
When creating a form in Maestro, there are fewer up-front options compared to Composer's form-creation wizard.
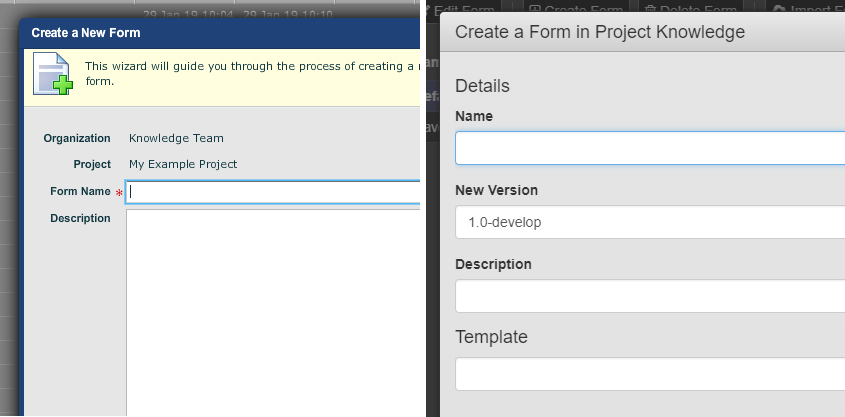
Many of these same options, however, are available after creating a form. They can be accessed by clicking on the Form Options button in the header navigation bar.
There are three default templates to choose from, two of which are variants of the Maguire template:
- Core - Empty Form
- Maquire - Default Form
- Maguire - Empty Form
All of the default templates include localization (translation) support out of the box.
If you're unable to open a Maestro form, disable your browser's pop-up blocker. Forms open in new windows, which pop-up blockers can interfere with.
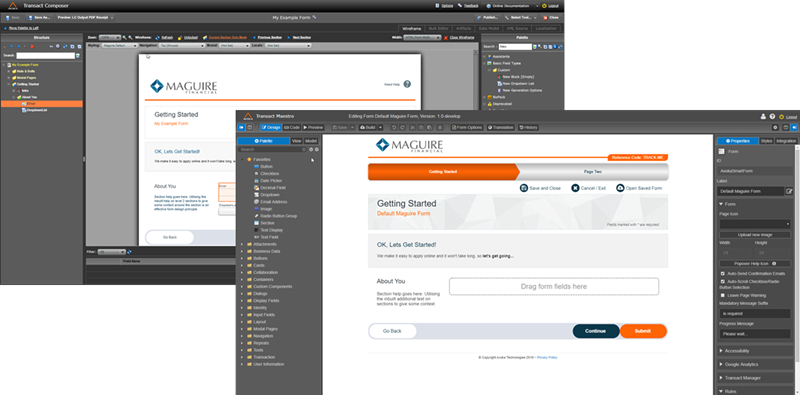
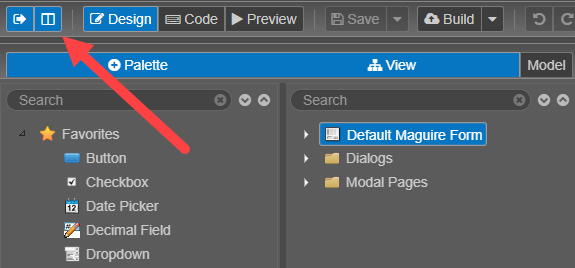
When editing a form, the interface will appear familiar, as there's still a header, a left sidebar, a live form editor, and a right sidebar.
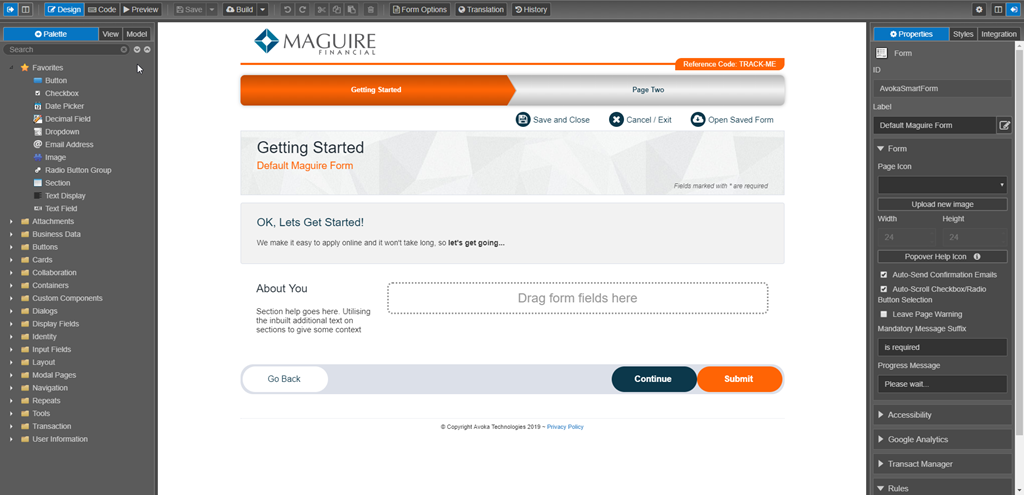
The Palette pane, however, has been moved to the left sidebar, and the Structure pane has been renamed to the View pane. Only one pane is visible by default, but they can be placed side-by-side.
Versions
In Composer, form revisions are used to ensure that:
- Earlier versions of a form can be reverted to at a later time.
- Forms can be worked on without affecting the live versions of the forms.
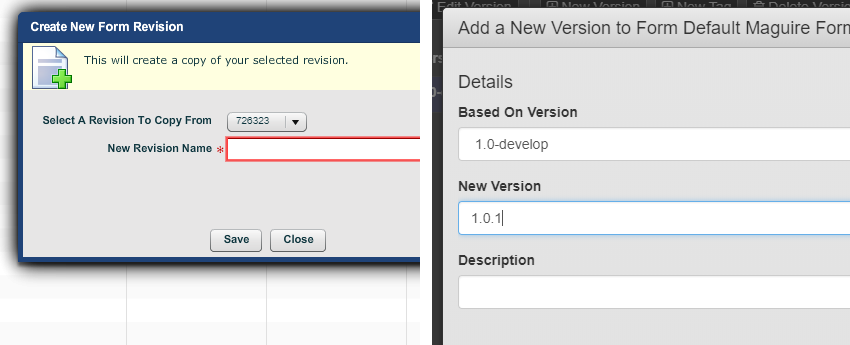
In Maestro, revisions are known as versions and the functionality doesn't just apply to forms. All project resources, including forms, components, templates, and libraries have at least one version associated with them. New versions can be created to make changes without affecting the live versions of forms and their resources.
To make a form version the live (active) version of a form, you must nominate it via Journey Manager. You cannot make a form version the live version of a form via Maestro.
Unlike revisions, versions don't have an ID or a name. Instead, versions are identified by version numbers that follow the semantic versioning standard of MAJOR.MINOR.PATCH (e.g. 1.5.1). This encourages a standard method of versioning and consistency throughout the software.
Read-only versions are also handled differently. Rather than creating a version and making it read-only, you need to create a tagged version. A tagged version is a read-only version with a unique version number.
Components
In Maestro, widgets are known as components.
Overall, there are fewer components in Maestro than Composer, with some components being merged into singular, more flexible components, while others (such as the Table component) have been removed altogether.
To add a component to a form, you can simply drag it into the visual editor, using the visual indicators to place them before, after, or alongside other components. This is more intuitive than Composer's approach to drag-and-drop.

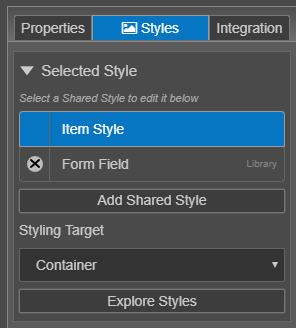
To edit a component's properties, select the component to open its properties in the right sidebar. These properties are organized into three tabs:
- Properties
- Styles
- Integration
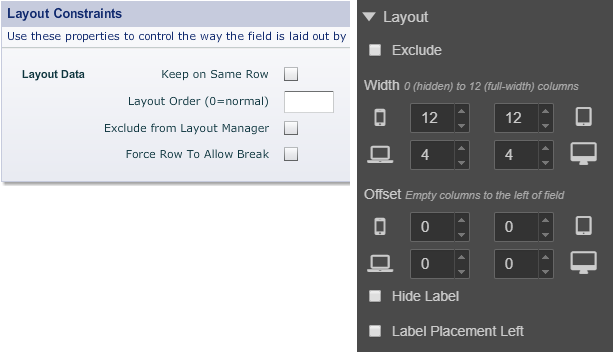
You can fine-tune the layout of components via the Layout panel at the bottom of the Properties tab.
Custom Shared Components
In Maestro, custom widgets are known as custom shared components.
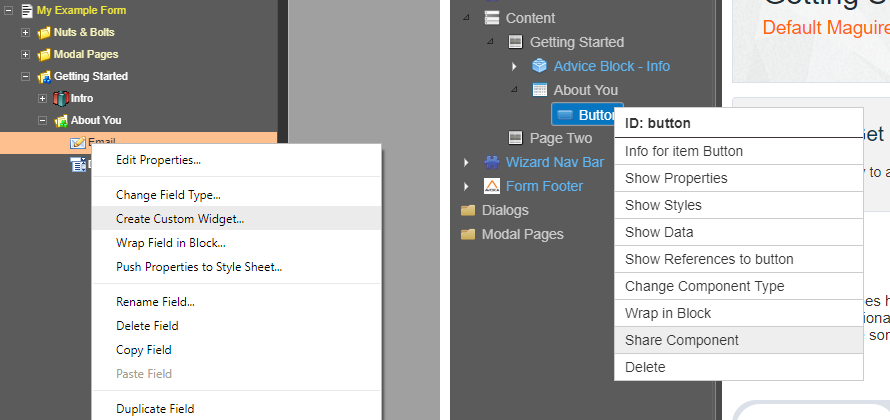
You can create custom shared components by right-clicking a component and selecting Share Component or by navigating to the Components page of a project and clicking Create Component.
Whether you're creating a custom shared component based on a single component or a block that contains other components, the process is the same. Maestro doesn't distinguish between them.
Once a custom shared component exists, it can be edited independently and visually like a form. You don't have to edit the underlying code of the component.

Domain Models
Whether a form has been created in Maestro or Composer, the resulting data is stored in the XML format. But defining the structure (the model) of this data is more intuitive in Maestro as there's no need to think about the jargon of "binding" and "unbinding" fields, even though the underlying mechanism is similar.
For example, to include the data from a component in the XML:
- Select a component.
- Switch to the Integration tab.
- Select Include in Form Data.
Many components will be included by default. To exclude them, deselect the checkbox.
To affect the name of the property and where it's placed within the XML, disable Use Auto-generated XML Name. Then you can supply your own name and use forward-slashes to nest properties within a hierarchy (such as a "firstName" property inside an "applicant" element).
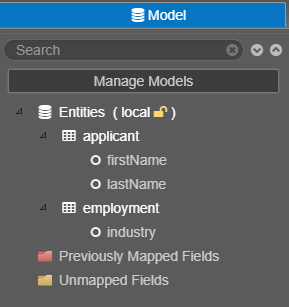
Alternatively, Maestro allows users to define entities in the Model Pane. This allows you to visually define the structure of the XML or import a predefined schema from a JSON file.
Rules
Composer provides a few means of assigning business rules to components, including a visual editor. In contrast, Maestro only has the equivalent of Composer's Script Editor. This means all rules must be created in JavaScript. Maestro does, however, have a larger API, so anyone comfortable with JavaScript will have a lot of control over how a form functions.
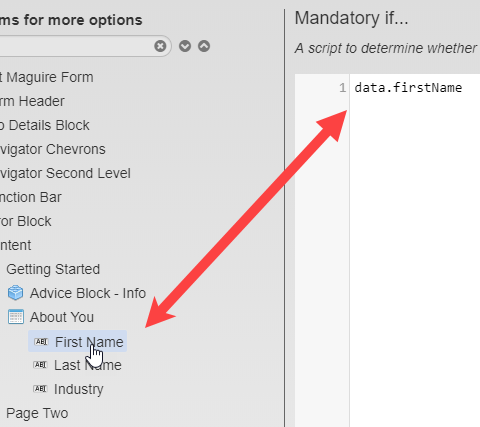
One notable different when writing JavaScript for rules is the way fields are referenced. You can see the difference in this snippet:
// Reference the "firstName" component in Composer
{firstName}
// Reference the "firstName" component in Maestro
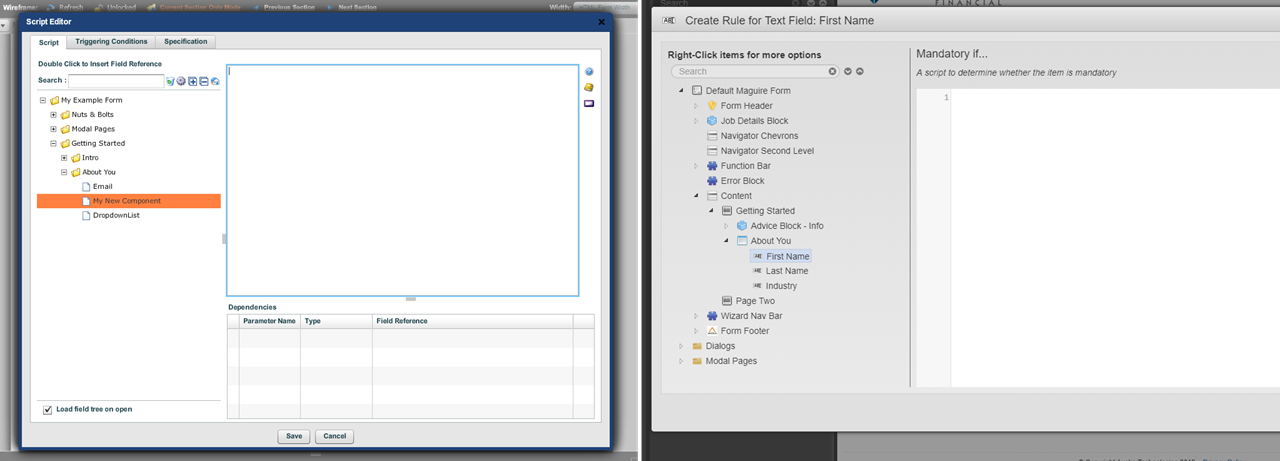
data.firstNameThe curly-braced syntax from Composer is not used in Maestro. Instead, the values of a form's fields are stored in a data object that every rule has access to. If you forget the syntax though, you can double-click a field in the rule editor's sidebar to insert a reference to that field:
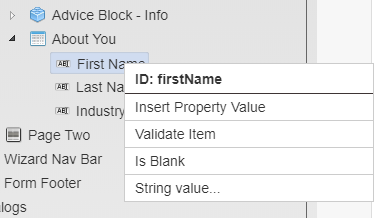
Or right-click a field to see a context menu of other options:
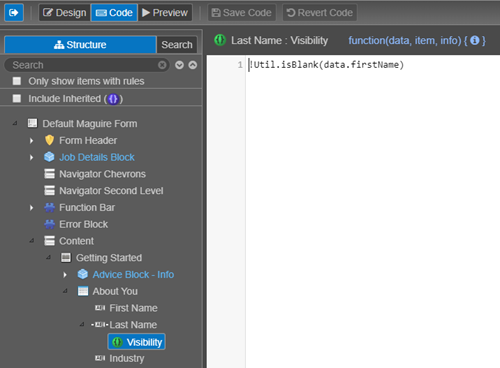
Maestro also has a new Code tab that makes it easier to navigate through all of the code attached to a form:
But if you'd like to write code in the editor of your choice, this is possible by combining Maestro's Git integration with the Move Rules to JS File feature.
Styles
In Maestro, you don't manage individual stylesheets. Instead, you create what Maestro calls shared styles via the Styles tab of the selected component. These are styles that are assigned to a component type and can be applied to instances of that component type.
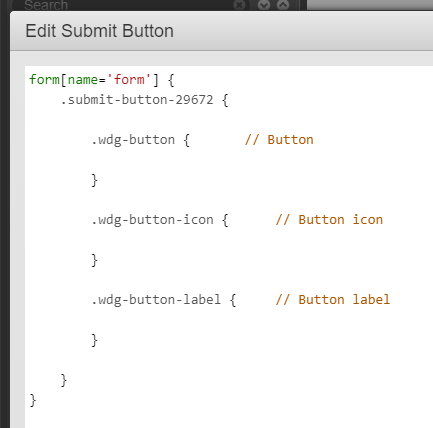
For example, you may create a shared style named "Submit Button" that's assigned to the default button component. But just because buttons have access to the style doesn't mean you want every button to use it. Therefore, Maestro lets you choose which buttons use the style. You may end up with a dozen shared styles for the button component, each of which is appropriate in different contexts.
The styles themselves are written in the LESS syntax. If you're not familiar with LESS, that's fine. You can use regular CSS. But LESS has a number of convenient features, so it's worth becoming familiar with the syntax.
You can apply multiple shared styles to the same component, with styles higher on the list taking precedence over the styles beneath them.
Another major change is the introduction of brands. Within a Maestro template, the brand controls the basic styles of a form, such as the primary font and colors. You can, however, create additional brands that allow different styles to be applied to the same form. For example, if a bank wants to manage a form for a partner without having to create it from scratch, they can create a brand to integrate their partner's aesthetics with a form that already exists.
Publishing Forms
Many of Composer's publishing features, such as publish targets, do not exist in Maestro. The overall process, however, has been streamlined.
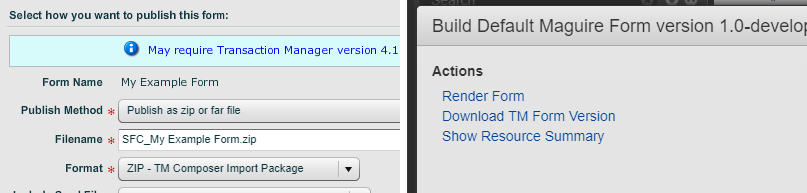
To publish a form for the first time:
- In Maestro, click Build > Build and Download TM Form Version to download the Form Version Archive File. This file contains all of your form's resources and is similar to Composer's Publish as zip or far file option.
- In Journey Manager, navigate to Forms > Import Form.
- Upload the Form Version Archive File.
Then, to publish an updated version of the form:
- In Maestro, click Build.
- From the Form Dashboard in Journey Manager, click Update Design from Maestro.
For more information about this process, learn how to migrate a Maestro form to Journey Manager.
What's Next?
This topic has covered most of the major differences between Composer and Maestro, but there's still plenty more to learn if you'd like to fully wield the flexibility that Maestro brings to the form development process. To continue this learning process, start by reading the Maestro Overview before digging into the table of contents for further detail.