Create a Shared Component
MaestroThe UI design product. | Form Builder | All versions This feature is related to all versions.
Maestro provides several ways to create a new shared component.
- Create from scratch in the Management Dashboard.
- Create from existing form items in the Maestro editor.
Create a Shared Component from the Management Dashboard
To create a shared component from Maestro's Management Dashboard, follow these steps:
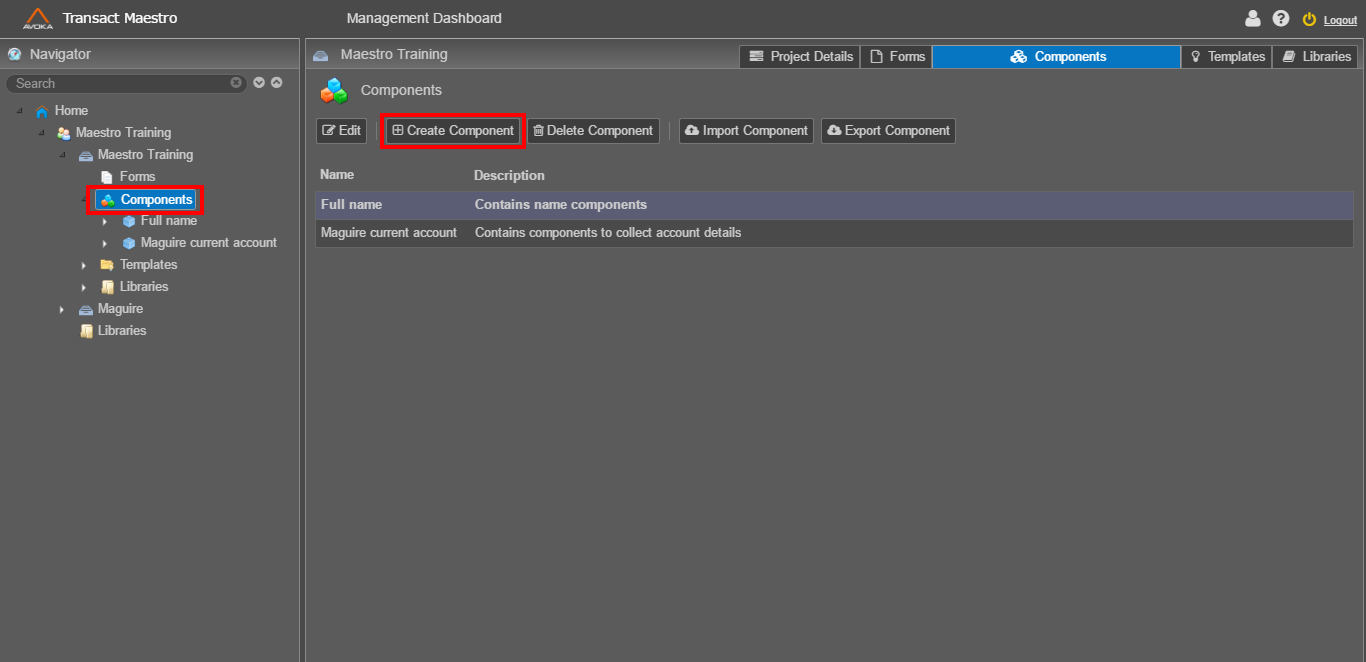
- Go to the Navigator pane.
- Select Home > Organization > Project.
- Select the Components folder in the project and click Create Component.
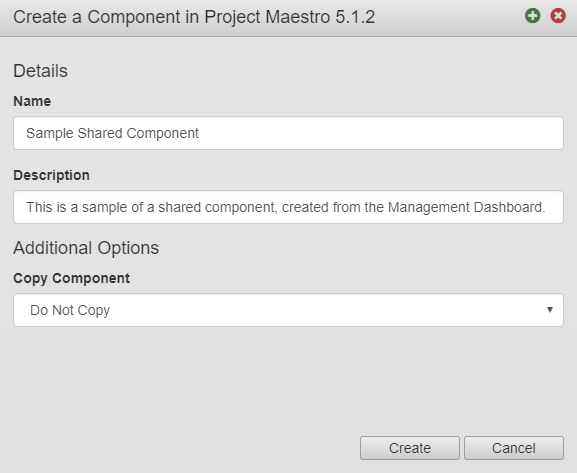
- Edit the new component details.
- Name - the component's name is used to identify the component in the Components folder.
- Description – a description of the component, which is displayed when the Components folder is selected.
- Copy Component – select from the following options:
- Do Not Copy - This option allows you to create a brand new (blank) component. This option is recommended for shared components that you are building from scratch.
- Copy and override an existing component - This option allows you to copy an existing component. The new component will replace the existing component in the library, which will update all forms using the existing component. The override will only replace the library resource, not the asset in the Components folder. Before selecting this option, it is important that you consider the usage of the component that you will be overriding.
- Copy and create a new component - This option creates a new component based on an existing component. Selecting this option will create a copy without overriding the existing component.
- Click Create.
- Edit the new component in the Maestro editor.
- Publish the component.
Next, learn how to create a new shared component from existing items.
Create a Shared Component from Existing Form Items
To create a shared component from one or more existing form items in the Maestro editor:
- Open a Maestro form.
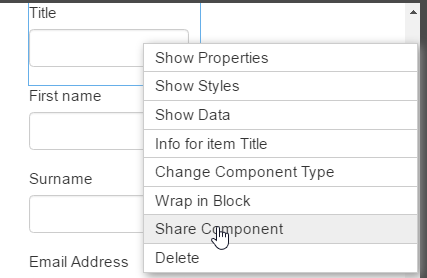
- Create a component.
- Right click on the component in the Maestro editor and select Share Component.
- If you are creating a shared component that contains more than one component, you need to wrap all components in a block first:
- Select all components.
- Right-click a selected component.
- Click Wrap in Block from the dropdown list.
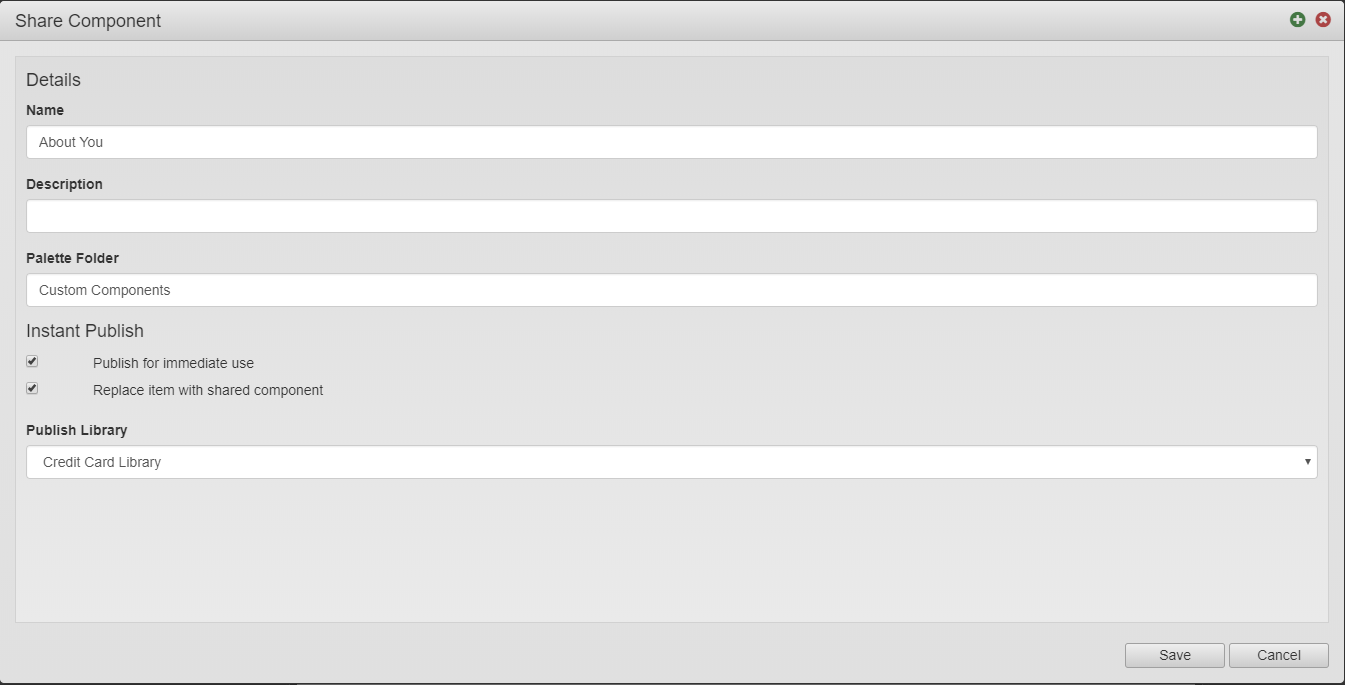
- Edit the share component details.
- Name is the default name of the new component is the label of the selected item.
- Description is a short meaningful description of the shared component. This is optional parameter, but we recommend to provide a description.
- Palette Folder defines where the shared component can be found in the Palette pane. The default is Custom Components.
- Select Publish for immediate use to make the shared component immediately available to in other forms.
- Select Replace item with shared component to use the component as the basis for the shared component will now be replaced by the shared component (i.e. it will now automatically reflect any changes made to the shared component).
- Select a library from the Publish Library dropdown list to publish it to the project library, if you want to make this shared component only available to forms in this project, or to the Organization library, if you want any form in the organization to access this shared component.
- Click Save. You can continue editing the shared component in the Component editor or view it in the Management Dashboard.
- Publish the component.
Next, learn how to edit a shared component.