View Organizations
MaestroThe UI design product. | Form Builder | 21.05 This feature was updated in 21.05.
Maestro allows you to view the list of available organizations, so you can easily navigate to projects and their designs, such as forms, receipts, templates and components, and resources.
Organizations are created and configured in Journey Manager so you can't change their configuration in Maestro.
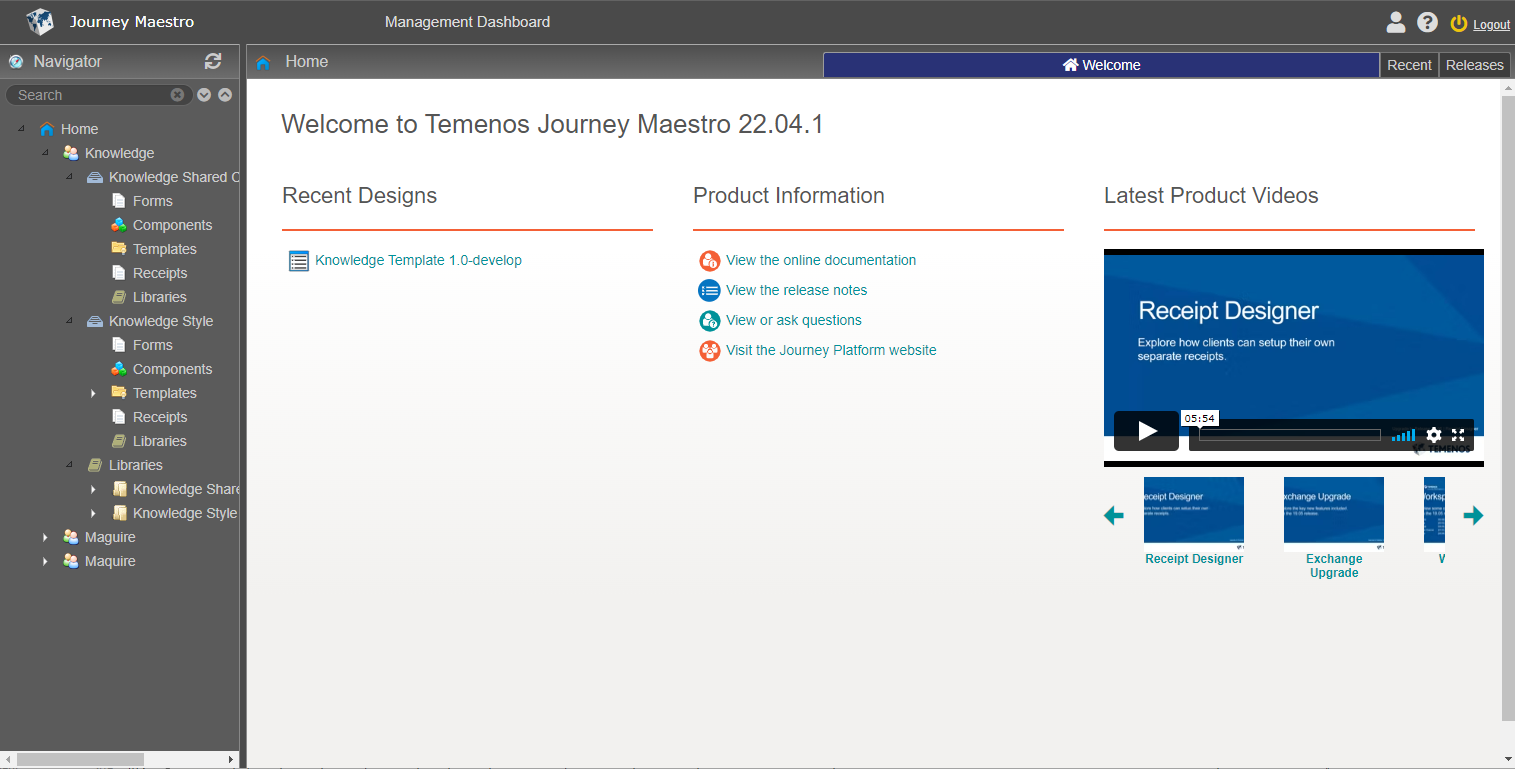
To view organizations in Maestro:
- Log in to Maestro to access the dashboard.
- Select Home to view the list of organizations available to you.
- Select an organization to view and manage its assets and resources.
- Select the Projects tab to view and manage its projects.
- Project type that can be Standard
 or SCM
  . For more information, see create a project.
 - Project name
- Project description
- Release version
- Click Create Project to create a new project within this organization.
- Click Delete to delete the selected projects.
Note Deleting a project will also delete all assets and resources related to the project.
Note Use Shift or Ctrl key to select multiple projects. | 21.05 This feature was introduced in 21.05.
- Click Import Project to import a project that was exported from other organization or even other Maestro environments.
Note Use this functionality to move projects between organizations and environments, such as test and production, or perform a rollback or backup.
- Click Export Project to export the selected projects so you can import them later.
Note Use this functionality to move projects between organizations and environments, such as test and production, or perform a rollback or backup.
Note Use Shift or Ctrl key to select multiple projects. | 21.05 This feature was introduced in 21.05.
- Double-click a selected project to view its designs and associated resources and libraries.
- Select the Libraries tab to view and manage libraries available to this organization.
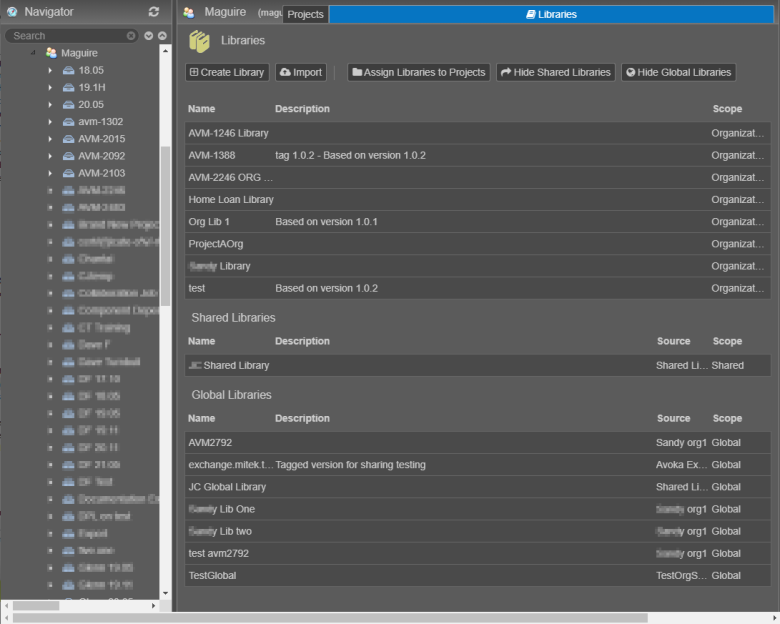
- Library name
- Library description
- Source - provides the additional information to distinguish the origin of a library.
- Scope - the scope can be: Organization, Shared, Global
- Click Create Library to create a new organization library. Organizations can have as many libraries as needed.
- Click Import to import libraries from other projects to the organization level.
Note Use this functionality to move libraries between organizations and environments, such as test and production, or perform a rollback or backup.
- Click Assign Libraries to Projects to assign a selected library to projects. For more information, see shared libraries.
- Click Hide Shared Libraries when you don't want to display a list of shared libraries, which is useful when this list is long and therefore clutters the view. Click Show Shared Libraries to display the list of shared libraries, after they were hidden.
- Click Hide Global Libraries when you don't want to display a list of global libraries, which is useful when this list is long and therefore clutters the view. Click Show Global Libraries to display the list of global libraries, after they were hidden.
Check roles and permissions assigned to your user account if you don't see organizations you require.
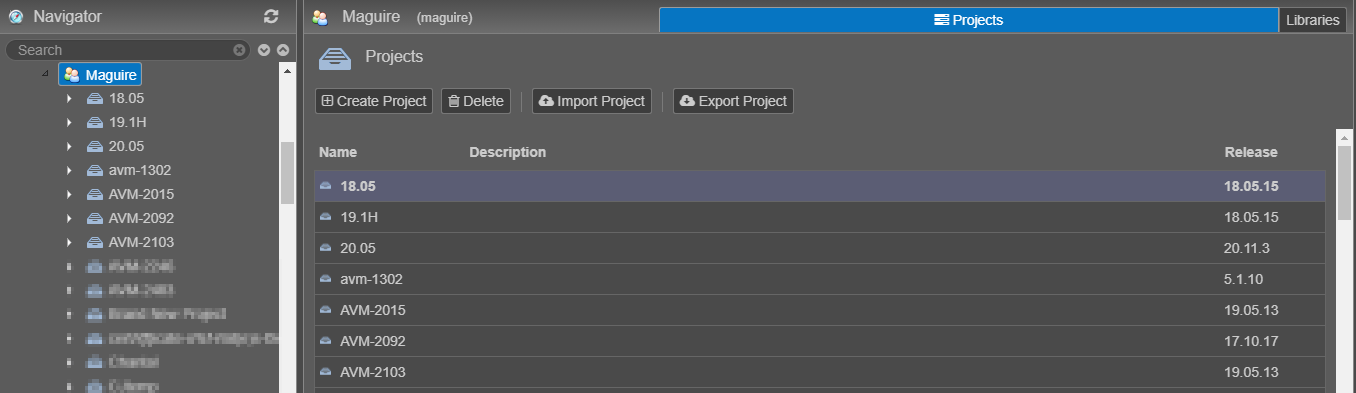
The projects are listed in the order they were created, with latest being on top. The list includes the following information:


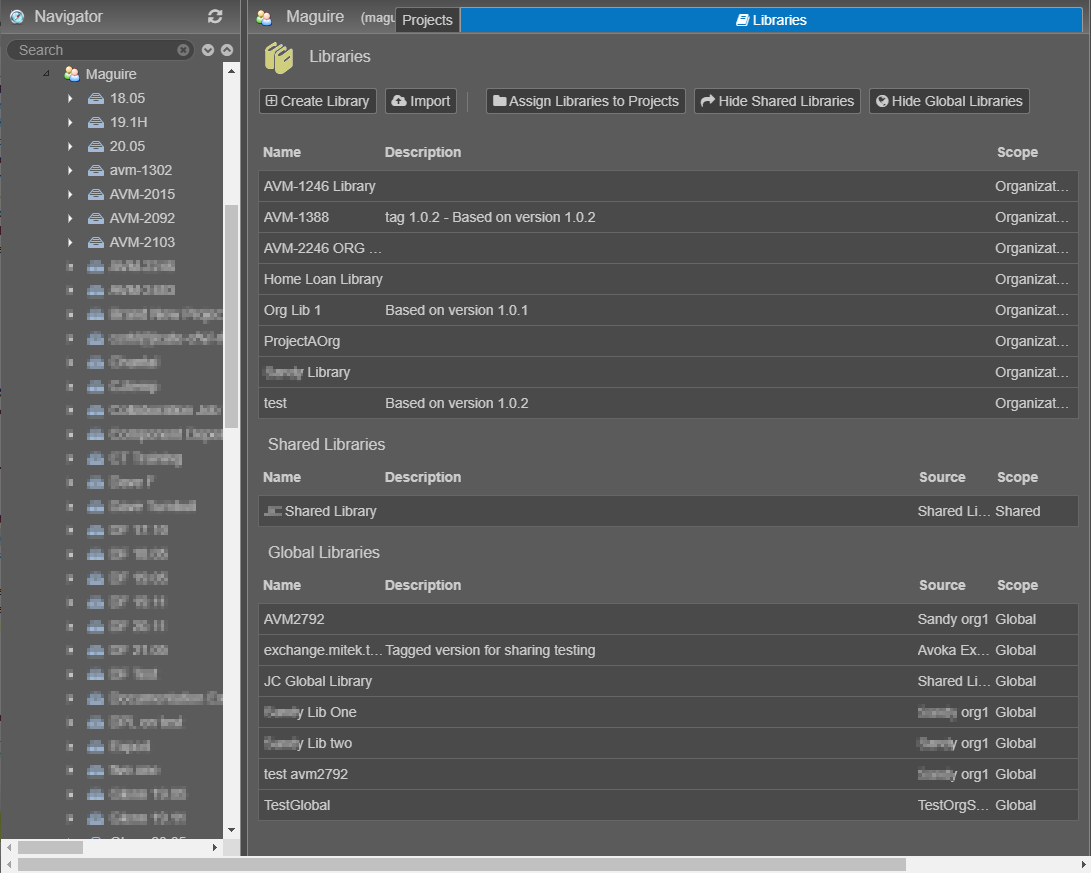
The libraries are grouped by several categories, such as organization, shared, and global libraries. The library list includes the following information:
Libraries stored at the organization level will be available to all projects within the organization.
Next, learn how to create a project.