Settings Menu
MaestroThe UI design product. | Form Builder | 18.05 This feature was updated in 18.05.
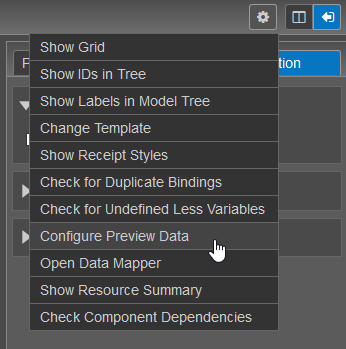
The Maestro editor allows you to access and perform various actions on a form quickly using the Settings Menu functionality,
To open Settings Menu:
- Open a form in the Maestro editor and click Settings Menu
 .
.
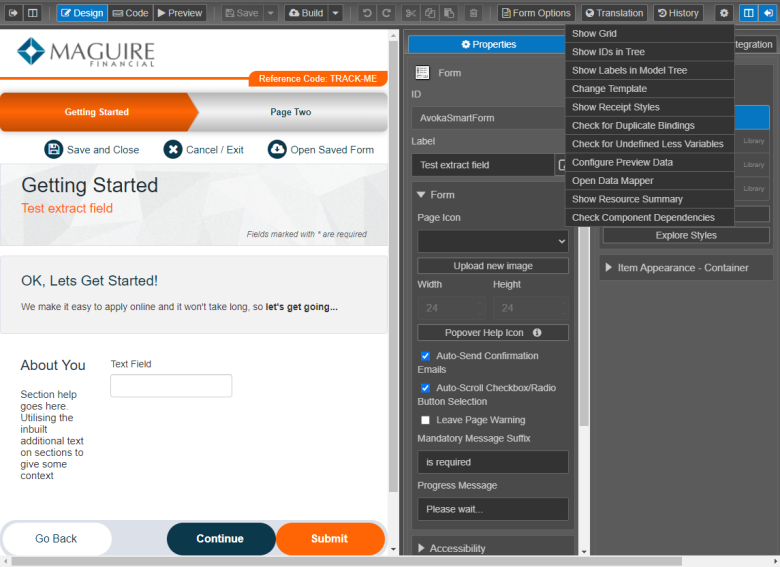
- Select Show Grid to show a grid of horizontal and vertical dashed lines over a form to help you align components to a form layout. Select Hide Grid to hide the supplemental lines.
- Select Show IDs in Tree to show components' IDs in the Palette pane. Select Show Labels in Tree to show components' labels.
- Select Show Labels in Model Tree to show components' labels in the Model pane. Select Show IDs in Tree to show components' labels.
- Select Change Template to change a template that a form uses.
- Select Show Receipt Styles to show a form in the Maestro editor as it will be shown on a rendered receipt, for example, a PDF document. Select Hide Receipt Styles to show a form as it is normally displayed in the Maestro editor.
- Select Check for Duplicate Bindings to check a form duplicate bindings.
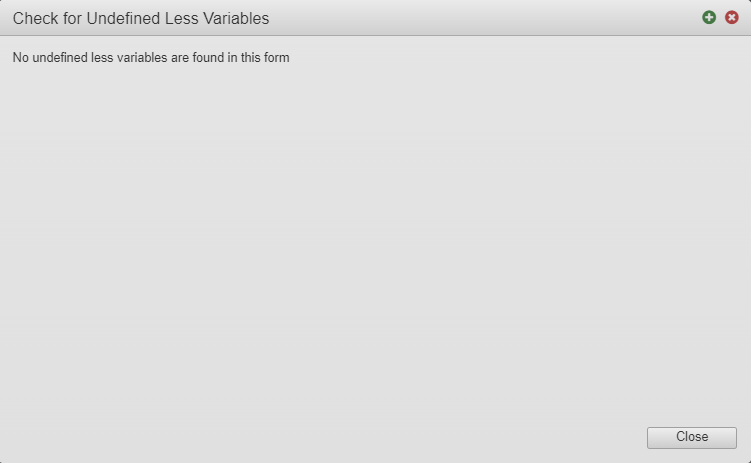
- Select Check for Undefined Less Variables to run a check for all undefined LessLESS is a dynamic preprocessor style sheet language that can be compiled into Cascading Style Sheets (CSS) and run on the client side or server side. variables in shared styles within the form or template and the referenced styles so you can resolve them.

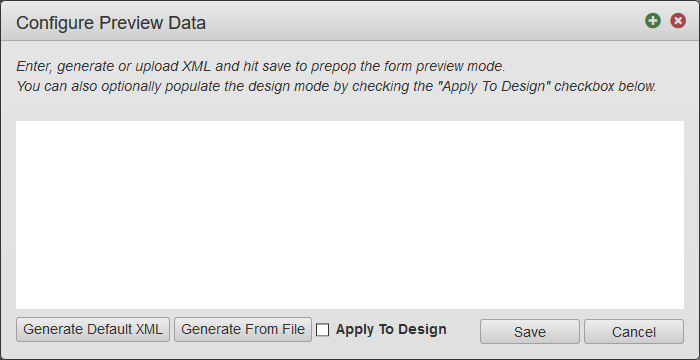
- Select Configure Preview Data to pre-populate form data for the Preview mode. Click Generate Default XML or Generate from File to create form data. Select the Apply To Design checkbox to apply this data to form design and click Save.

- Select Open Data Mapper to map form fields to submission data using the Data Mapper functionality.
- Select Show Resource Summary to see what resources are included in this form and how much space each resource takes.
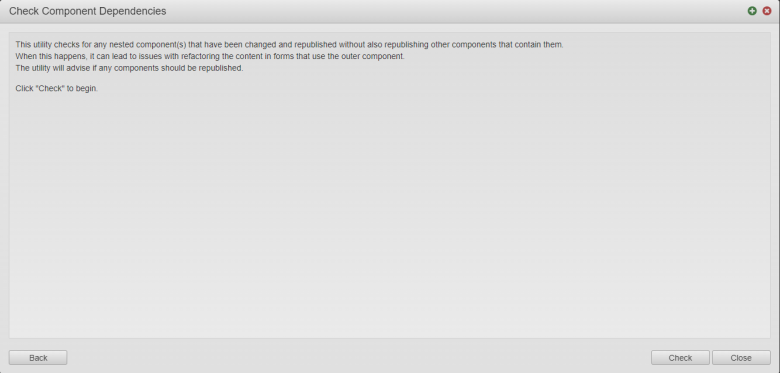
- Select Check Component Dependencies and click Check to run a check for any nested components that have been changed and re-published without also re-publishing the components that contain them. When this happens, it can lead to issues with re-factoring the content in forms that use the other components.

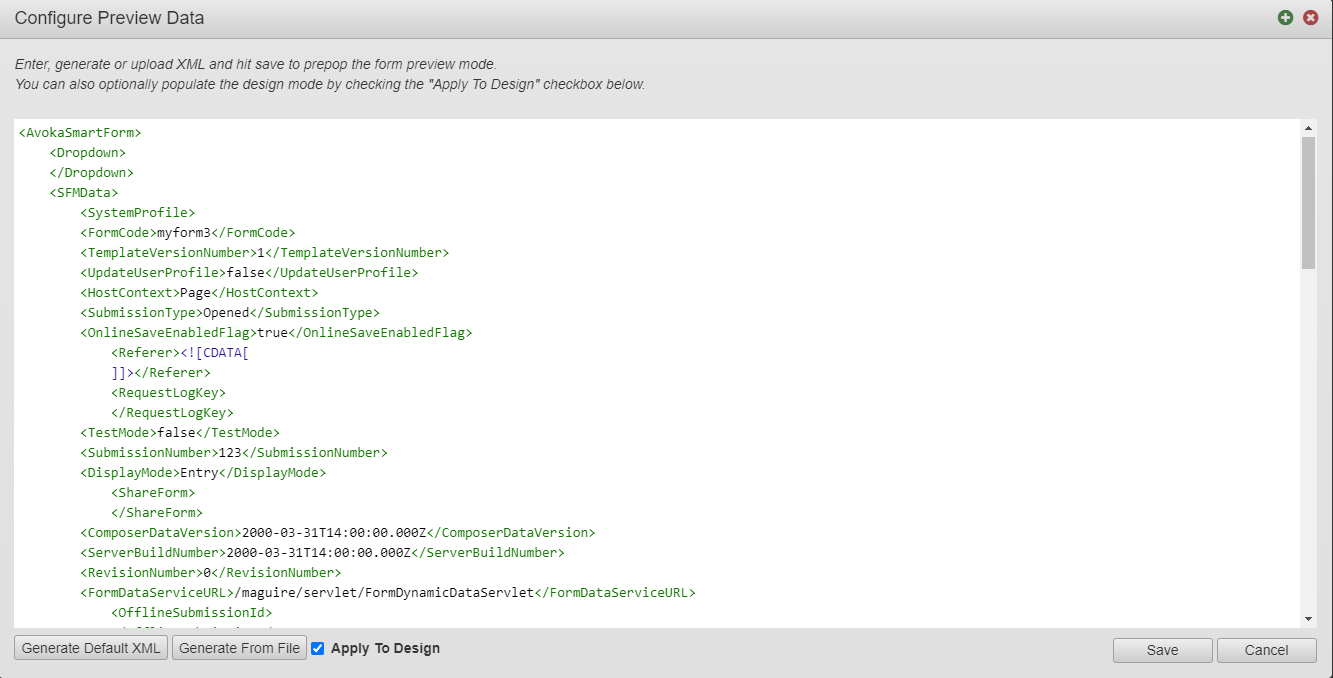

While working on a design, it's useful to see sample data embedded within the components. To streamline this process, Maestro allows you to define preview data. This is data that will appear within the components while in Preview Mode.
To configure the preview data of a design:
- Open a design in the Maestro Editor.
- Click the Settings icon.
-
Select Configure Preview Data.
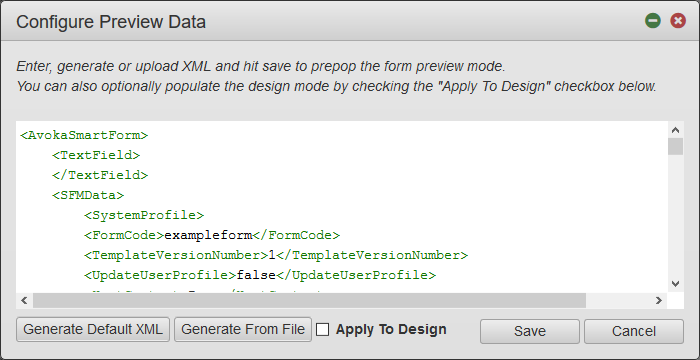
This will open the Configure Preview Data dialog:

-
Click Generate Default XML. This will generate an XML data structure based on the current design.
-
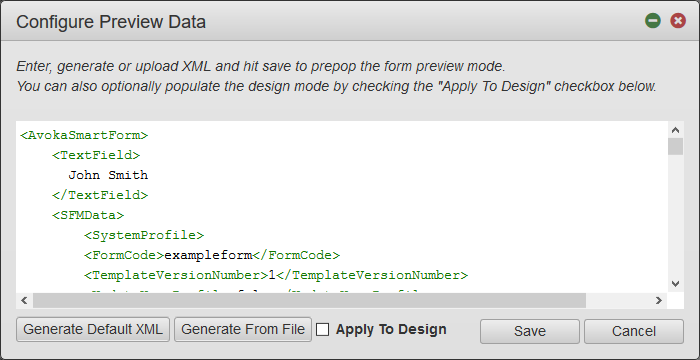
Add (or update) data within the XML elements.
-
[Optional] Select Apply to Design to also display the preview data in Design Mode.
-
Click Save.


The data will now appear within the components.

You can also click the Generate From File button and upload an XML file that contains the preview data. This is convenient when you have a variety of preview data that you'd like to test.
Next, learn how to check form history.