Preview Mode
MaestroThe UI design product. | Form Builder | All versions This feature is related to all versions.
The Maestro editor comes with the preview feature that allows you to quickly render a Maestro form so you can see how it will look when it's built and published. Also, you can try out some of form's functionality, with exception of Dynamic Data Service (DDS) calls, which is still very handy for Form Builders who need to render forms often to validate changes they make.
If you are developing a form that calls a newly deployed Dynamic Data Service (DDS), the call will not work in Preview Mode. Instead of publishing the form every time you want to test the DDS call, you can enable it within Maestro Preview as described below.
When Manager responds to a Dynamic Data Service call, it checks the form code of the incoming call against currently published forms. In order for a call from Preview mode to work, the form must first have been published at least once, so that the form code is recognized. It is not necessary to republish it every time there is a change.
Normally, Dynamic Data Service calls need a valid transaction Reference Code, generated when Manager first renders a form to a user. To bypass this check and enable calls from a form that has been rendered outside of Manager, for example from the Preview Mode, you need to select the Test Mode checkbox on the Parameters Edit tab of the Dynamic Data Service in Manager.
To open a form in the preview mode:
- Open a form in the Maestro editor and click Preview in the toolbar.
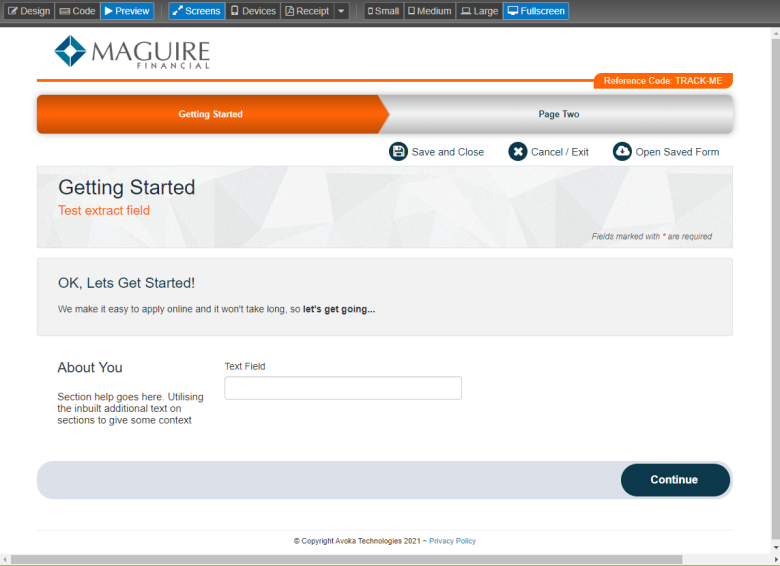
- Click Screens and select a screen type from the dropdown list to see how the form will look and behave on a selected screen size. The screen type can be one of the following:
- Small
- Medium
- Large
- Fullscreen
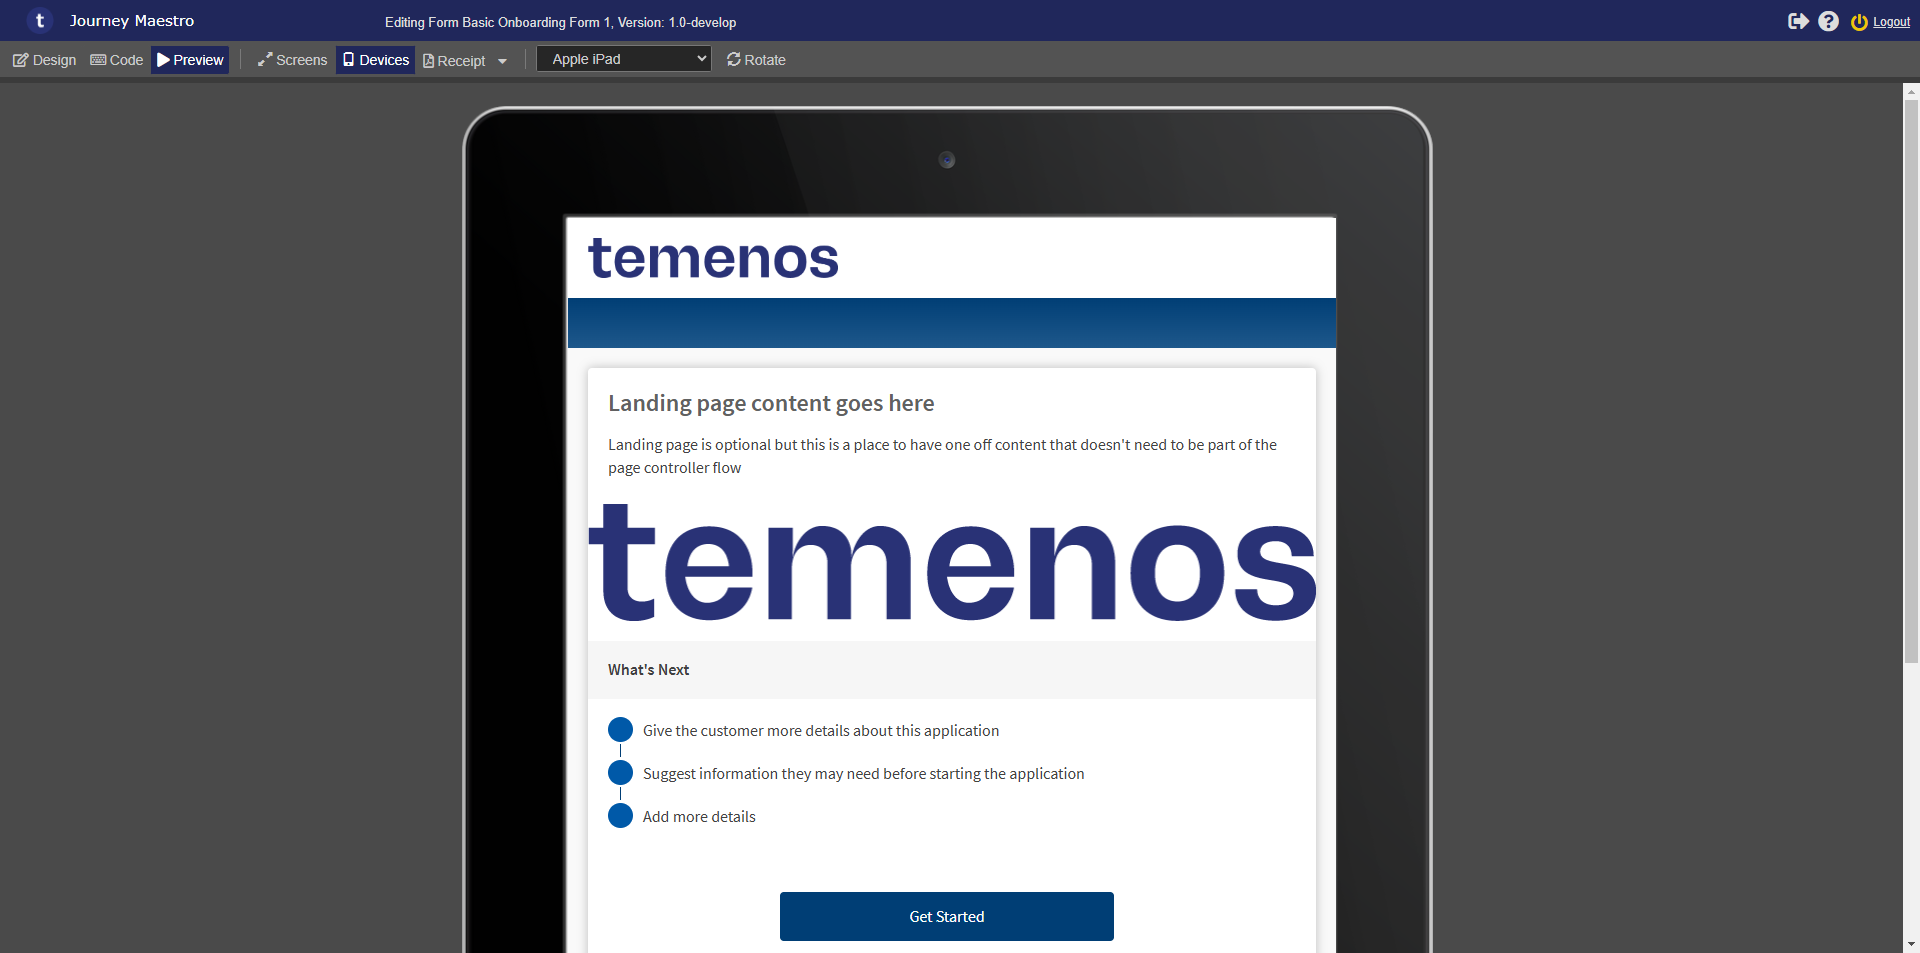
- Click Devices and select a device from the dropdown list to preview the form on that device. The device can be one of the following:
- Apple iPad
- Apple iPhone 4
- Apple iPhone 6
- Apple iPhone 6s
- Apple iPhone 6 Plus
- Google Nexus 7
- Samsung Galaxy S7
Note This does not actually run the form on the device, but rather shows how the form will render.
Click Rotate to toggle the orientation of the form between portrait and landscape.
- Select a receipt type from the Receipt dropdown list, which can be one of the following:
- PDF Receipt
- HTML Receipt: An HTML receipt allows you to interactive with form fields in preview which is very useful for debugging forms.
- Click Design to exit the preview mode.

To access this mode, click the Preview button in the toolbar.
In this mode, the interface has two sections:
- Toolbar
- Wireframe
Toolbar
The toolbar has three groups of buttons.

The first group is for switching between the different modes:
| Icon | Label | Description |
|---|---|---|
| Design | Switch to Design mode. | |
| Code | Switch to Code mode. | |
| Preview | Switch to Preview mode. |
The second group is for changing the preview type:
| Icon | Label | Description |
|---|---|---|
| Screens | Preview the design in a variety of widths. | |
| Devices | Preview the design within the frame of a mobile device. | |
| Receipt | Preview the design with its receipt styling. |
The third group is for controlling finer details of the preview, such as its width or rotation. The available options depend on the selected preview type.
To display sample data within Preview Mode, refer to Configure Preview Data.
Wireframe
The Wireframe contains the preview of the design. There are three preview types available:
- Screens
- Devices
- Receipt
Screens
If the Screens option is enabled, the following buttons are available:
| Icon | Label | Description |
|---|---|---|
| Small | Resize the preview to a small width. | |
| Medium | Resize the preview to a medium width. | |
| Large | Resize the preview to a large width. | |
| Fullscreen | Resize the preview to a full-screen width. |
Devices
If the Devices option is enabled, the following buttons are available:
| Icon | Label | Description |
|---|---|---|
| Device | Select a device to preview the form within. | |
| Rotate | Toggle the preview between portrait and landscape rotation. |
Receipt
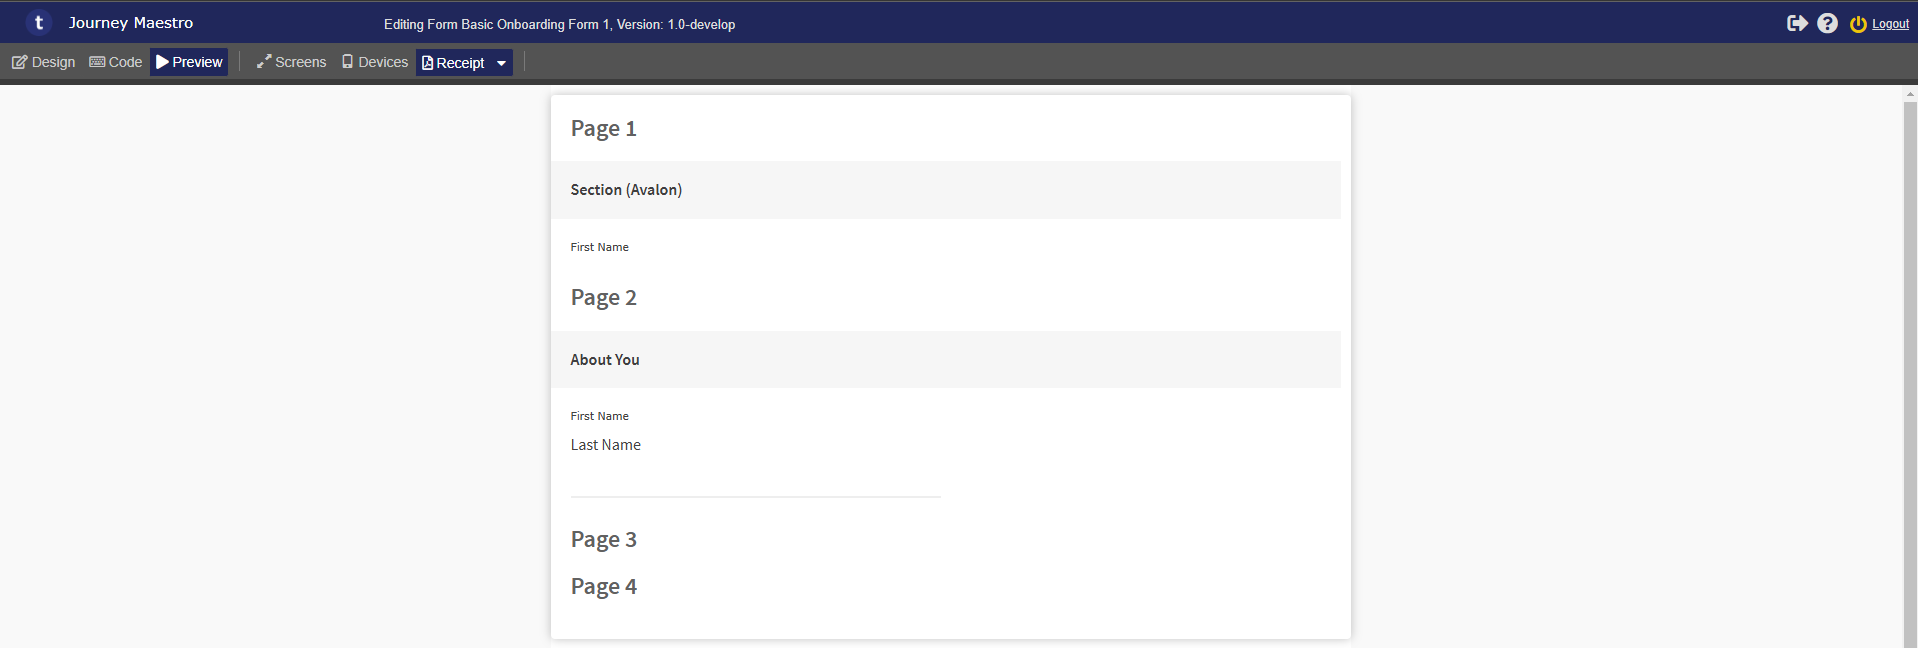
If the Receipt option is enabled, no additional buttons are available. You can, however, click the downward-facing arrow to choose whether to open a HTML or PDF receipt.
| Label | Description |
|---|---|
| PDF Receipt | View the receipt as a HTML web page. |
| HTML Receipt | View the receipt as a PDF file. |
Next, learn about Maestro's organizations.