Map a Component to an Entity Property
MaestroThe UI design product. |
Form Builder Platform Developer | 18.05
This feature was introduced in 18.05.
Platform Developer | 18.05
This feature was introduced in 18.05.
As you drag and drop components on a form in the Maestro editor, Maestro populates them with the default data that has a flat XMLXML (Extensible Markup Language) is a markup language that defines a set of rules for encoding documents in a format that is both human-readable and machine-readable. structure, in the same order as the visual layout. Using entities provides you with control over the structure of the form data, allowing fields to form logical groupings regardless of their physical position in the form. Additionally, fields can be mapped to a pre-defined entity model, guaranteeing the structure of submitted data.
When you add a new component, identified by its ID, to a form without mapping it to an entity or an entity property, it appears in the Unmapped Fields folder of the Model pane. There it stays until it is mapped to an entity. This is illustrated below.

When entity's properties are created, they are not saved within the data of the form, instead, they are saved in the domain model, which holds all data. This means that even if you delete the component from the form, the entity property are still accessible to the form so you can continue mapping other components to it.
To map a component to an entity property:
- Open a form in the Maestro editor.
- Select a component on the form or select it from the Unmapped Fields folder.
- Select the Properties pane and update a component ID in the ID field.
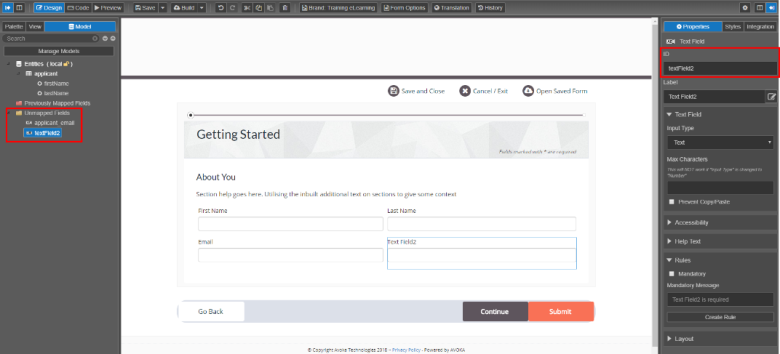
Use the underscore "_" between an entity name and the name of the property, belonging to this entity, that you want to create.
For example, if you want to create an entity property called
firstNamefor an entity calledapplicant, you must typeapplicant_firstNameas a ID of the component. Maestro will create a corresponding entity property, using the underscore as a delimiter, to map it to the component model and also populates the label for the selected component.Note If you already have entities defined, select the field first and then double-click the entity's property you want to map it to.
- Click Rename to confirm the change of ID name.
If you delete the text field, the firstName entity property is still available to be mapped to another component. See the explanation above.
You can use Data Mapper to load an existing XML file with data definition and then map form fields to submission data.
Map a Repeating Block Component
Our forms often use repeating block components. It's crucial that a repeat element is mapped to an entity so you need to map it to your submission data model, which can be an existing XML structure. The process is very similar to that of described above, with a few additional steps.
Let's assume you need to configure a repeating block template so a submitted form produces the following XML file:
<applicant>
    <repeatingFields>
        <individual>
            <name>John</name>
            <age>40</age>
        </individual>
    </repeatingFields>
    <repeatingFields>
        <individual>
            <name>Mark</name>
            <age>47</age>
      </individual>
    </repeatingFields>
</applicant>
To map a repeating block component to create a the above XML structure:
- Select a repeating block template and drag it onto a form.
- Select it and update its name in the ID field according to your requirements. For example,
applicant_repeatingFields_.Note The name must end with the underscore "_", so Maestro knows it's a repeating pattern.
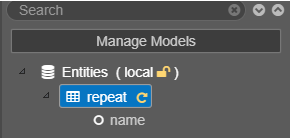
- Open the Model pane to verify a new entry has appeared under Entities. Check the yellow arrow in the entity tree to verify that the element is mapped correctly.

- Select the Content element of the repeating block template and update it as needed, for example,
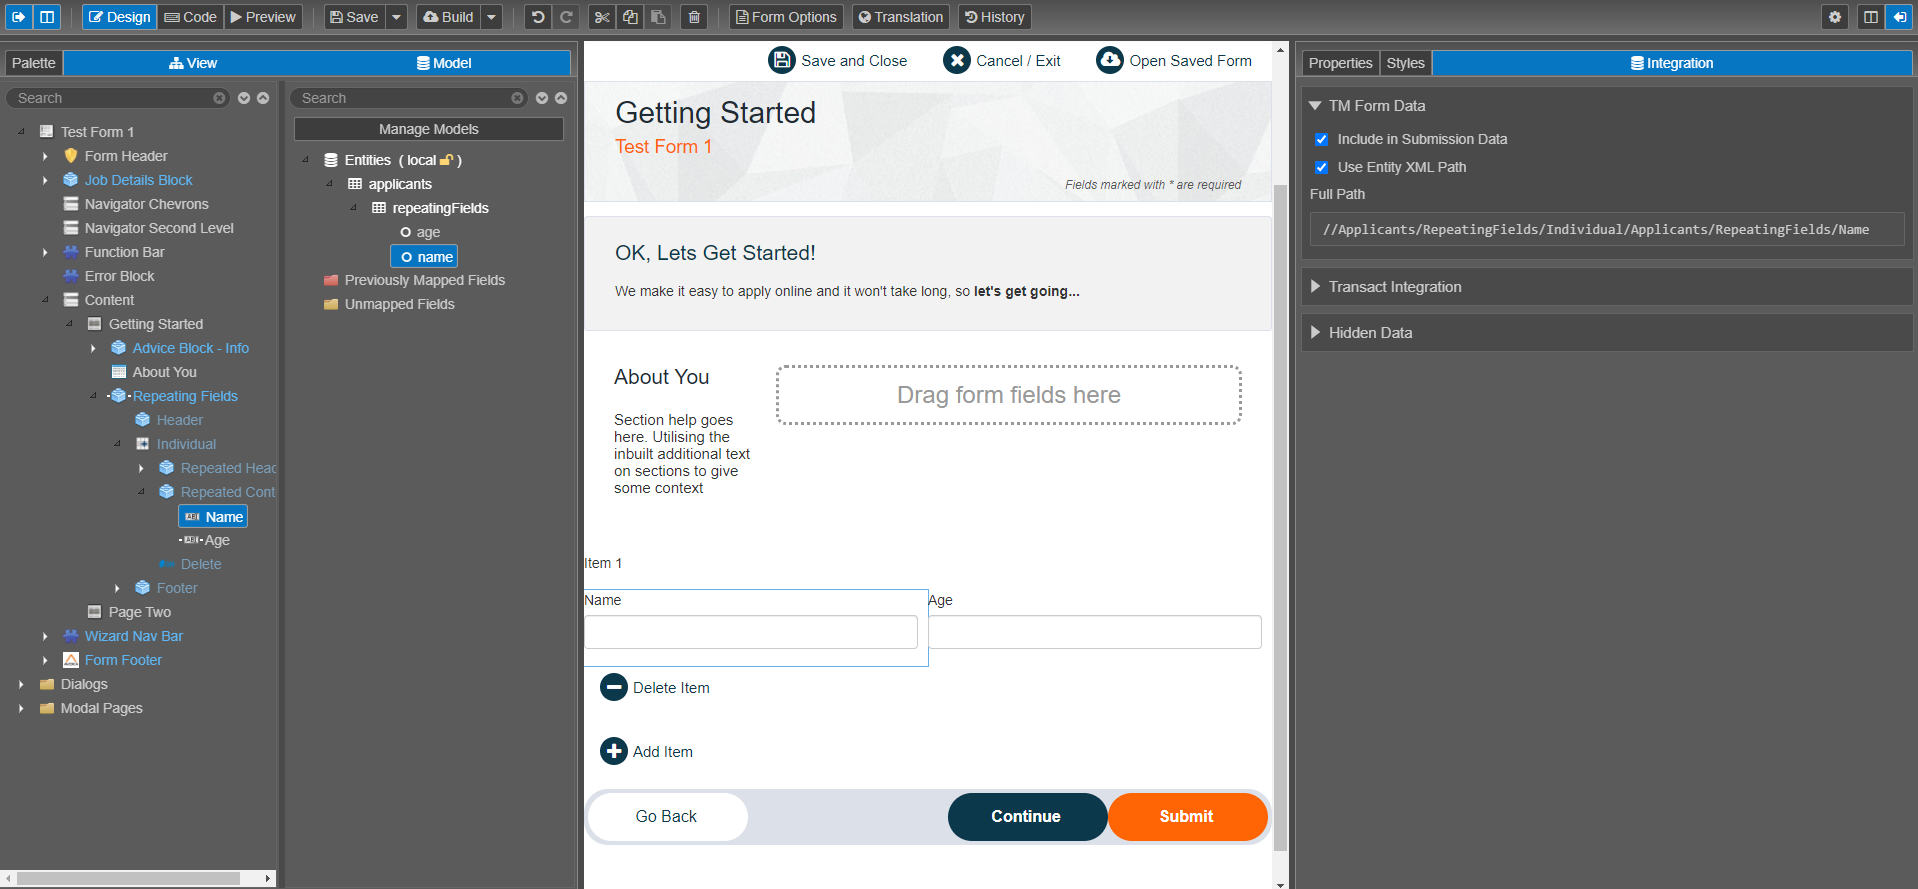
Individual. - Open the Palette pane and drop a Text Field component onto the repeating block template component.
- Change the Text Field component ID to
applicant_repeatingFields_name. Maestro will prefill this field for you so you only need to update the last part of the name after "_". - Click Rename to confirm the name change.
- Do same for another text field, that is called
applicant_repeatingFields_age. - Select the Integration tab to verify the XML path is correct in Full Path field.

Note If the path is incorrect, clear the Use Entity XML Path checkbox and select it again.
- Save the form and click Preview.
- Fill in the form and click Submit.
- Click Show form XML to view the resulting XML structure of the repeating block component and compare it with your required XML structure.
- Click Design to continue working with your form.
Next, learn about the domain model.