Create a Group
Journey Manager (JM) The transaction engine for the platform. | System Manager / DevOps | All versions This feature is related to all versions.
Manager allows you to create a group to a set of users with certain privileges, such as form or job access.
To create a group:
- Select Security > Groups.
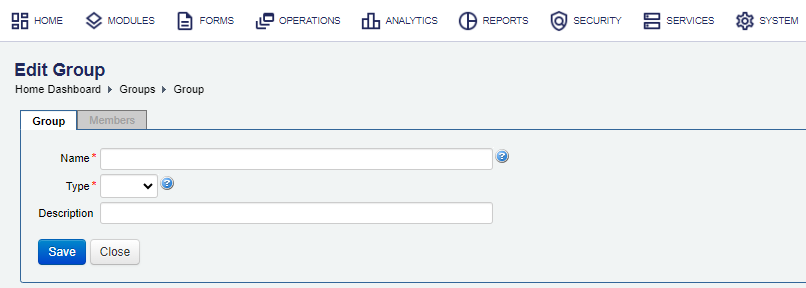
- Click New to create a new group or locate a group and click Edit.

- Enter a new group name in the Name field.
- Select a group type from the Type dropdown list, , which can be one of the following:
- Alert- notifies and alert users about certain events. A user must be assigned to a group of this group type.
- Form- restricts user access to forms or tasks that are associated with this group.
- Job - restrict access to job coordinators when overseeing jobs that they are responsible for.
Note Job groups are automatically created by the Job Controller definition of a collaboration job., so you don't need to add them manually. However, you need to wait until each Job group is automatically generated before assigning members to the group.
- Enter a group description in the Description field.
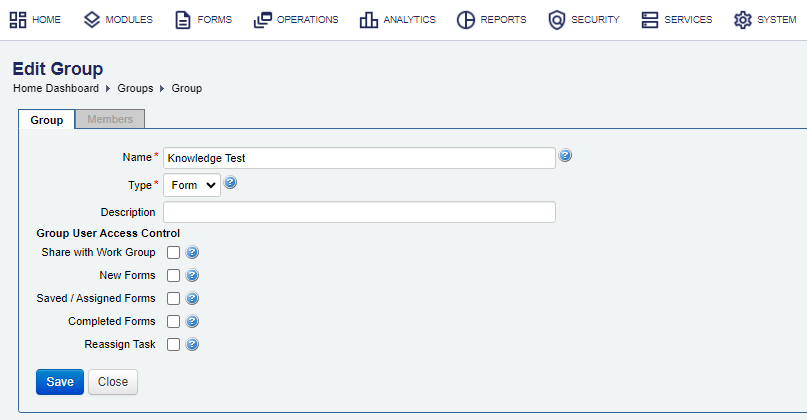
- Complete the additional Group User Access Control section, which is shown for the Form group type only.

- Select Share with Work Group to allow users of this work group to share a form.
- Select New Forms to allow users to actively start filling in forms belonging to the group. Otherwise, they can't access the forms at all, except when tasks are assigned to the group and the group is configured to share tasks and incomplete submissions.
- Select Saved / Assigned Forms to allow sharing of tasks assigned to the group as well as incomplete submissions for these forms.
- Select Completed Forms to allow sharing of the list of completed submissions and access to receipts.
- Select Reassign Task to allow members to reassign task submissions to other users within the form work group.
- Click Save to update the changes.
- Assign user accounts to this group.
- Configure form access in the Group Access tab for each restricted form.
- If the new group is to limit user access to a new form, make sure only the Authenticated Access checkbox is selected in a form space where the form is hosted. For more information, see Assign Form Spaces to a Form.
- Click Save to update the changes.
In the case of a Form group, it is now possible to restrict individual forms to be accessed only by members of this Form group. By default, a form is publicly available to all users logged in to a Form Space. Once a form is restricted to at least one Form group, then it is only listed for the members belonging to the Form groups in the Forms tab. For more information, see Assign Form Spaces to a Form.
Any forms restricted to this Form group are now listed on the Forms tab from the Edit Group page.
Next, learn how to view groups.