Assign Users to a Group
Journey Manager (JM) The transaction engine for the platform. | System Manager / DevOps | All versions This feature is related to all versions.
Manager allows you to assign users to a group. You can use this functionality to:
- Assign several user accounts to a newly created group
- Change an existing group’s membership after you added or removed some user accounts
To assign user accounts to a group:
- Select Security > Groups.
- Locate a group and click Edit.
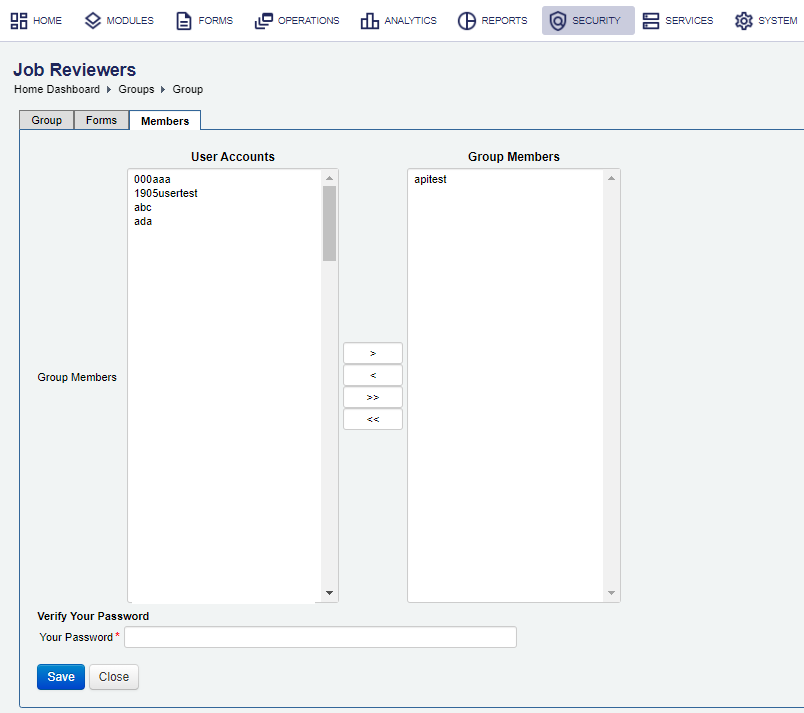
- Select the Members tab to see a list of the assigned user accounts in Group Members.
Note This list is empty for a newly created group.
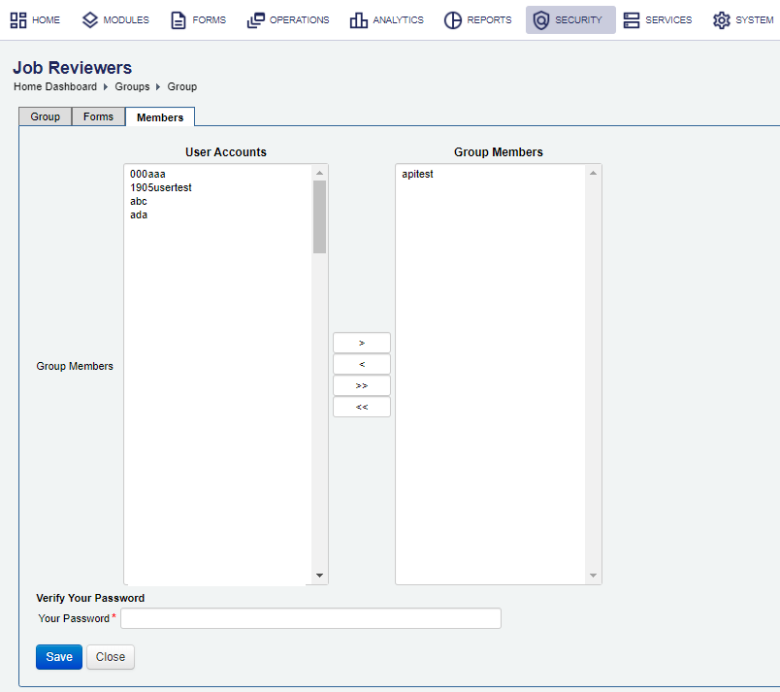
- Select one or more user accounts from User Accounts and click > to assign them to this group.
Note You can use the Shift and Ctrl keys to select multiple user accounts on Windows PC.
- To revoke assigned user accounts, select the user accounts from Group Members and then click <.
- Click >> to assign all user accounts.
- Click << to revoke all user accounts.
- Provide your password in the Your Password field, for security reasons.
- Click Save to update the changes.
You can also manager a user group membership from the user account.
If this is a form group, check which forms this group has been given privileged access to.
You can also check any form’s group access.
Next, learn how to assign groups to a user.