Receipt Designer
MaestroThe UI design product. | Form Builder| | 19.05 This feature was introduced in 19.05.
Maestro allows you to design a receipt using the Receipt Designer feature, which is available in the Maestro editor since version 19.05.
Creating a receipt is very similar to creating a form, so only a basic understanding of form development is required. We will illustrate it with a concrete example where we will:
- Create a form
- Create a receipt
- Download the Form Version Archive file
- Deploy the form to Manager
- Test the receipt
Create a form
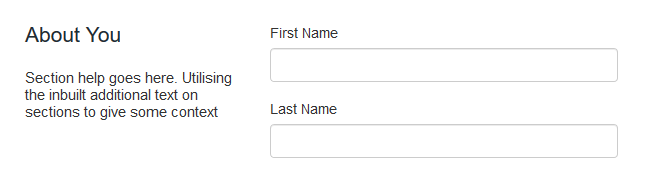
- Create a form with First Name and Last Name text fields in your project.
- Select the Maguire - Default Form template when creating the form to make the form submittable without any further configuration. This isn't strictly necessary though, as we can use a Receipt Test Harness to test the receipt without navigating and submitting the form.
Create a receipt
- Click Receipts in the same project as the form.
- Click Create Receipt.
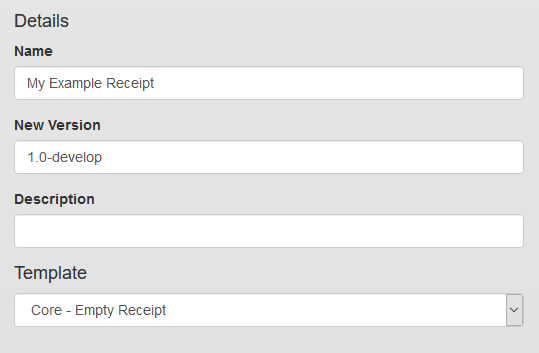
- Enter a name for the receipt in the Name field.
- Select the Core - Empty Receipt template from the Template dropdown list. This is the simplest receipt template you can use.
- Click Create.
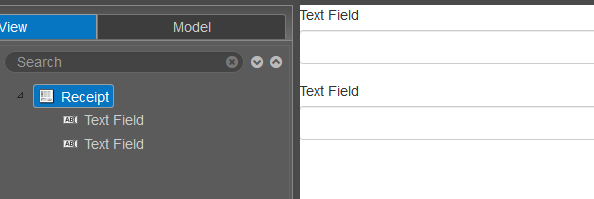
- After the receipt opens in a new window, drag two text fields into the receipt.
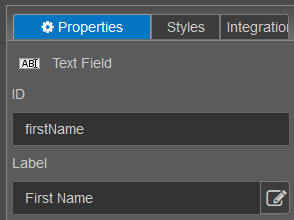
- Change the ID of the first text field to firstName and the ID of the second text field to lastName. Their labels should automatically regenerate.


In a real-world project, we recommend creating and publishing a custom receipt template based on an existing receipt template. Functionally, receipt templates are identical to form templates, so all standard template practices apply.
For the data from a form to appear in the receipt, the fields need to have the same XML path. To accomplish this, we suggest creating a domain model and sharing it between the receipt and form. In this topic however, we'll just manually ensure the component IDs are the same.
By default, XML names are auto-generated based on component IDs. If this option is disabled via the Integration properties, you'll need to manually set the XML names rather than the component IDs.

So far we've recreated the form in the receipt, but typically, receipts will look different from their forms.
Here is one example of how to approach this:
- Drag a Text Field component into the receipt.
- Change the ID of the component to fullName.
- Click Create Rule.
- Under the Calculation heading, click Script.
-
Copy and paste the following code into the code editor:
return data.firstName + " " + data.lastName; - Click Save.
- To see this, switch to the Preview tab and fill out the First Name and Last Name fields. The Name field will update with the combined result of these values.
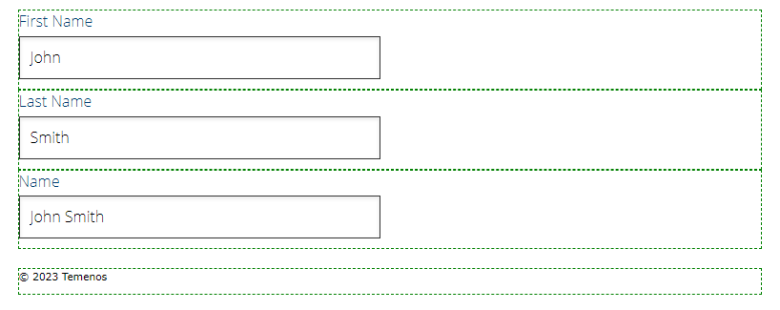
Note The dotted outlines in the preview show the page breaks to help you debug receipts.
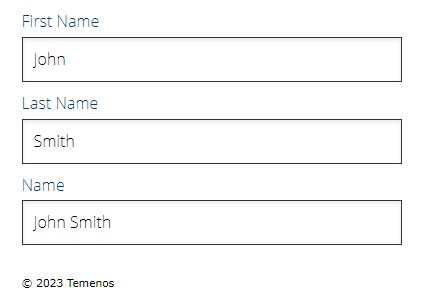
To switch off the page break debugging:
- Select the form root and click the Properties tab.
- Expand the Receipt and clear the Add Page Break Debug CSS checkbox.
The receipt preview without the page break is shown below:
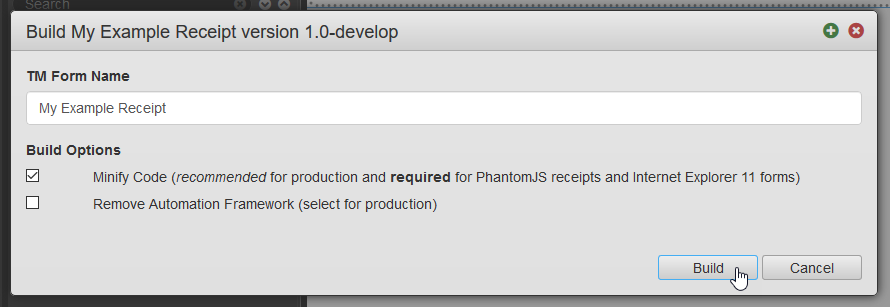
- Finally, click Build to make the receipt available to the form.
This code concatenates the first name and last name into a single line of text.

Download the Form Version Archive file
- Return to the form and refresh the UI.
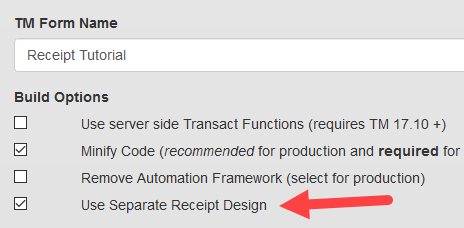
- Click Build > Build and Download TM Form Version to build the form.
- Enable Use Separate Receipt Design.
- Select a receipt from the Receipt Version dropdown. If the receipt isn't available, verify that you clicked the Build button in the previous step.
- Select a version number from the Receipt Version dropdown.
- Click Build.
- Click Download TM Form Version to download the Form Version Archive file.

Multiple forms can use the same receipt.
Deploy the form to Manager
Whether or not a custom receipt has been designed in Maestro, the process of deploying a form to Manager is the same.
- Log in to Manager.
- Navigate to Forms > Forms.
- Click Import Form.
- Click Browse.
- Select the Form Version Archive file downloaded in the previous step.
- Click Upload.
- Select Create a Form.
- Click Proceed to Import.
- Click Import.
For more information, see import forms.
Test the receipt
Rather than testing the receipt by repeatedly submitting the form, use Manager's Receipt Test Harness feature:
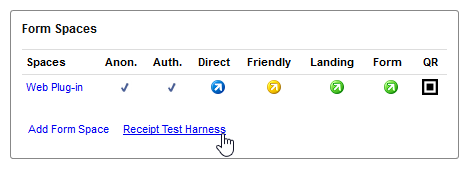
- Navigate to the Form Dashboard for the imported form.
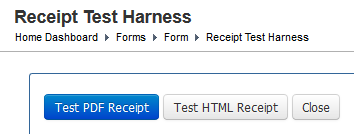
- Click Receipt Test Harness.
- Inside the XML Receipt Data field, change the values of the FirstName and LastName fields.
- Click Test PDF Receipt or Test HTML Receipt.
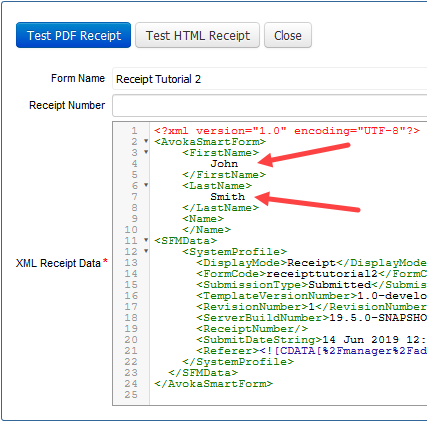
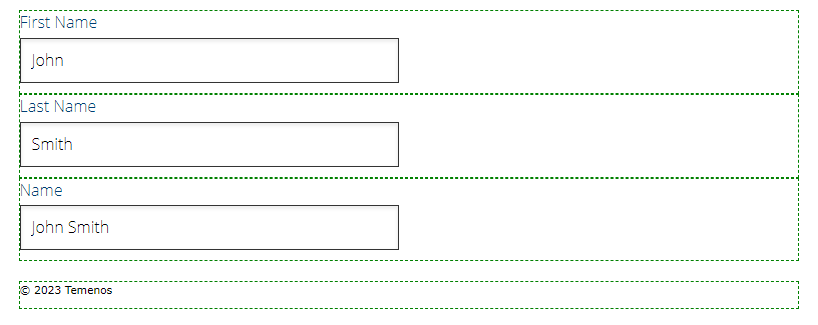
The receipt contains the data from the form, as shown below:

This is a simple receipt, but it does demonstrate:
- How a receipt can be designed in Maestro
- How data flows from a form and into a receipt
- How form rules can affect the display of data
Now, with these fundamentals, you can easily create more complex receipts.
Next, learn how to edit a form in Design Mode.