Test a Receipt with Receipt Test Harness
Journey Manager (JM) The transaction engine for the platform. | Platform Developer | All versions This feature is related to all versions.
Manager allows you to manually render a form as a PDF receipt, so you can preview it and debug it. You can generate a receipt as PDF or HTML, which is determined by the form type you have used to create the form. The PDF receipt is suitable for more traditional AcroFormsAcroForms are the original PDF forms technology that accepts input in both Forms Data Format (FDF) and XML Forms Data Format (XFDF). Many 3rd party vendors support AcroForms., whereas the HTML receipt refers to Composer or Maestro forms. However, in either case, the form is rendered as PDF. We recommend you render the form as HTML to test your receipt in a browser and debug issues.
To render a form as a receipt:
- Select Forms > Forms.
- Locate a form and click Edit.
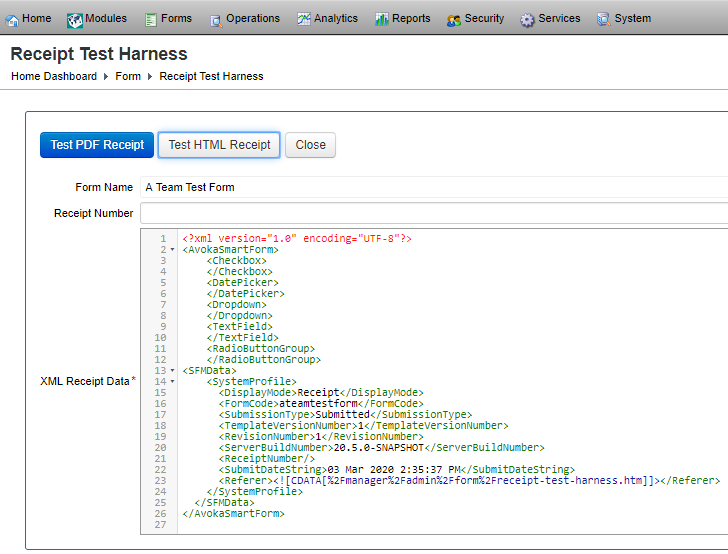
- Click Receipt Test Harness under the Form Spaces section.
- Enter a new receipt number in the Receipt Number field.
- Update the XML data in the XML Receipt Data field to test the new changes.
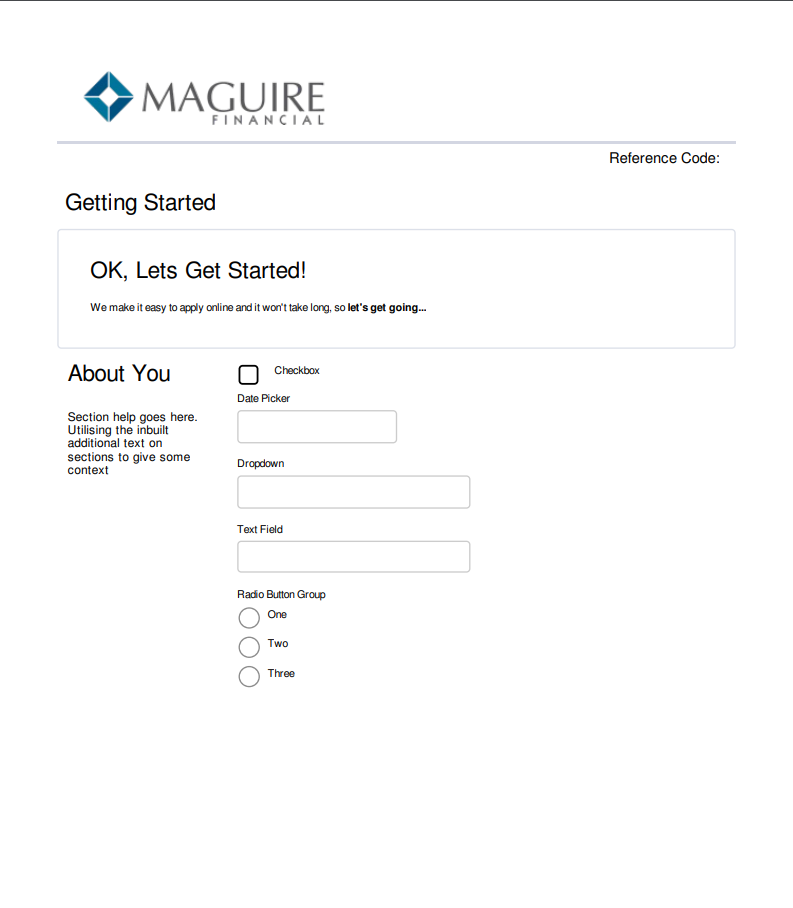
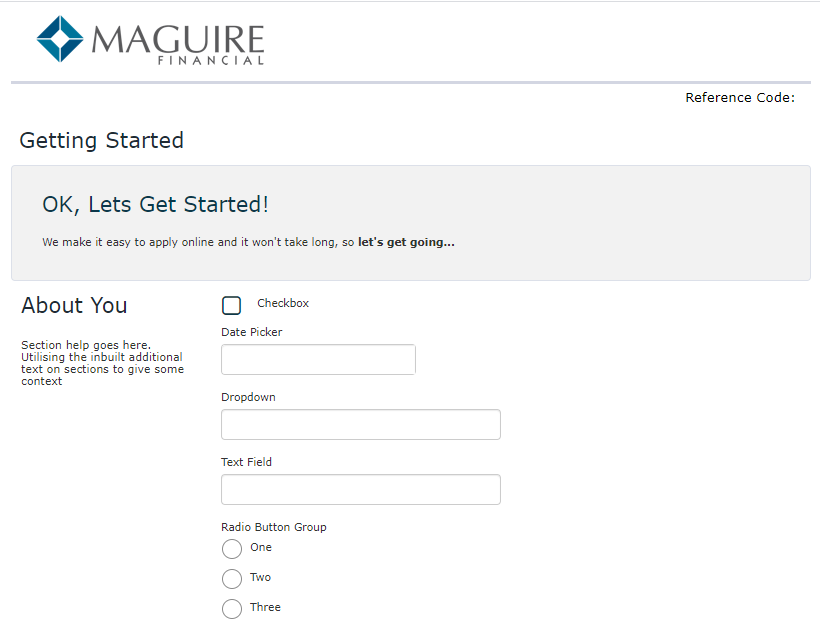
- Click Test PDF Receipt to render a PDF receipt in a new window.
- Click Test HTML Receipt to render a form using PhantomJSPhantomJS is a scripted, headless browser used for automating web page interaction. PhantomJS provides a JavaScript API enabling automated navigation, screenshots, user behavior and assertions making it a common tool used to run browser-based unit tests in a headless system like a continuous integration environment. PhantomJS is based on WebKit making it a similar browsing environment to Safari and Google Chrome (before Chrome's fork of WebKit evolved into Blink). It is open-source software released under the BSD License. to produce a receipt as a PDF file. The way this works is by first rendering the Maestro HTML code then 'printing' the result to PDF and returning the PDF data. You should use this functionality to test your receipt in the browser and debug issues.
- Click Close.
Next, learn about the form dashboard.