Brand Item Properties
MaestroThe UI design product. |
Template Designer Form Builder | 21.11
This feature was updated in 21.11.
Form Builder | 21.11
This feature was updated in 21.11.
Maestro allows you to configure component's properties, such as logo or background layer, differently for each brand in your template using the Item Properties functionality. This way every form using template gets the same settings, so it is like a global option.
Compare this to Form Options where you can set component's properties same for all brands, but every form that uses a template can be set differently. These are change on a form level.
The primary purpose of Item Properties is to allow you to control the look and behavior of multiple components by modifying a single property. This allows you to avoid making identical changes to multiple components, saving time and decreasing the likelihood of inconsistent behavior appearing in the template.
Another benefit of Item Properties is that they provide a central source of truth for adjusting the most essential properties. This means you don't have to dig around the structure of the form to find the components that you'll almost certainly want to configure.
To explain how it works, let's look at the Logo's Item Property that appears in the top left-hand corner of the template is an Image component. This component has a property which defines which image to use. Because the Image component is part of the template's header - which is not available for editing - there is no way of modifying it. To make the image logo configurable in the brand, the Template Designer has added this particular property to the Item Properties in the brand.
Brand's Item Properties work like this - first, you need to add a component's property to brands in a template you are building. Then you edit a value of the property for each brand using Item Properties. After you save and publish the template, you build a form using one of the brands. You can always remove the property from the brand when it's needed any more.
To add a component's property to a brand:
- Open a template in the Maestro editor.
- Select a component in the Design mode and click the Properties tab.
- Right click on a property you want to add, for example, Label or Hide Section Header, and select Add to Brand Options.
Note You also have a choice of adding a component's property to Form Options. However, if you've already added the property to brands, you can't add it to form options. You must remove it from brands first.
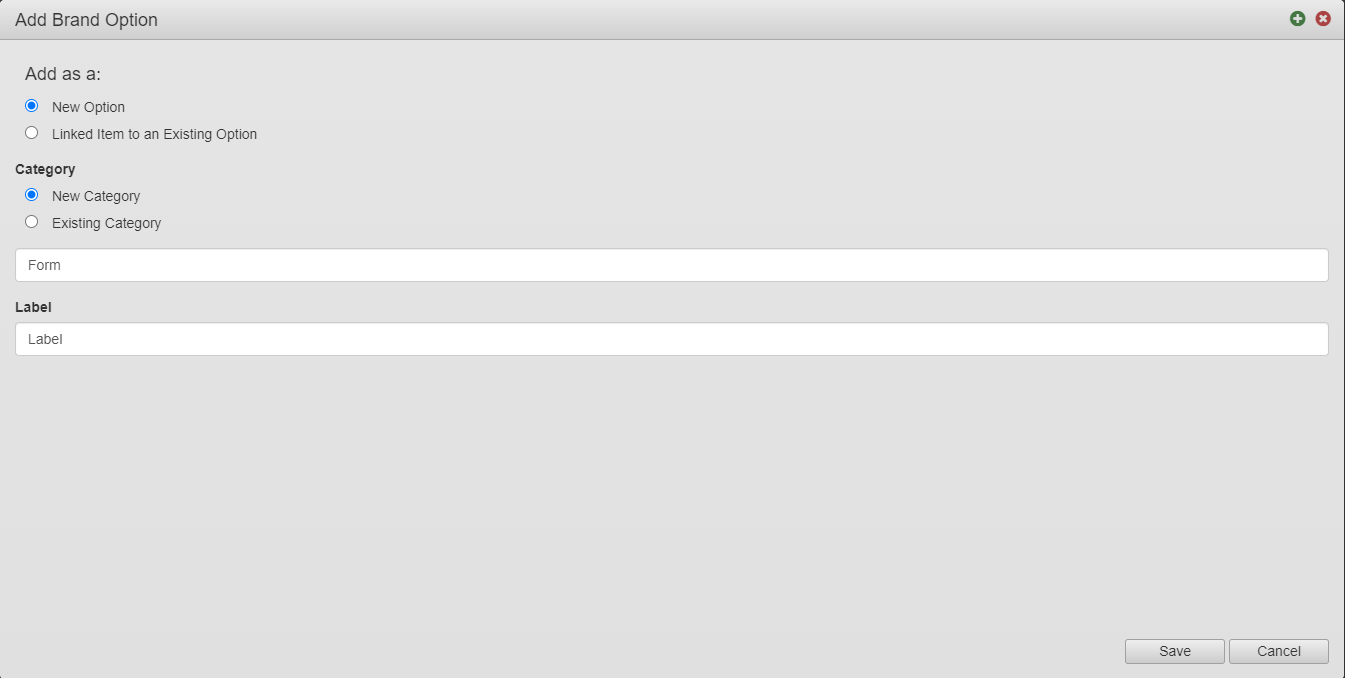
- Select how you want to add a property from the Add as a radio button group:
- New Option to add as a new property.
- Linked Item to Existing Option to add as linked to an existing property and then select an existing property from the Select Existing Option dropdown list.
- Select a category to use for the property from the Category radio button group:
- New Category to create a new category for the new property and type a category name in the field.
- Existing Category to add a new property to the already existing category and then select an existing category from the dropdown list.
- Type a name for the property in the Label field
- Click Save. The property is added to Item Properties, where you can edit it.
Adding categories help you group and navigate properties, especially, when there are many of them.
Now, you can access this property using the Item Properties option.
To configure a component's property in a template:
- Open a template in the Maestro editor.
- Click Brand in the Maestro toolbar.
- Select a brand and click Item Properties.
Note You can configure the Default brand as well.
- Find an item property you need and update it. Item Properties are grouped by categories.
- Click Done to go back to your brand configuration and click Save.
- Click Save in the Maestro toolbar to save the template.
- Click Publish to make the template changes to be available to forms that use it.
Note The template changes may not be available to a forms depending on where the extension points are in the template - anything that's inside the extension point (that can be changed in the form) can't be updated by the template

To remove an Item Property from a brand:
- Open a template in the Maestro editor.
- Select a component in the Design mode and click the Properties tab.
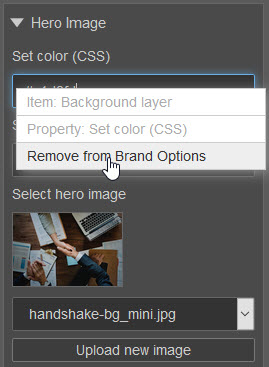
- Right click on Label and select Remove from Brand Options. The Item Property is removed from all brands defined in the template.
It's important to note that, if a property is available via the Item Properties window, you should not edit that property on the component itself. For example, if you select the Background Layer component, you may be tempted to configure the component via its Properties pane, as shown below:
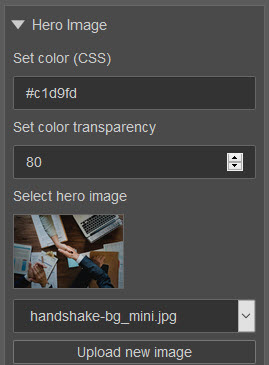
However, if you change the properties of this component, they won't be saved. This is because the properties have been made available using the Item Properties functionality, as shown below:
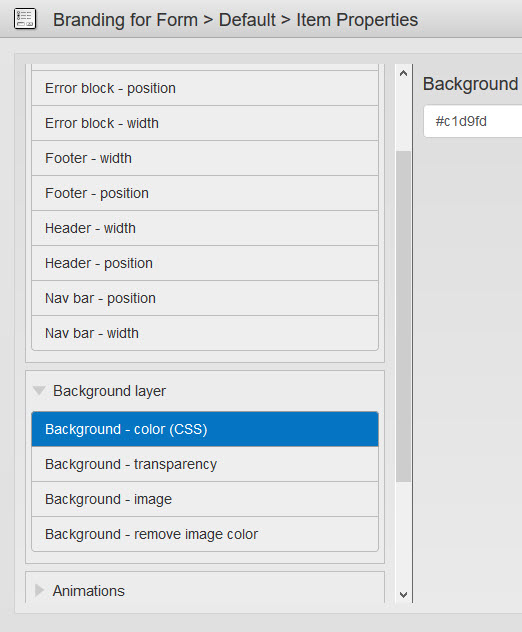
As a result, they must be configured via the Brands' Item Properties window.
At the moment, the only way to identify how a component's property should be modified is to right-click on the property in the Properties pane. If the Remove from Brand Options option is available, the property must be configured via the Item Properties window.
Next, learn how to change the style of components in a brand.