Component Options
MaestroThe UI design product. | Form Builder | All versions This feature is related to all versions.
Maestro allows you to define properties and business rules for custom native components using the Component Options menu. You usually do this for shared components, which are used in templates and forms, so these additional options can be invoked with a right click. This is handy for Form Builders as it speeds up form development process, which is essential while working on complex forms.
You can't change the Component Options of core components.
The Component Options menu is only available when you open a component from the Components folder in the Maestro editor.

You can then add the following options to a selected component:
How to Use Rule Templates
When you've configured properties, rule helpers or rule templates in a component, you can start using them in a form. Let's look in an example illustrating how you can use a rule helpers and a rule template in a form.
You need to create both a rule helper and a rule template and configure them correctly, so you are able to see them in the Create Rule Dialog while working on a form.
To configured a component with a rule template and a rule helper component options:
- Open a project in your organization.
- Select a form or a template that has a component with a rule helper and rule template configured and click Edit Form.
- Add the component to the form and select it.
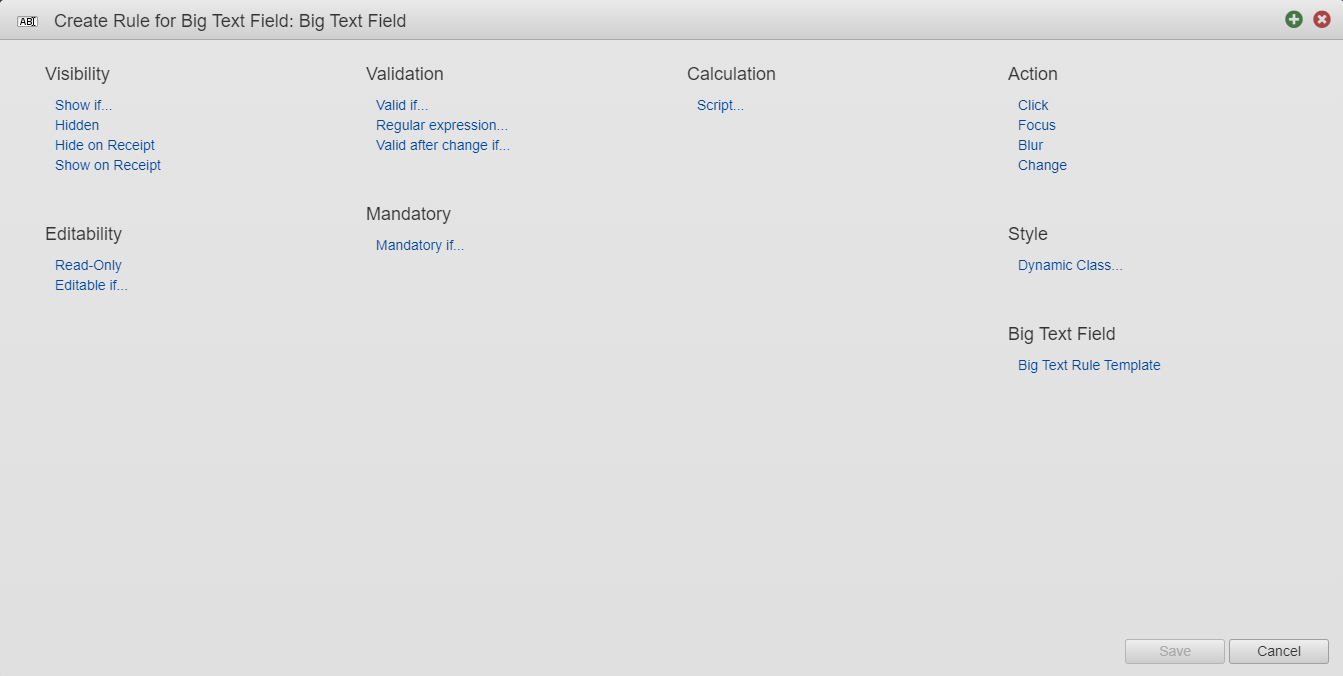
- Click the Properties tab and click Create Rule to open the Create Rule dialog where you should see all pre-configured business rules as well as the component's rule, if the rule template was configured correctly.
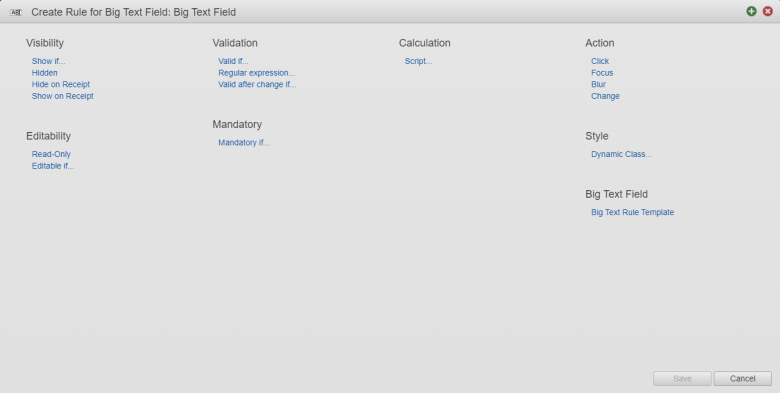
In this example, Big Text Field is the name of the component and Big Text Rule Template is the name of a rule template.
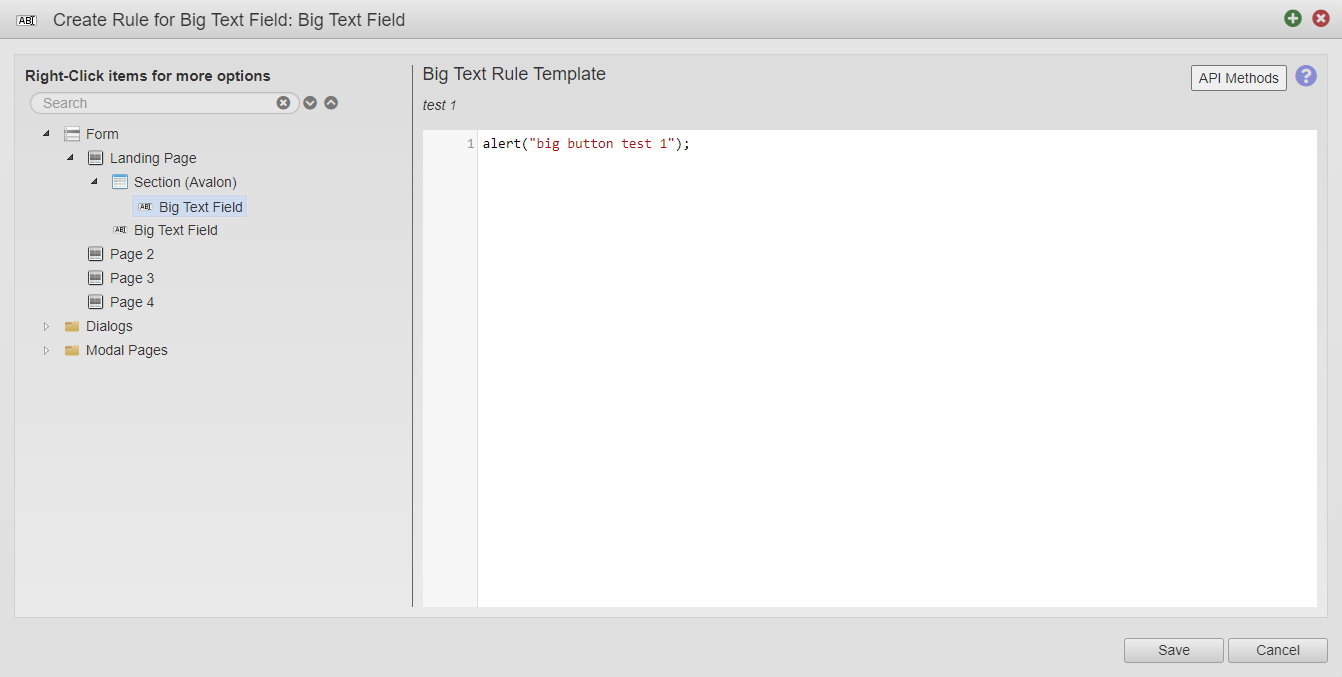
- Click Big Text Rule Template, the rule template, to open the Rule editor where you can edit a JavaScript, which is invoked when the rule is triggered from other component.
- Click Save to save the changes.
Now, you can add another component to the form that executes the Big Text Rule Template rule. For example, you may add a button with a Click rule that calls a JavaScript when the button is clicked: Form.fireRule("bigTextRuleTemplate", item, data)
Next, learn how to add properties.