Component Options: Properties
MaestroThe UI design product. | Form Builder | All versions This feature is related to all versions.
Maestro allows you to create new and update existing properties for components using Component Options. This functionality is handy for configuring different brands, adding help texts, and so on. You can only add new properties to native components, which are usually shared and used in templates and forms. A Form Builder can then make use of the new properties in the Properties pane of the Maestro editor.
Create Properties
To create a new property using Component Options:
- Open a project in your organization.
- Select a component in the Component folder and click Edit Version.
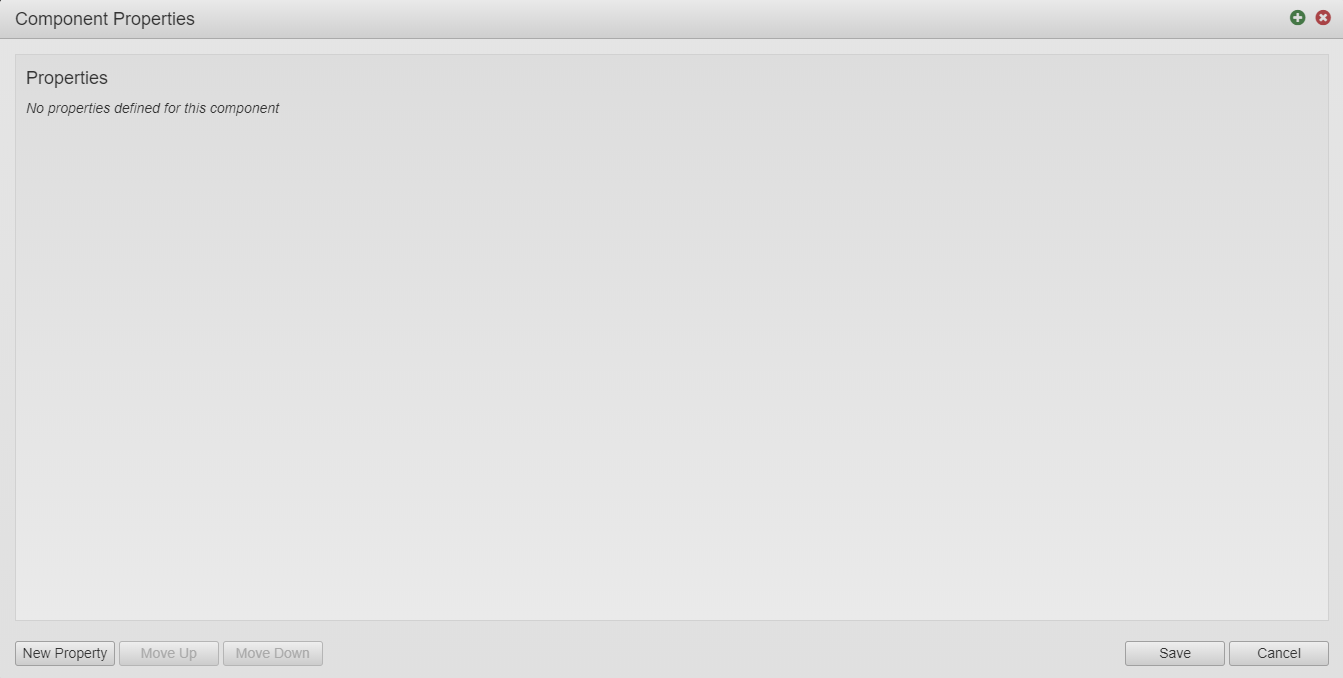
- Click Component Options and select Properties.
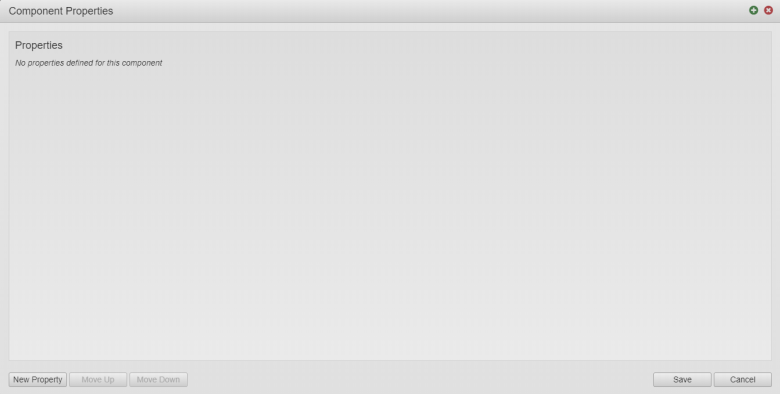
- Click New Property and enter details of a new property.

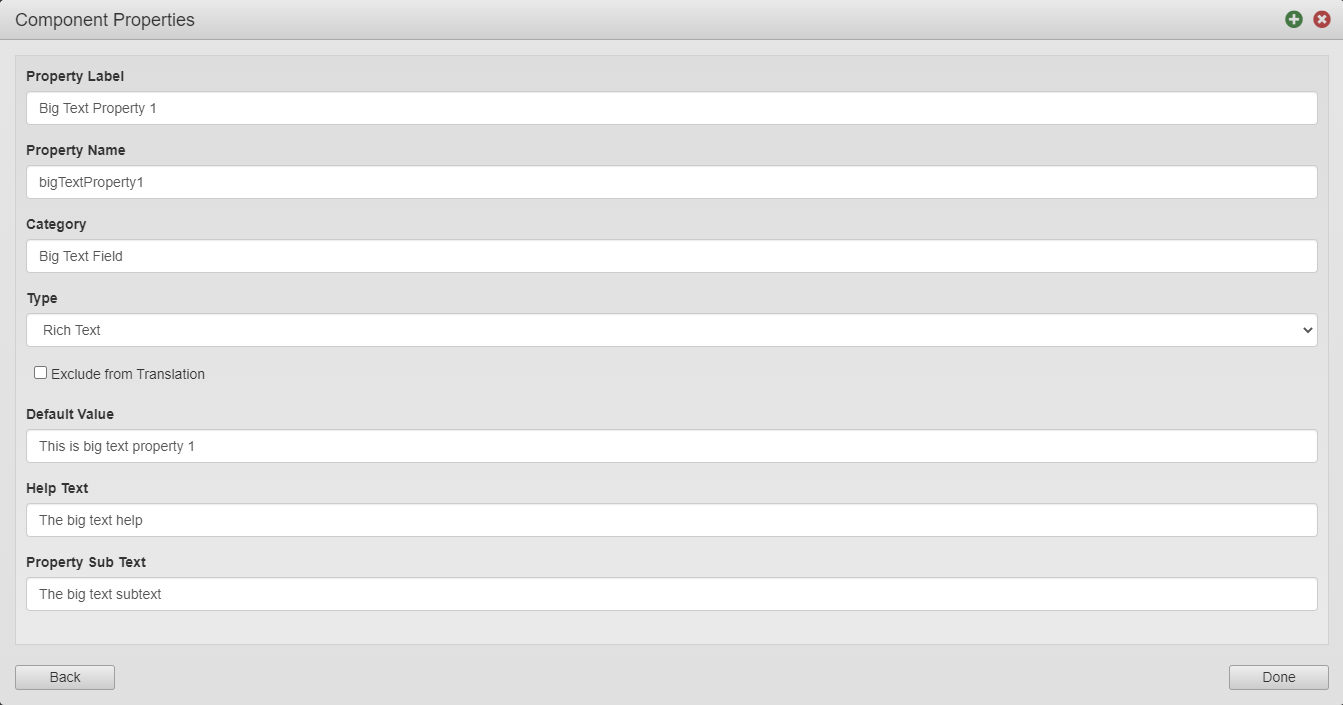
- Provide a property label in the Property Label field, which is visible in the component. This is the mandatory field.
- Edit a unique identifier of the property, which is automatically generated based on the label name, in the Property Name field.
- Enter a category of the property in the Category field, which is used to help identify the new property. Category examples are Options, Input Fields, Background services, and so on.
- Select a property type from the Type dropdown list, which can be one of the followings:
- Text
- Rich Text
- Help Text
- Integer
- Boolean
- Date
- Icon
- Image
- Color
- URL
- Option
- Option List
- Field Ref
- Field Ref Map
Note Depending on the selected type, some additional property parameters are displayed.
- Select the Exclude from Translation checkbox to exclude this property from been translated during form rendering.
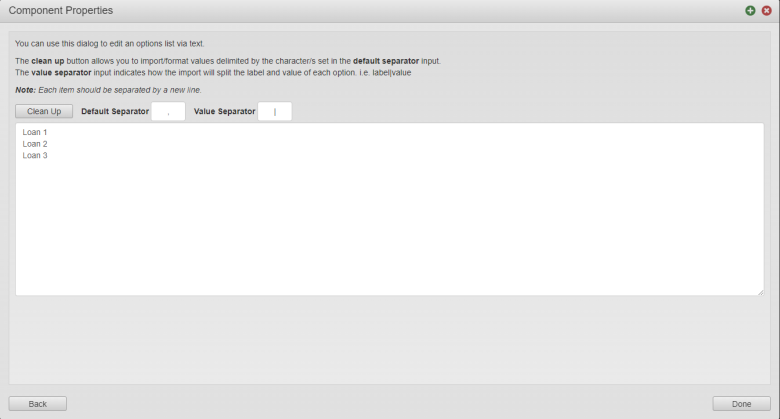
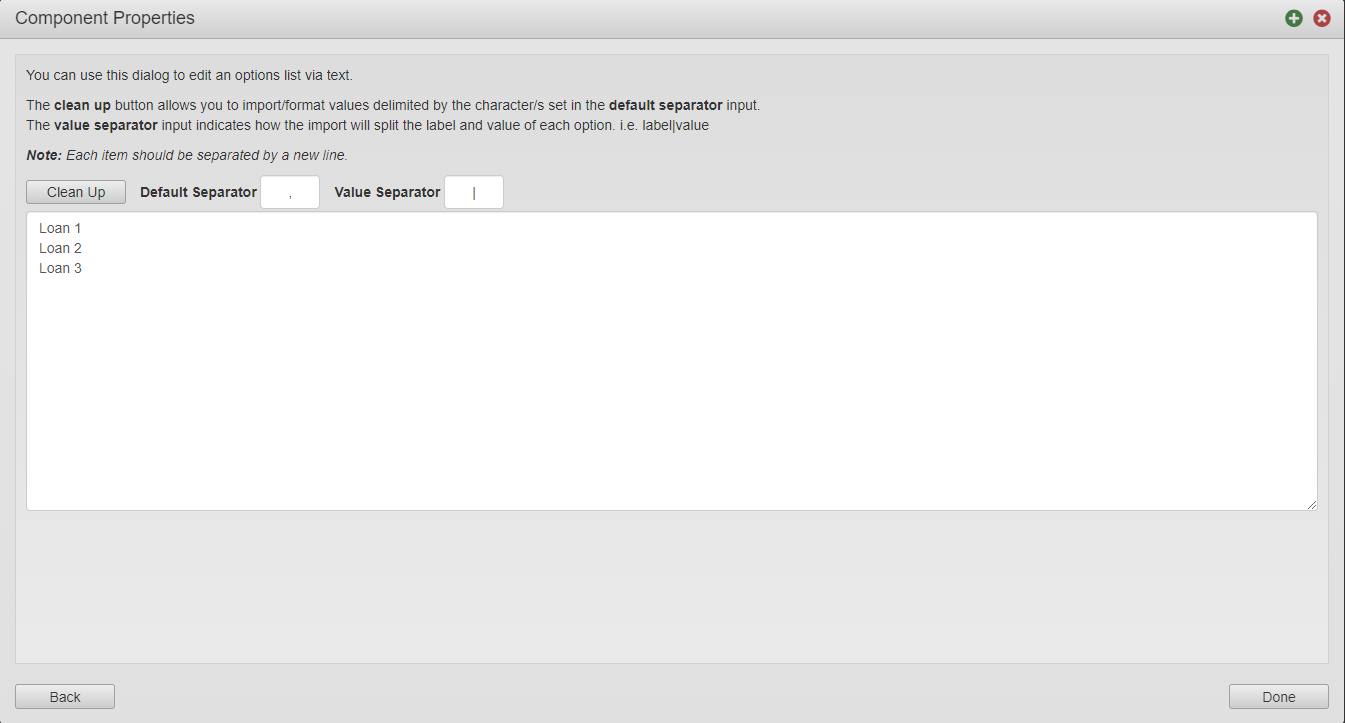
- Click Edit List Values to populate values of a property of the Option type.
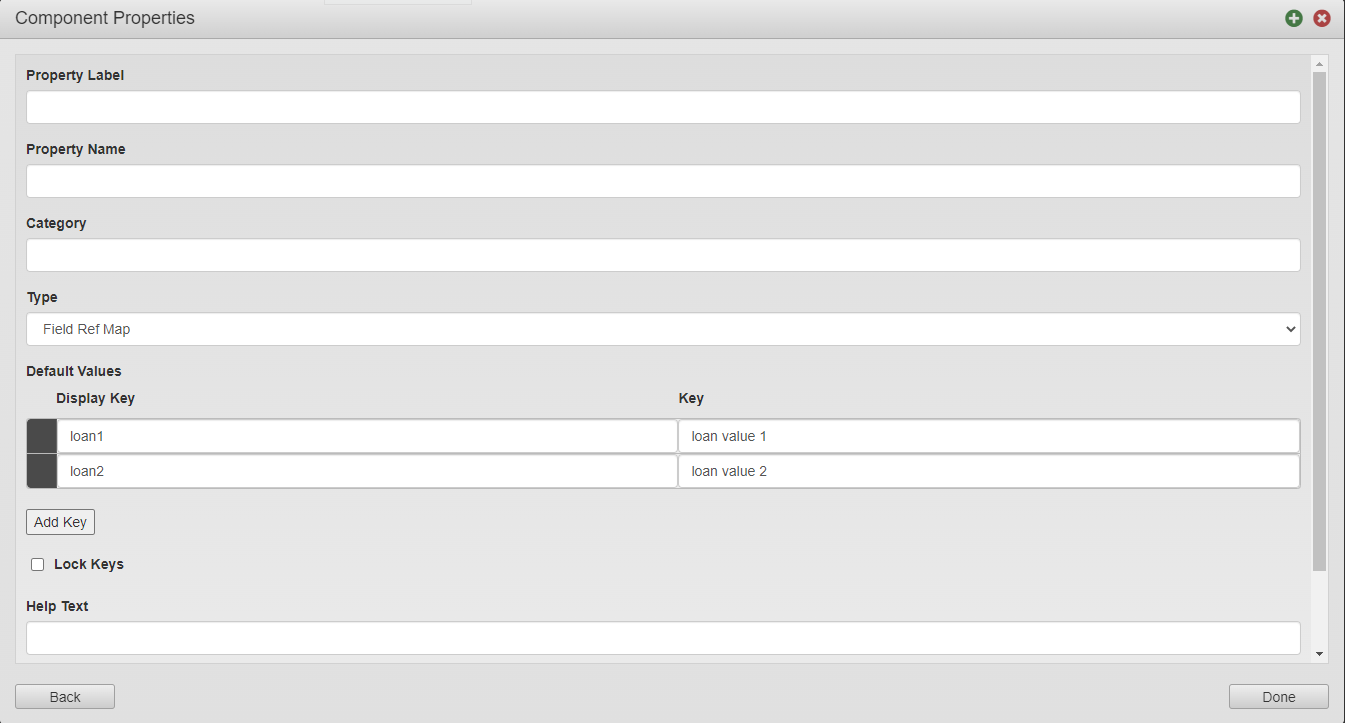
- Specify the Display Key and Key pairs for
a property of the Field Ref Map type.
Click Add Key to create more pairs. Select the Lock Keys checkbox to lock the key pairs.

- Provide a default value assigned to the property at he initialization in the Default Value field.
- Provide a text, which is displayed when a cursor hovers over the component, in the Help Text field.
- Provide a subtext text in the Property Sub Text field.
- Click Done to create the property.
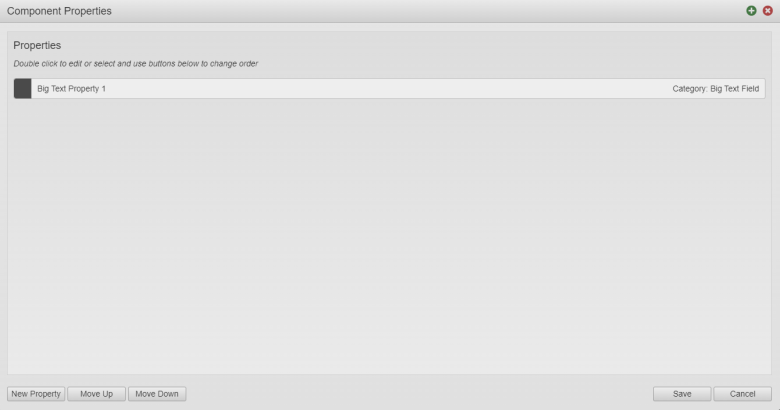
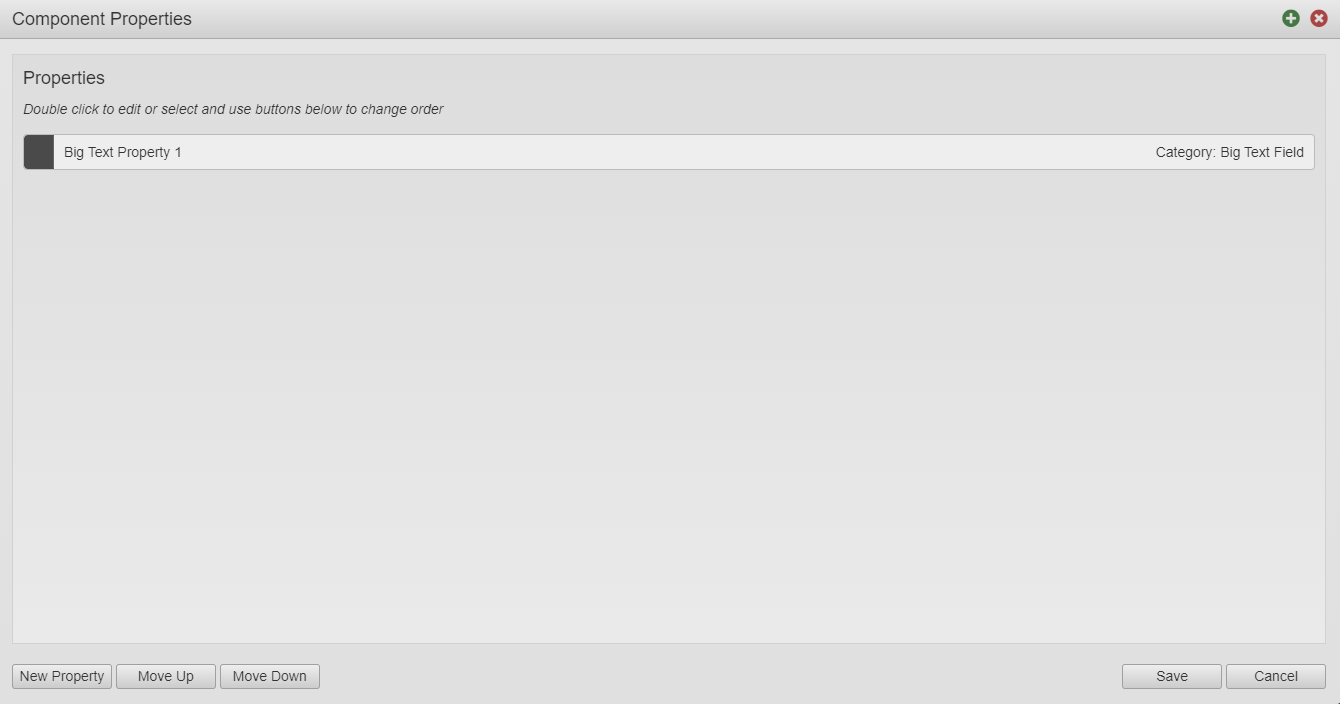
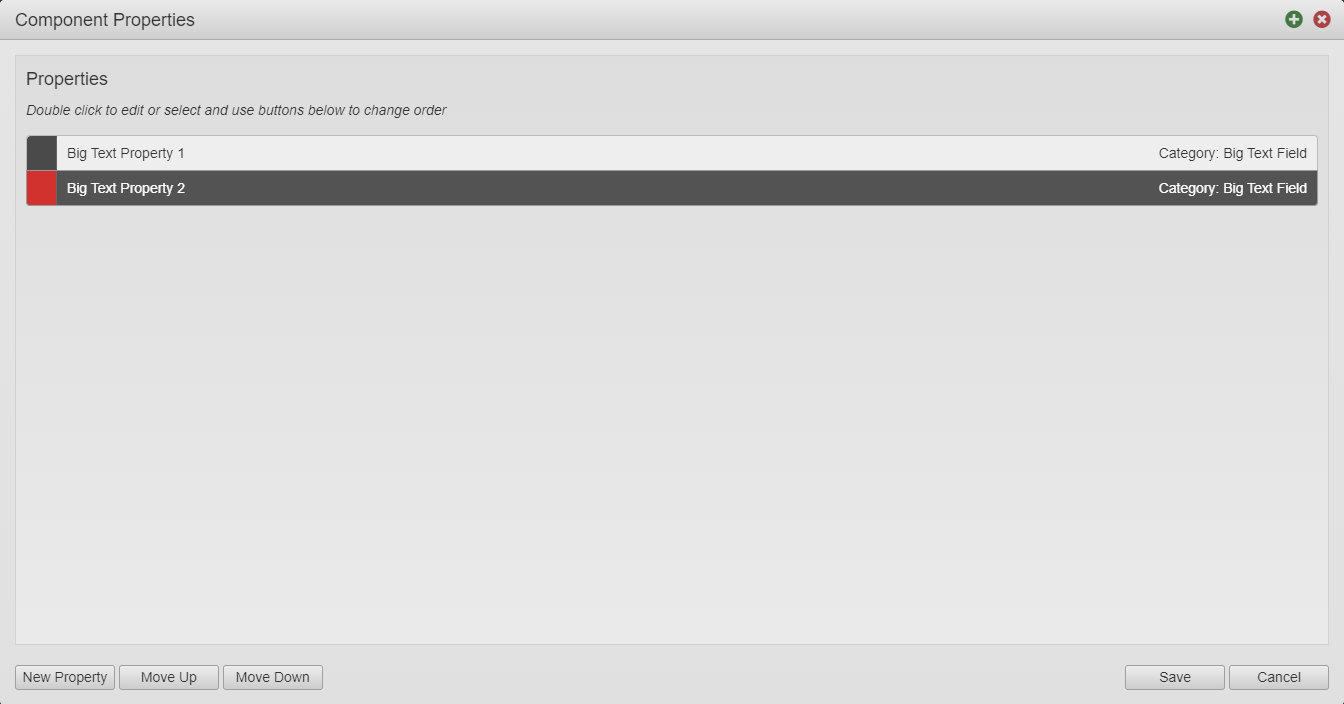
- Check the property in the Component Properties window. You can also create another property if needed.
- Click Save to create the property.
- Click Publish to make the new property available to other forms or templates.
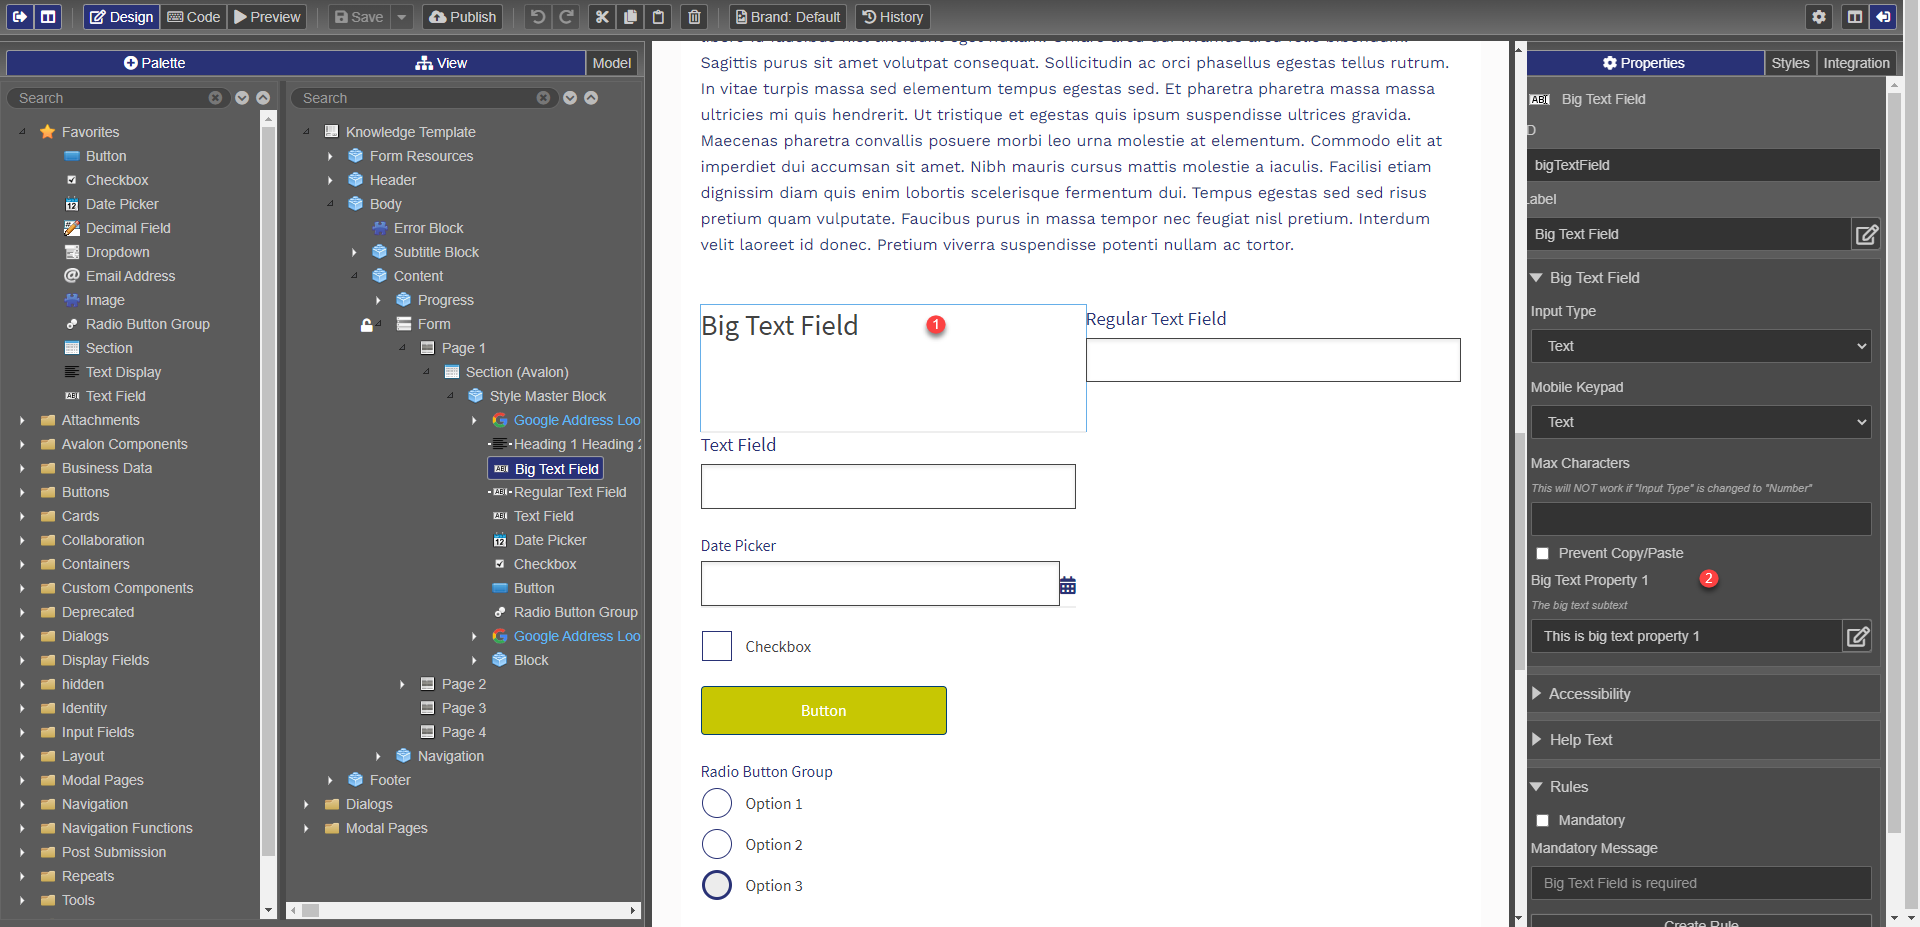
Now, you can publish the component to make the new property available to other forms or templates. Then, open a form or a template, which uses this shared component, and you can start using the new property. This is illustrated below:
Update Properties
You can update an existing property anytime you need it
To Update a property using Component Options:
- Click Component Options and select Properties.
- Double click a property to edit it.
- Click Move Up to move the selected property up in the list.
- Click Move Down to move the selected property down in the list.
- Click Save.
Remove Properties
Maestro allows you to delete properties that you no longer need.
To remove the property using Component Options:
- Select a property.
- Click the red square to delete the property.

- Click Save.
Next, learn how to add rule templates.