Create a Shared Style
MaestroThe UI design product. | Form Builder | All versions This feature is related to all versions.
Maestro allows you to create shared styles that can then be used to attach visual attributes to one or more components. Out of the box, Maestro's templates provide their own range of shared styles. You can, however, create custom shared styles. You can think of a shared style as a place for grouping of CSS logically.
There are two ways to create a shared style:
- Create a new shared style and then apply it to a component
- Update the Item Style of a component and then save as a new shared style
To create a shared style:
- Open a design in the Maestro editor.
- Select a component and click the Styles tab to view available shared styles. For more information, see the Styles pane.
- Expand the Item Appearance - Container pane.

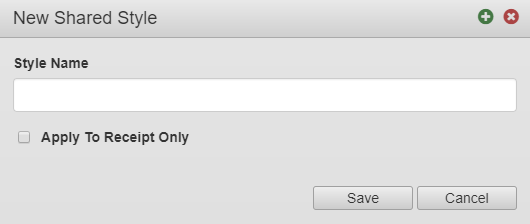
- Click New Shared Style.
Note This button is only visible when the Item Style is selected and the Item Style has not been edited via the GUI.
- Enter a name for the style in the Style Name field.

- Select the Apply To Receipt Only checkbox to apply the style only when the component is rendered as a receipt. This is optional.
Note You can change this option after the style has been created.
- Click Save.
The new style will appear under the Selected Style heading.
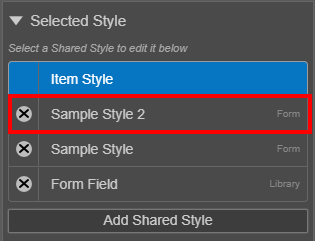


The new style is not selected by default. Make sure you always check the selected style before applying any style changes.
Next, learn how to make a shared style available.