Form Property Prefill Mapping Using XPath
Journey Manager (JM) The transaction engine for the platform. | Platform Developer | 18.11 This feature was updated in 18.11.
Manager allows you to map various properties of a form to their possible values using XPathsXPath (XML Path Language) is a query language for selecting nodes from an XML document. In addition, XPath may be used to compute values (e.g., strings, numbers, or Boolean values) from the content of an XML document. XPath was defined by the World Wide Web Consortium (W3C)., which is defined in a form seed file. This mapping will be used to prefill a form when it's requested by a form user.
To map prefill data elements:
- Select Forms > Forms.
- Locate a form and click Edit.
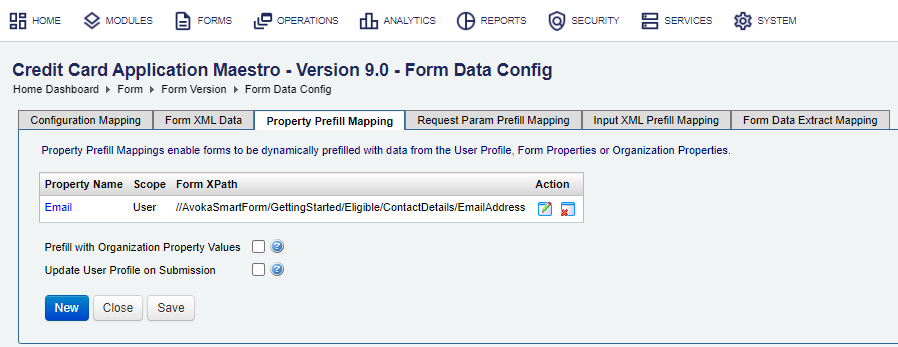
- Select a form version and click Edit Form Data Config.
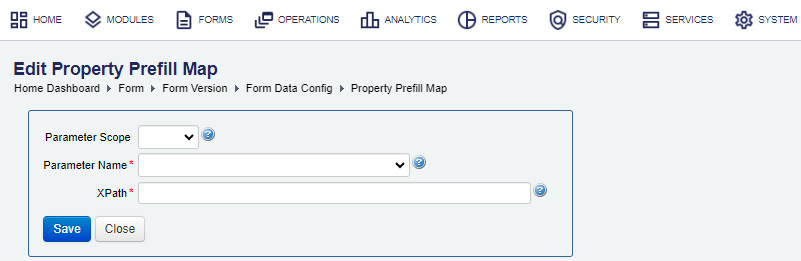
- Click the Property Prefill Mapping tab and click New to create a new mapping.

- Select a property scope from the Parameter Scope dropdown list that can be:
- Client: a property configured for an organization and its forms, so it obtains its value dynamically from an organization.
- Form: a property configured for form versions, so it obtains its value directly or dynamically from a form version. This property can override Client's scope property.
- User: a property configured for user profiles, so it obtains the value from a user’s profile of a logged user.
- Select a parameter name from the Parameter Name dropdown list, for example, Email.
- Enter a XPath to the valid XML element, for example,
//AvokaSmartForm/GettingStarted/Eligible/ContactDetails/EmailAddress. - Click Save to update the changes.
If the XPath value is invalid, the No XML element found for XPath: //EmailAddress error message is displayed, so you need to find the correct XPath to proceed. To do so, Select the Form XML Data tab to validate that the XPath is mapped correctly by checking the form XML structure as shown below:
<AvokaSmartForm> ... <GettingStarted> ... <Eligible> ... <ContactDetails> <EmailAddress> </EmailAddress> ... </ContactDetails> .... </AvokaSmartForm> - Check the created mapping.

- Click Close.
Next, go back to form property prefill mapping to finish the configuration.