Rich Text Editor
MaestroThe UI design product. | Form Builder | 22.04 This feature was updated in 22.04.
The Maestro editor comes with the rich text editor allowing you to directly apply custom HTML, styles, images and Font AwesomeFont Awesome is a font and icon toolkit based on CSS and Less., as well as use AngularJSAngularJS is a structural framework for dynamic web apps. It lets you use HTML as your template language and lets you extend HTML's syntax to express your application's components clearly and succinctly. AngularJS's data binding and dependency injection eliminate much of the code you would otherwise have to write. For more information, see http://angularjs.org/ expressions in some component's, such as a label, to derive the text from other fields in the form.
To edit text in the rich text editor:
- Open a form or a template in the Maestro editor and click the Design tab.
- Select a component and switch to the Properties tab.
- Click the property with a pencil icon, for example the label, to open the rich text editor.
Note The component's property must be enabled for the rich text content. Rich text is enabled for all labels, but you can also define component properties as rich text, for example section headings and the help text (popover) to name a few.
- Edit the text in the editor using rich formatting as required.
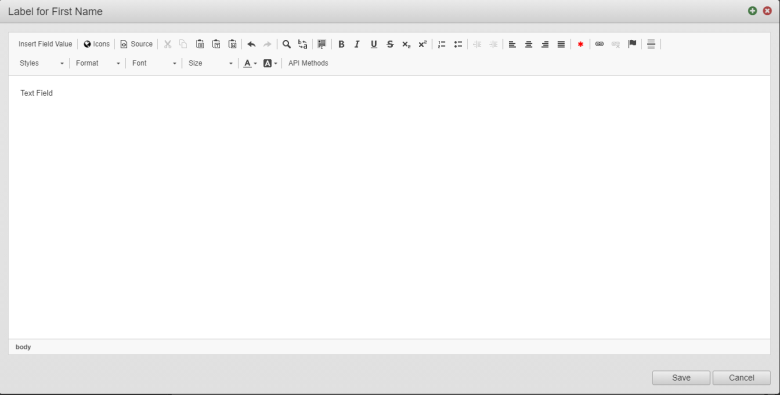
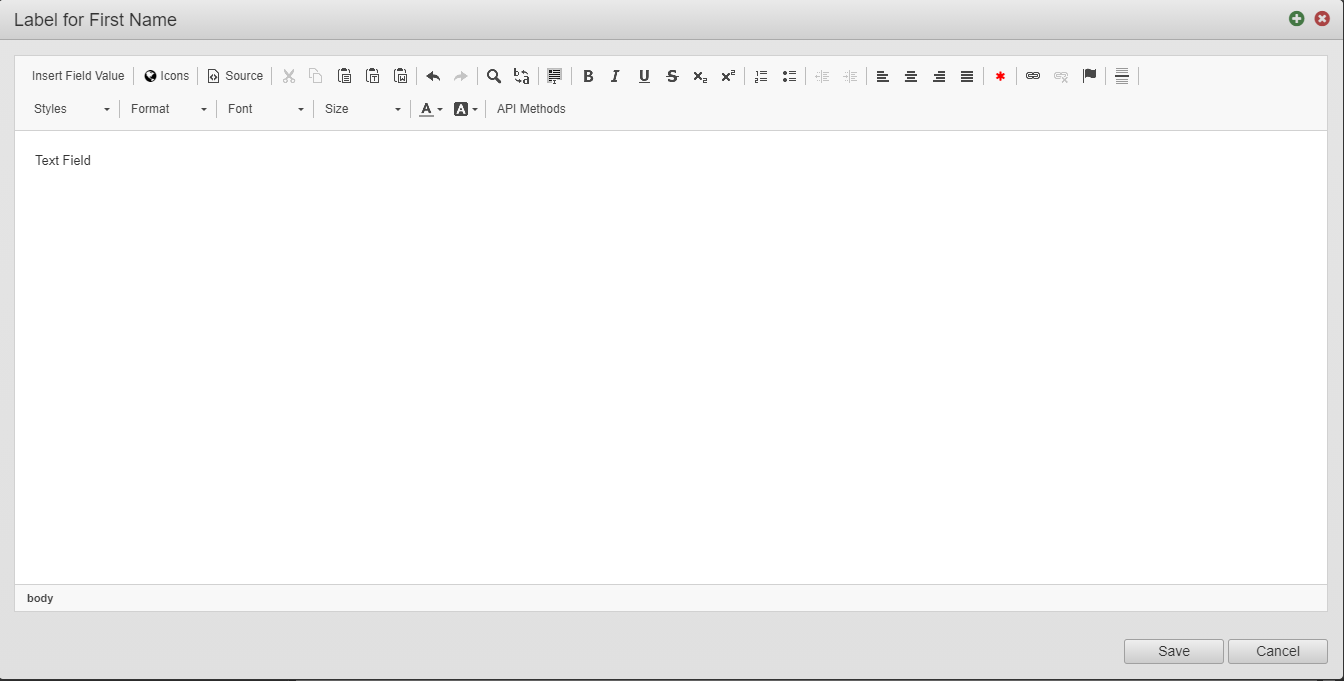
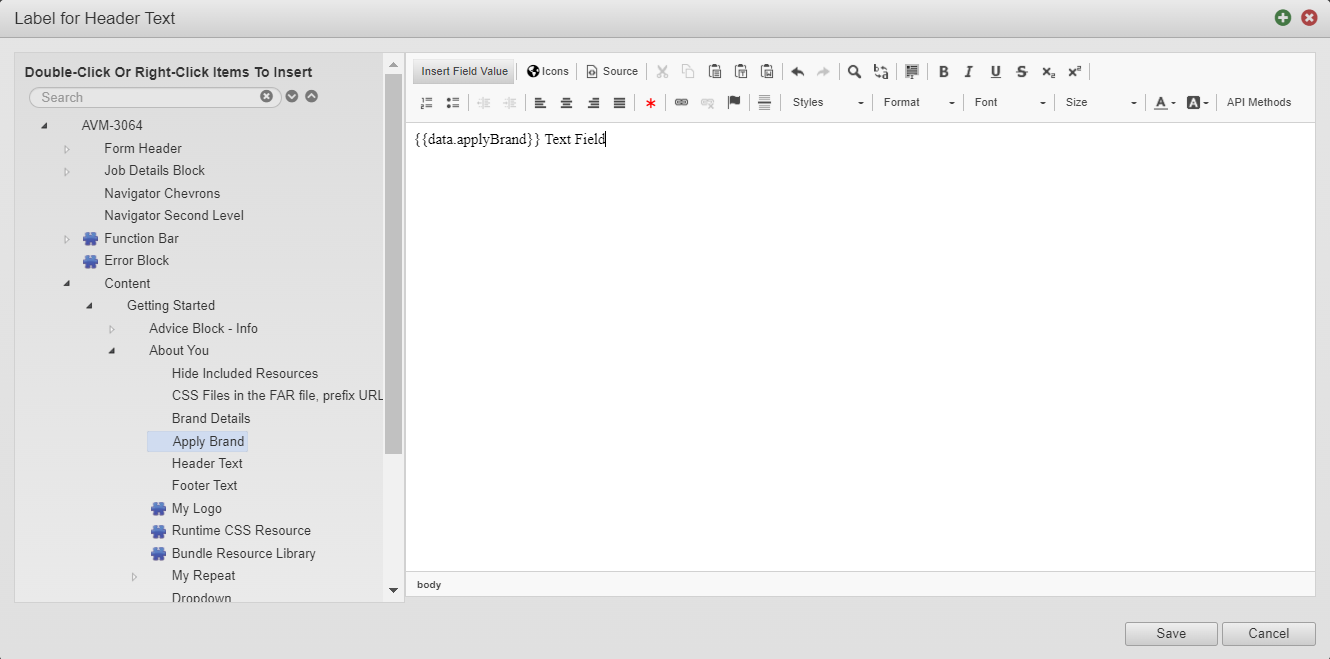
The editor provides a larger workspace for editing the properties, as compared to the label text area itself, and the editor has the following options:
- Insert Field Value
- Source
- Paste as Plain Text
- Paste from Word
- Find
- Replace
- Bold
- Italic
- Insert / Remove Numbered List
- Insert / Remove Bulleted List
- Decrease Indent
- Increase Indent
- Align Left
- Align Center
- Align Right
- Justify
- Mandatory Marker
- Link
- Unlink
- Format
- Font
- Size
- Text Color
- Background Color
- API Methods
- Click an HTML element displayed at the left bottom corner of the editor to highlight it in the editor. In this example, the HTML element is
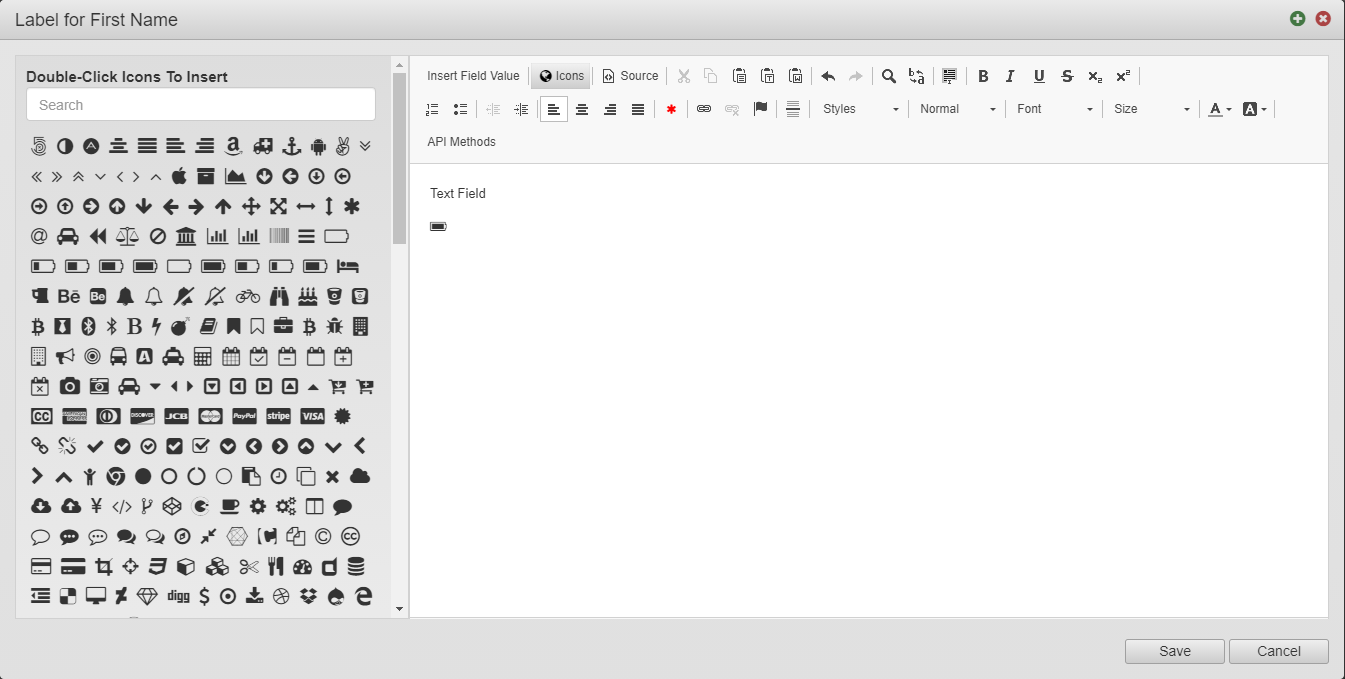
body. - Select the Icons tab to choose an icon using the Icon Picker from the list of available icons and double-click it to insert it into the property. | 21.05
This feature was introduced in 21.05.
Note You can also insert Font Awesome icons into a component using rich text properties using the HTML code, for example,
<i class="fa fa-camera-retro"></i>
- Select the Insert Field Value tab and double-click a property from the tree to reference its values in your property. This makes your property value change dynamically. This tree view displays the structure of the design, similar to the View pane. Click API Methods to open the JavaScript API Reference documentation for all available functions that you can use in your component. For more information, see dynamic labels.

- Select the Source tab to view and edit the rich text content as a source code. You may need to use this feature to create a content including special characters, such as
&. For example, if you want to have a label text as R & D, you should type it asR & DHTML source.Note You can't use any of rich text formatting in this mode.
- Click Save to save your changes.

Next, learn about Properties pane.