Form
MaestroThe UI design product. | Form Builder | 19.05 This feature was updated in 19.05.
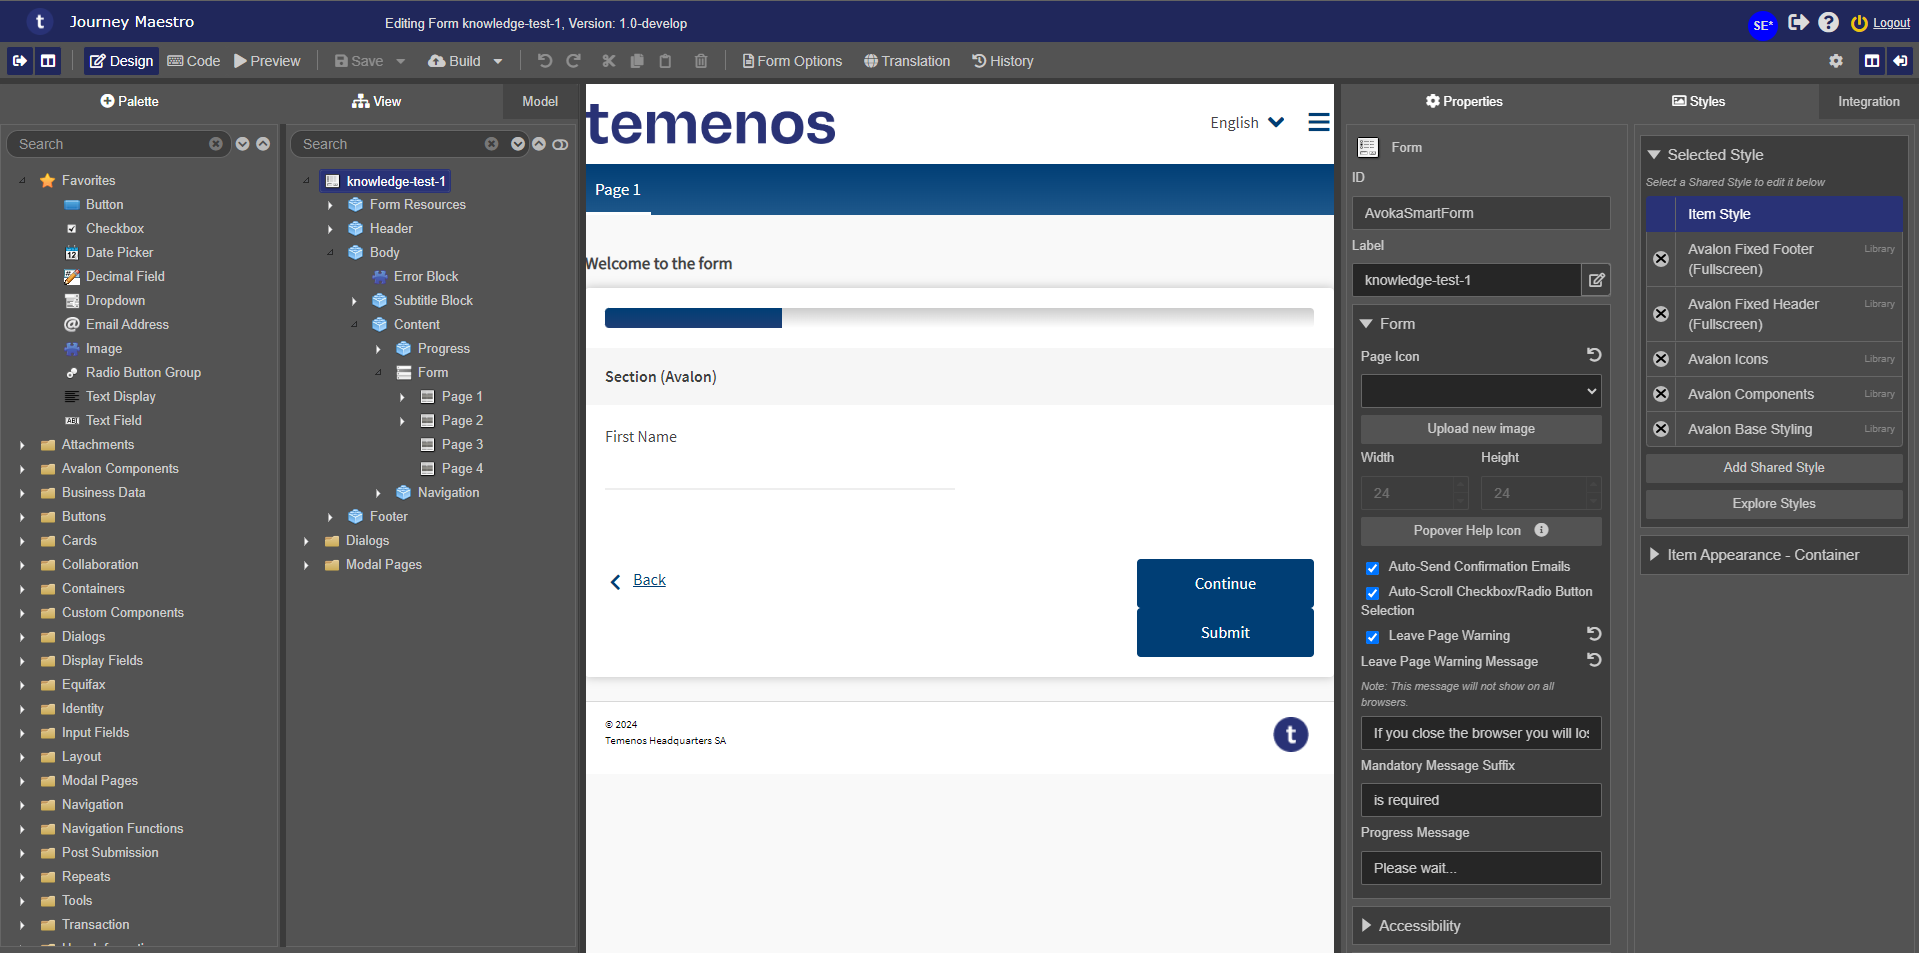
Maestro comes with the Form component, which is a foundation of any user form, and it's where you start building your form from.
Usage
- Open the Palette pane in the Maestro editor.
- Locate the Form component within the Transaction folder.
- Drag the component into the View pane or the Wireframe.

- Configure the component's properties via the Properties pane.
- Configure the Load rule to be executed when this form loads.
Properties
The following properties are available to the Form component:
The browser page / tab icon for this form
The icon used for popover help
This property will auto-send an email on submit and save to the contact email address
This property will enable auto-scroll to checkboxes/radio buttons to the middle of screen on selection
This property will prompt a confirm dialog if the user tries to leave the page.
This property will replace the default message for the leave page warning.
This text will be concatenated to the end of the label when a field is deemed mandatory.
This message will be used when Form.submit, Form.taskUrlNavigate and Form.postData methods are called.
Accessibility
If checked, the title will be updated with the current progress of the application.
This text will be concatenated to the end of link text and read out on focus to screen readers.
This will enable pinch-to-zoom on mobile devices. This is not normally needed with good responsive design, but some accessibility reviews require it.
Component
This field is only used when editing a component. If a JavaScript resource is selected it will be included as part of the component when it is published to the selected library.
Google Analytics
Tracks page load and navigation views. To use Google Analytics, configure the Page Tracking feature in Manager for this form. The built in Google Analytics events that the Maestro runtime framework fires checks this value and will trigger on a non-blank value and will use the Google Analytics configuration as defined in the Page Tracking feature.
Identifies form within site context. (Optional)
Transact Manager
This is the timeout between a form being successfully submitted and the form redirecting to the Session Expired page of the Manager Portal. If this value is blank the form will default to a value of 300 seconds. The Session Expired page can be modified within the Manager portal using Form.view.properties.sessionExpiryRedirectTimeout.
Performs an auto background save using the interval (In Seconds) entered, if set to blank it will never auto-save
Receipts | 19.05 This feature was introduced in 19.05.
Performs improved receipt pagination. The most important thing to know about page breaks in printed HTML is that once a print related directive fails, for example, setting a block to stay as a whole on a page goes over a page, all child fields will ignore page related directives. For example, setting page-break-inside to avoid on a section that goes over a page can cause fields to split over the page break with part of the text on one page and the rest on the next.
Adds page break in the debug CSS to a Maestro form that will show you the unbreakable parts of your form as well highlight areas that may be problematic. This greatly helps with debugging pagination issues, for example, when a generated receipt generation is split across the page break. The colors explanations are summarized in the table below.
| Border Color | Border Style | Explanation |
|---|---|---|
| Gray | Dashed | Hard coded CSS applied by Maestro to low level widgets. The only way to change this is by overriding the CSS. |
| Blue | Solid | Indicates that the row containing the field has been explicitly marked unbreakable by the user adding the pbu-avoid class. |
| Purple |
Solid |
Indicates that a page break will be forced at this point in the form. |
| Green | Dashed | Shows rows that are automatically marked as unbreakable by the default row level pagination JavaScript that makes lowest level rows automatically unbreakable. |
| Magenta | Solid | Highlights side by side content. This is potentially problematic content that will behave differently on Chrome or Puppeteer and PhantomJS. |
This timeout is used during rendering receipts in PhantomJSPhantomJS is a scripted, headless browser used for automating web page interaction. PhantomJS provides a JavaScript API enabling automated navigation, screenshots, user behavior and assertions making it a common tool used to run browser-based unit tests in a headless system like a continuous integration environment. PhantomJS is based on WebKit making it a similar browsing environment to Safari and Google Chrome (before Chrome's fork of WebKit evolved into Blink). It is open-source software released under the BSD License. to allow extra time after the form has loaded to allow all the form to fully initialize. There are various cases where this is needed and there is no single answer as to whether this is needed or what to use. If a receipt does not seem to be working as intended, try setting this value. Examples of cases where additional time may be required:
- External resources such as images are used
- Receipts with large numbers of repeats
- Large receipts may need additional time to fully initialize
Rules
Specifies rules for the form's events.
Layout
Specifies layout of the form.
Next, learn about the Submit component.