DocuSign Service Connection

   Journey Manager (JM) The transaction engine for the platform. |   System Manager / DevOps |  22.10This feature was updated in 22.10.

Manager allows you to create and configure a service connection to connect to DocuSignDocuSign is the leader in eSignature transaction management. The Temenos Journey Manager platform uses this solution to speed the rate at which all digital documents are completed, signed, and returned. using basic username and password authentication mechanism. Various services rely on this service connection to exchange contracts and sign documents electronically.

Note

DocuSign is in the process of retiring basic user password authentication which will no longer be supported after March 2023. For more information, see DocuSign API Basic User Password Authentication Retirement.

The DocuSign OAuth service connection replaces the DocuSign service connection, which uses basic username and password authentication.

However, you still can use the DocuSign service connection after March 2023 provided you will have configured it according to the new guidelines described below.

To configure a service connection:

  1. Select Services > Service Connections.
  2. Locate a DocuSign service connection or click New to create a new service connection.
  3. Provide a unique service connection name in the Name field.
  4. Select DocuSign type from the Type dropdown list.
  5. Enter one of the following DocuSign service's host names in the DocuSign Server URL field:  |  22.10This feature was updated in 22.10.
    • Development environment - account-d.docusign.com
    • Production environment - account.docusign.com
    Note

    Do not include the https:// prefix and trailing /

  6. Provide a username in the DocuSign Username field to log in on to the service.
  7. Provide a user password in the DocuSign Password field.
    Note

    The username and password must contain non-empty and valid values to enable the form to submit, but the values are ignored during user authentication.

  8. Confirm the password in the Confirm DocuSign Password field.
  9. Provide a User ID of your DocuSign account in the DocuSign Account Id.  |  22.10This feature was updated in 22.10.
    Note

    Do not use the user's Account ID anymore.

  10. Provide an integration key in the DocuSign Integration Key field. This key, also known as an API key, is a unique GUIDA GUID (global unique identifier) is a term for a number that its programming generates to create a unique identity for an entity such as a Word document. GUIDs are widely used in Microsoft products to identify interfaces, replica sets, records, and other objects. used to identify your API integration with DocuSign.
  11. Click Choose File to upload a RSARSA is a public-key cryptosystem that is widely used for secure data transmission. private key file, which you obtain from the DocuSign App page.  |  22.10This feature was updated in 22.10.
  12. Click Save to update the changes.

After the service connection is configured, you must manually grant one-time consent to your DocuSign API user.

To grant one-time consent:

  1. Populate your DocuSign Integration Key value into one of the following URLs:
    • Development environment - https://account-d.docusign.com/oauth/auth?response_type=code&scope=signature+impersonation&client_id=<Integration Key>&redirect_uri=https://httpbin.org/get
    • Production environment - https://account.docusign.com/oauth/auth?response_type=code&scope=signature+impersonation&client_id=<Integration Key>&redirect_uri=https://httpbin.org/get
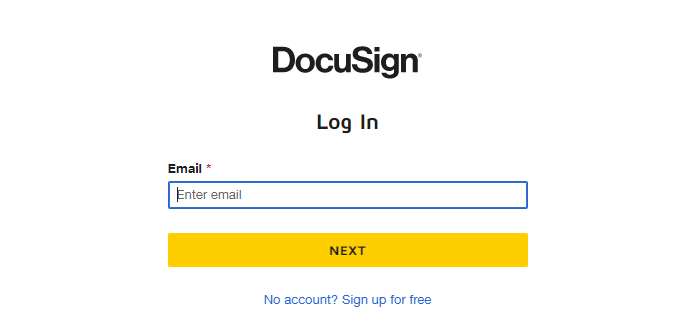
  2. Copy the URL and paste it in a browser to grant OAuth authentication access to a configured DocuSign API user permanently. You will be redirected to the DocuSign log in page to enter the user's email address and password to authenticate. You have to do this only once after the DocuSign API user is created or changed.
    Note

    You must configure the valid DocuSign Integration Key for the link to work correctly.

    Manager DocuSign grand consent web log in page
    After you log in successfully, the user is granted OAuth access. The next page shows some information regarding the authentication access, so you can check it was successful, but no further actions are required from you.
    Note

    Success is indicated by redirecting to a page at httpbin.org, which shows HTTP request details. You can ignore it and close the tab.

Next, learn more about DocuSign integration.