Report Configurations
Journey Manager (JM) The transaction engine for the platform. | System Manager / DevOps | 19.05 This feature was removed in 19.05
Manager, prior to version 19.05, allows you to view, create and edit reports.
You can try using the standard Job Licensing and Transaction Licensing reports before creating your own.
To view report configurations, select Reports > Report Configurations.
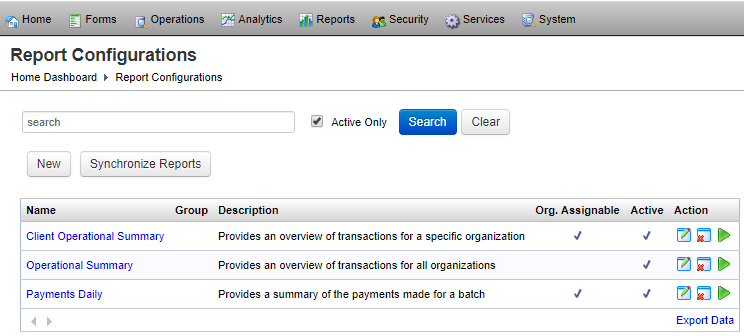
To filter reports by one or more criteria, specify the following settings and click Filter:
- A report name or part of the name
- Active Only
Click Clear to reset the search criteria.
Click Export Data to export the displayed data as a Microsoft Excel (XLS) file.
To configure a report:
- Select Reports > Report Configurations.
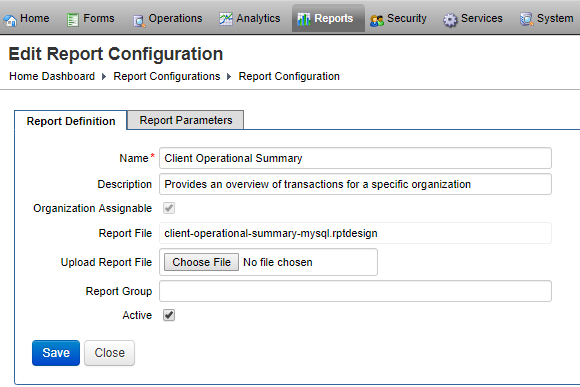
- Locate a report and click Edit or click New to create a new report.
- Edit the report name in the Name field.
- Provide a report description in the Description field.
- Select the Organization Assignable checkbox to make the report available to individual organizations.
- Click Choose File to upload a report file.
- Specify the Report Group.
- Select the Active checkbox to make it the active report.
- Click Save to update the changes.
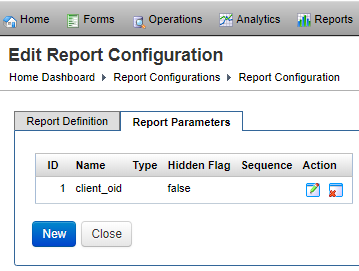
- Select the Report Parameters tab to create or configure report parameters.
- Locate a parameter and click Edit or click New to create a new parameter.
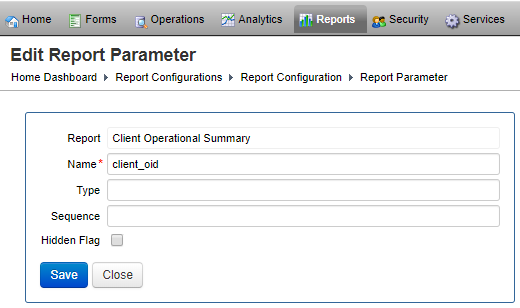
- Edit the parameter name in the Name field.
- Provide the parameter type in the Type field.
- Update the sequence number in the Sequence field.
- Select the Hidden Flag checkbox to make it hidden.
- Click Save to update the changes.
To remove a report:
- Select Reports > Report Configurations.
- Locate a report and click Remove Report to delete a report.
Click Synchronize Report to synchronize reports.
Click View the Report Using the Report Viewer to see the rendered report.
Next, learn about system report schedules.