Setting up Security Questions with Multiple Components in the Save Confirm Dialog
MaestroThe UI design product. | Form Builder | All versions This feature is related to all versions.
Setting up multiple save challenge security questions in the Save Confirm Dialog is almost identical to setting up a single security question Save Challenge.
To set up multiple security questions in the Save Confirm Dialog, follow the steps below:
- Expand Dialogs.
- Select Save Confirm >Save Confirm Content > Save Your Form > Security Question.
- Add multiple components to the security question section within the Dialogs section (for example, you could add multiple text fields and use the labels as questions).
- Add a separate data field to the security question section (name the text field something similar to Save Combined). This data field will be the hidden field that will collect the answers to all the security questions. The screenshot below displays the tree once the data field and text fields have been added.
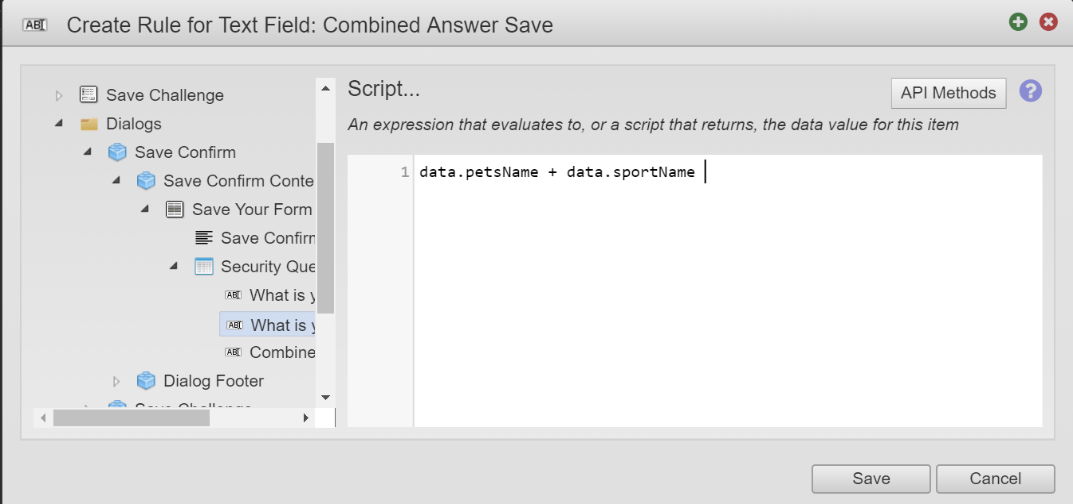
- Create a calculation rule on this data field to concatenate the answers to the questions.
- Select the data field Component.
- Navigate to the Properties tab and scroll down to Rules.
- Select Rules.
- Click Create Rule.
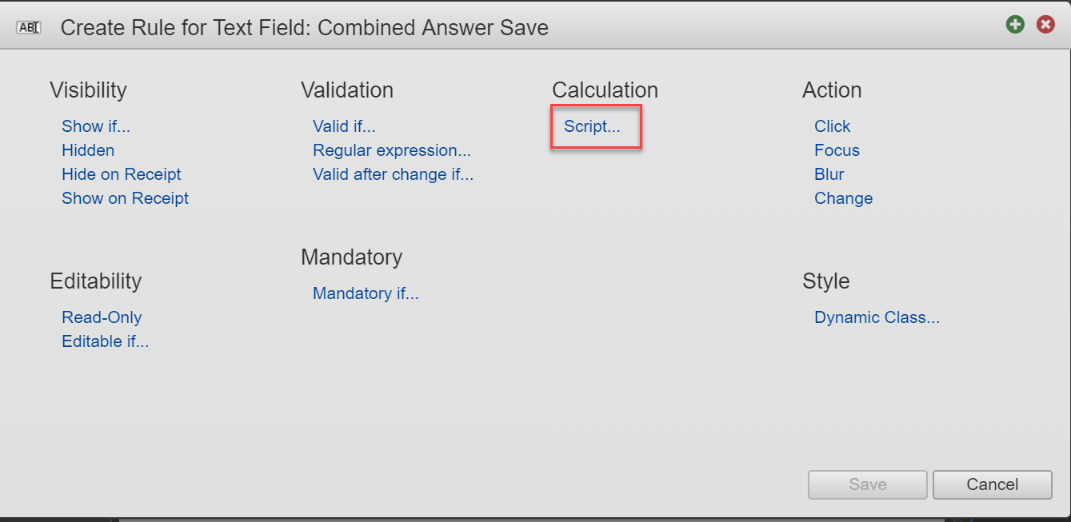
- Select Script... from the Calculation rules List.
- Create a concatenation calculation script by double-clicking the first security question and adding an additional (plus) sign
 and then double-clicking the second security question (this process will vary depending on the number of security questions that you implement). The example below displays the concatenation rule.
 - Click Save.
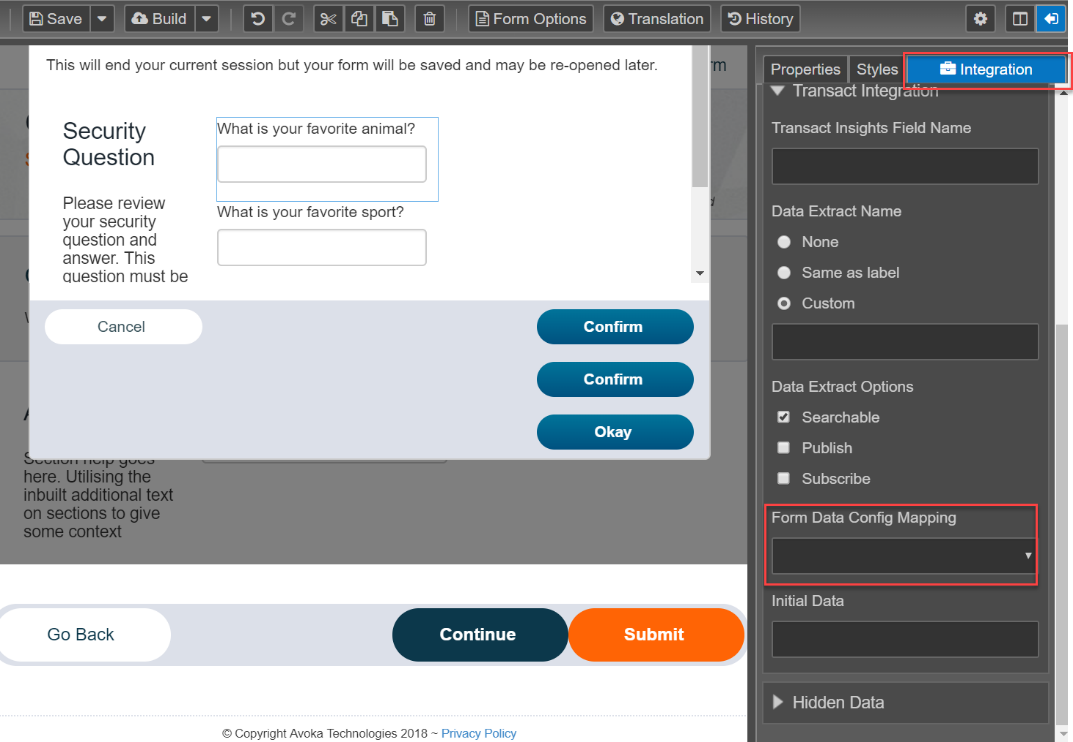
- Map the data field as the Save Challenge (by following the steps below). Mapping the data field ensures that Manager knows what to search and compare when a form user answers each question.
- From the Data pane, expand Transact Integration.
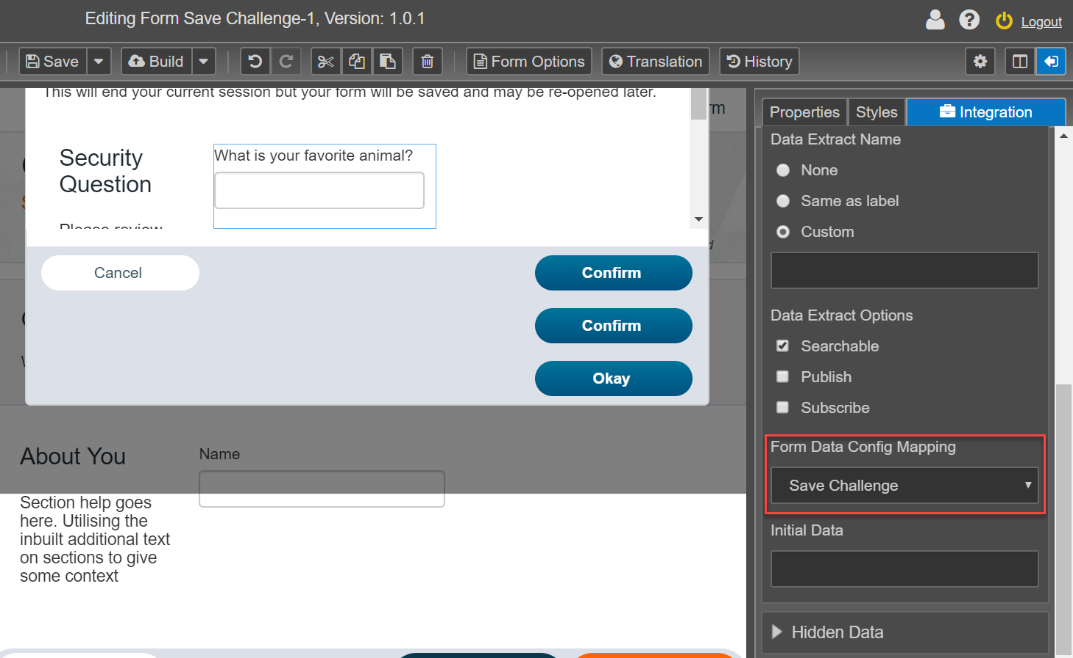
- Select Save Challenge from the Form Data Config Mapping dropdown menu.
- Once you have mapped the data field to be the Save Challenge, ensure that the Include in Submission Data checkbox has been checked. This checkbox is found on the Integration tab.
- Once you have mapped the data field as the Save Challenge, you can move on to configuring the Save Challenge Dialog.