Two Level Navigation Exercise v5.1
PlatformApplicable to all products in Temenos Journey Manager. | Form Builder | All versions This feature is related to v5.1 and higher.
This exercise will allow you to practice your skills for working with two level navigation. During this exercise you will create page groups, which will allow you to use two level navigation within your form.
Do your best to follow the provided information and complete each step.
If you get stuck, you can always re-watch any of the online training modules. This is a good way to refresh your form building skills. You’ll also find Extra Help at the end of this exercise, which contains additional information to help you complete the exercise.
You can find a sample of the completed exercise form in the Maestro Exercise Project: Maestro Training Exercises v5.1 > Two Level Navigation Finish. If you have not already imported the Maestro Exercise Project please visit Exercise Setup - Importing the Maestro Exercise Files for more information.
Step 1 Open Two-Level Navigation Begin
- Expand the Organization.
- Expand the Project.
- Select Forms.
- Double-click Two Level Navigation Begin.
- Click Edit Version to open the form
Step 2 Add Page Groups to the Form
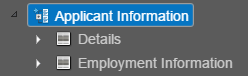
Add Page Groups to the form, then move the relevant pages into each group. Your Structure panel should match the After image below.
| Before | After |
|---|---|
|
|
|


To add a Page Group, you need to drag the component from the Palette panel onto the Structure panel.
Page groups cannot be dragged directly onto a form or template.
Notice: some of the pages have been rearranged.
Click Save.
Step 3: Rename Pages
Rename the Pages added to each Page Group. Your Structure panel should match the image below.

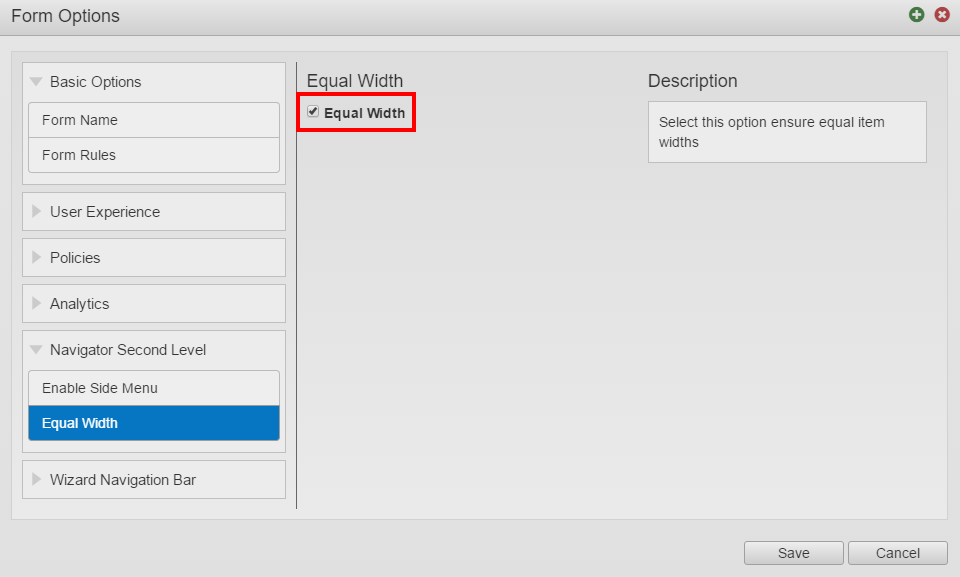
Step 4 Set Second Level Navigator to Equal Width
Change the width of the Pages on the second level navigator so that they are equal. Your second level navigator should match the image below.
| Before |
|---|
|
|
| After |
|
|


To change the width of the Second Level Navigator:
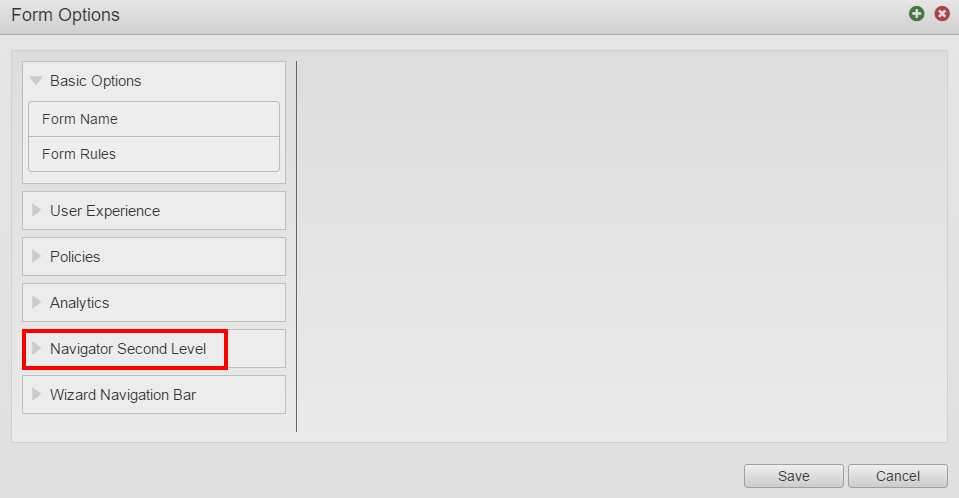
- Click Form Options.
- Select Navigator Second Level.
- Select Equal Width.
- Check Equal Width.
- Click Save.
Extra Help
Need some extra help?
Use the information below to assist you in completing the exercise steps.
Using a Page Group
Page Groups let you group pages together. Adding page groups automatically creates a two level navigation. Each page group is displayed on the first level navigator and any pages in the page group are displayed on the second level navigator.
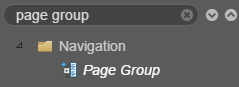
Use Search to find the Page Groups.
Drag the component onto the Structure panel.
Use the Properties panel to rename the page group.
The Page Group label is automatically used for the first level navigator. If you want the label and menu text different, change the menu text in the Options section on the Properties panel.

In the Structure panel, drag the pages you want grouped onto the page group component.
Set the Second Level Navigator to equal widths
By default, the width of Second Level Navigator menu items is determined by the length of the menu text. You can change this, so each menu item takes up the same width.
Click the Form Options button (towards the top of the Design window).

Expand Navigator Second Level.
Select Equal Width.

Check Equal Width, then click Save.