Exercise Setup - Importing the Maestro v5.1 Exercise Files
PlatformApplicable to all products in Temenos Journey Manager. | Platform Developer | Form Builder | All versions This feature is related to v5.1 and higher.
This guide explains how to import the Maestro exercise files as a Maestro project. This project contains all the required forms, templates, components and styles needed to complete the exercises.
You can also access a training module on the Avoka LMS that explains how to import and export in Maestro. You may want to view this module before importing the exercise project.
Step 1: Identify the Training Environment
- Identify which of the following best describes the Training Environment you will use to complete the Maestro 5.1 training.
| Training Environment | Uses Maestro version | Download… | Import Type |
|---|---|---|---|
|
elearning.avoka.com |
17.10 or later |
Import Project |
|
|
Your company |
17.10 or later |
Import Project |
|
|
Your company |
5.1.x or earlier |
Import Project |
+ Version 2017.06.16: was exported from Maestro 5.1.x environment
+ Version 2018.03.08: was exported from Maestro 17.10 (or later)
Step 2: Download the Exercise Project
The file to be downloaded is a zipped folder that contains the Maestro training exercise project.
- Click on the required download link above to download the Exercise Project to your PC.
- Leave this file in the Downloads folder or move it to a different location. Just remember, you’ll need to navigate to this file in the next step to import it into Maestro.
Step 3 Import the Exercise Project
Once you’ve selected the Organization, you can import a project into Maestro.
- Login to Maestro.
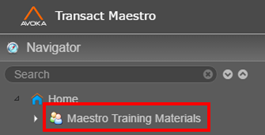
- Expand Home (in the Navigator panel).
- Click on your Organization.
- Click Import Project to import the Maestro Project.
- Enter Maestro Online Training Exercises for the name of the project you’re importing.
- Click Import.
- Navigate to and select the Maestro Exercise Project zipped folder you downloaded.
- Click Open.
Result
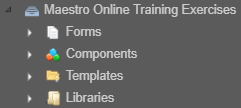
After importing the project you’ll have access to the exercise forms, templates and components.
Optional Step 4 Importing Legacy Projects
Maestro offers an additional import option for projects created and exported from legacy (or previous) versions of Maestro.
A project is considered Legacy if it was created and exported from any version of Maestro prior to v17.10. The option to Import Legacy Projects is only available to Maestro users assigned the Maestro Site Administrator Role. If you need to import a legacy project, speak to your Maestro account manager.
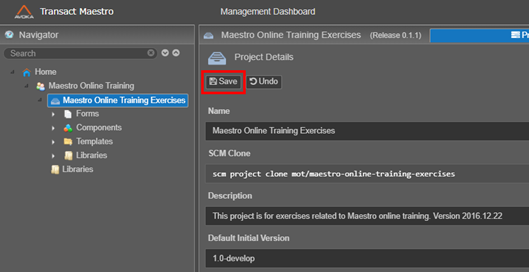
Step 5 Update Release Version
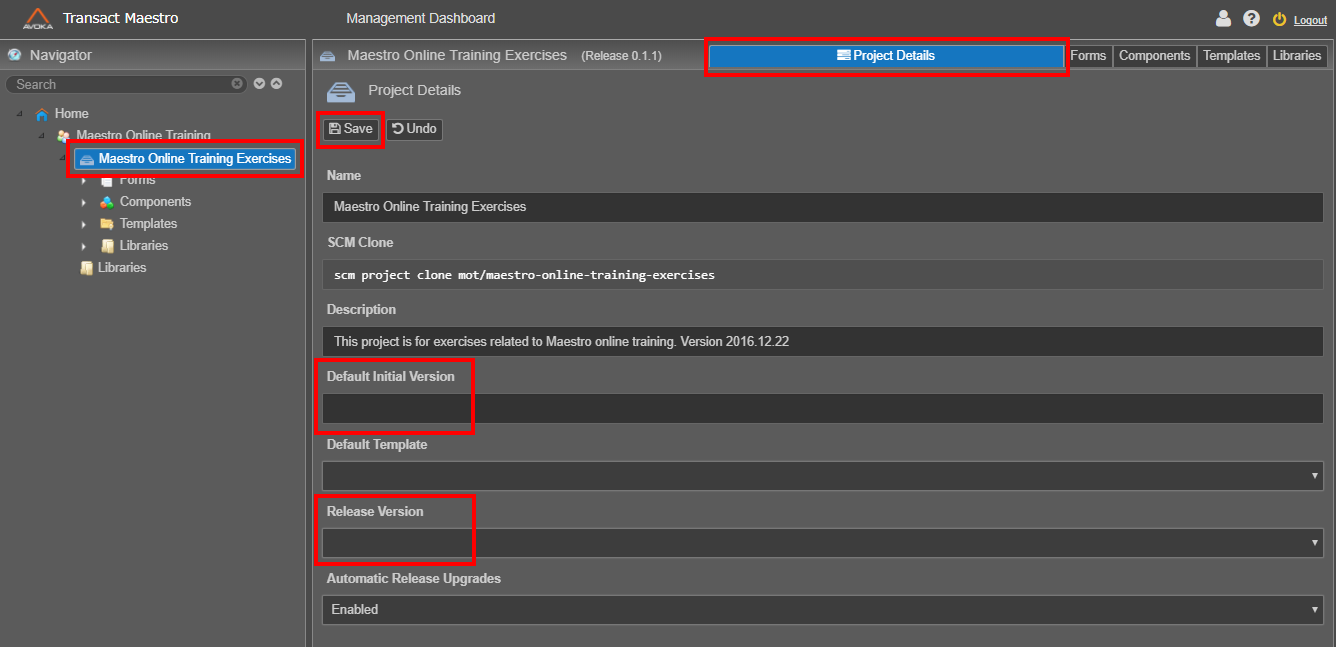
Once you’ve imported the Exercise Project, you may need to update the Default Initial Version and assign a Release Version (if required) in the Project Details.
Assigning the Release Version associates the version of Maestro used to access the forms in your imported Maestro project.
1. Select the imported project in the Navigator panel.
2. Click the Project Details tab.
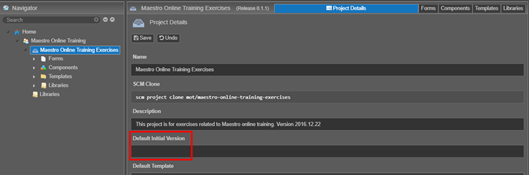
3. Enter 1.0-develop for the Default Initial Version.
For more information on the Default Initial Version see Form Versions.
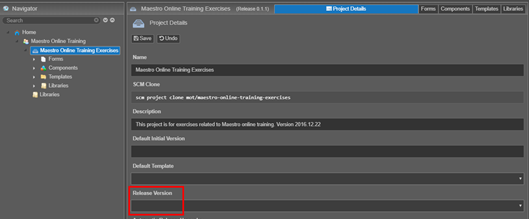
4. Select 5.1.4 (or the latest available version beginning 5.1.x) for the Release Version.
Release Versions for Maestro Projects prior to v5.1 (i.e. v5.0) were named using a 1.x.x naming convention. For Maestro 5.1 projects, the Release Version followed a 5.x.x. naming convention. Starting with the v17.10 release, all Release Versions are based on a Year.Month naming convention, e.g. 17.10 = 2017 October.
5. Click Save.
The date a Maestro Project is exported can be found on the Project Details tab, in the Description Field (as long as it’s not been changed).
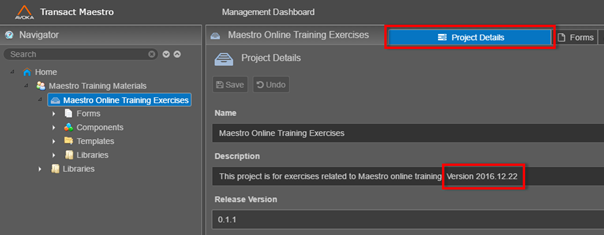
Any Maestro Projects exported prior to 2016.12.22 won’t display a date in the Description field.
Instead, the export date can be found at the end of the zipped folder filename:

Extra Help
Need some extra help?
Use the information below to assist you in completing the exercise steps.
Importing a Project
When you import a project, that includes all the resources and assets within the project, e.g. the forms, templates, components, styles, and libraries etc.
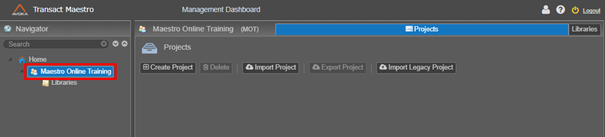
To import a project, you need to have the Maestro Organization selected first.
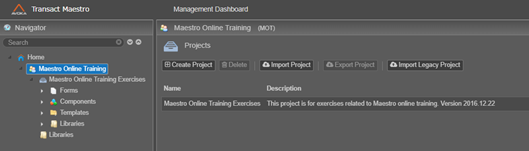
Once you login to Maestro, expand Home, then select the Organization in the Navigator panel (left side of the window).
Once you select the Organization, a list of all the projects displays on the right.
The Import Project button is situated just above the list.
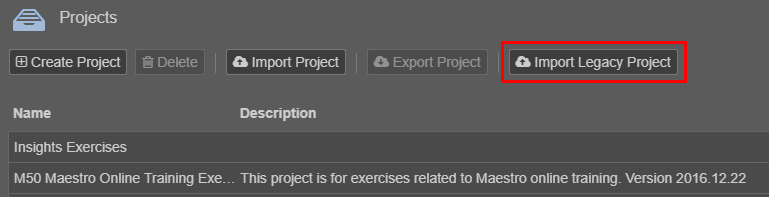
Use Import Legacy Project for Projects exported from Maestro 5.1.x or earlier.

In the dialog, you must enter a name for the new project - then click Import.
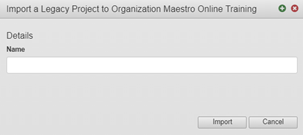
For example, we use Maestro Online Training Exercises for the name.
Click Import, then navigate to the required Maestro Exercise project.
Once selected you can click Open and the project will be imported to your Maestro Organization.
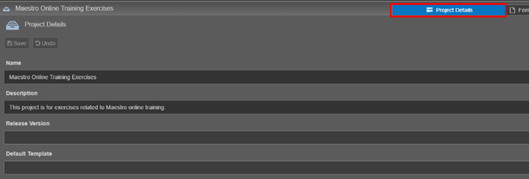
Select the project from the Navigator on the left side of the window.

Select the Project Details tab.
Enter a Default Initial Version.
Expand the Release Version dropdown and select the appropriate release version to apply to the project.
Click Save.