Receipt: View a receipt
WorkspacesThis topic relates to Journey Workspaces | Workspaces UserIncludes bank staff, helpdesk, relationship managers, and managers | This feature was introduced in the 18.11 releaseThis feature was updated in the 23.04 release
Many of the actions you perform in Workspaces rely upon you being able to see the information submitted by an applicant; for example, when you're reviewing an application to make a decision or responding to a customer inquiry. The Receipt action allows you to view a submitted application.
The Receipt action is available once an application has been submitted. If the application has been saved but not submitted, the View Form action is available instead.
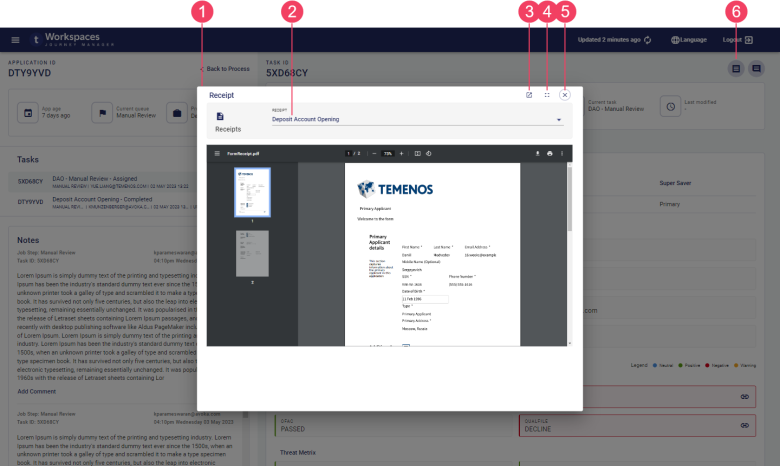
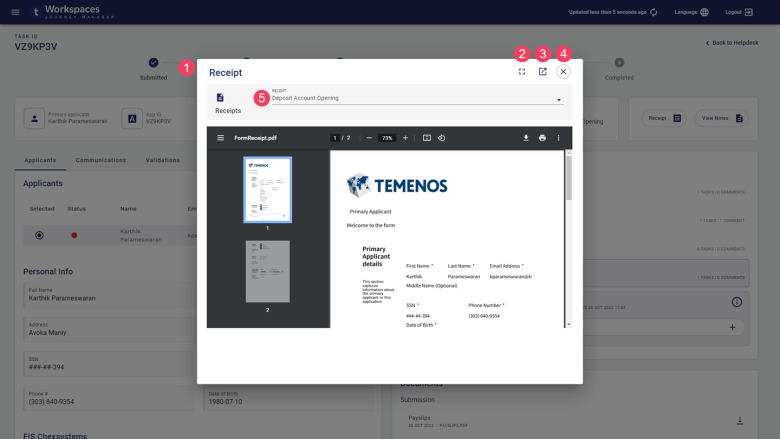
A receipt is a read-only view of information submitted by an applicant or other Workspaces user, and displayed in the same form used to capture that information. You can view a receipt from any space, and for any item (application or task) even if it's not assigned to you. Each task associated with an application may have a receipt. If there are multiple receipts for an application, you can view a specific receipt using the Receipt selector at the top of the modal window. Note that viewing a receipt does not allow you to change the application in any way.
When you select the Receipt action, the receipt for the selected task is displayed unless there isn’t a receipt associated with the task, in which case the most recent receipt is shown by default. However, if you're using Workspaces 22.04 or earlier, the most recent receipt is always displayed by default. | 22.10This feature was updated in 22.10.
To view a receipt from a List screen:
- Click the to open the , and select any space. The List screen is displayed.
- In the item list, locate an application or task that you want to view a receipt for and point your cursor at it. The available actions appear at the right-hand side.
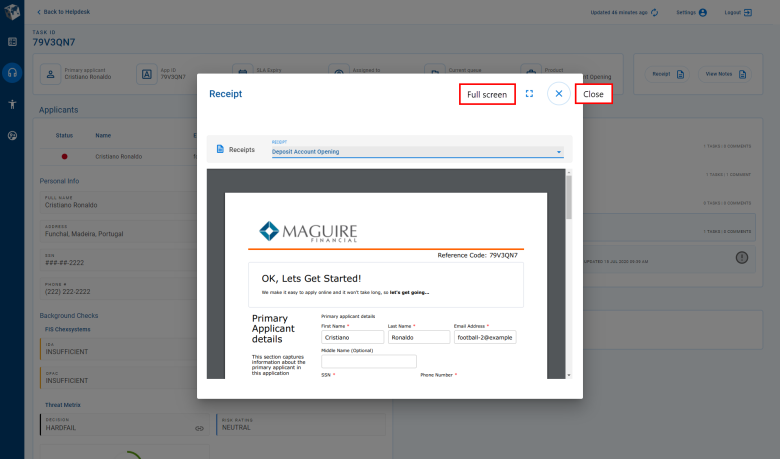
- Click . The Receipt modal window is displayed, showing the application information. Scroll bars and navigation tools are available, allowing you to access all of the receipt. If there are multiple receipts, you can use the Receiptselector to switch between receipts.
- When you're finished viewing the receipt, click in the top-right corner of the modal window to close it and return to the screen you started from.
To view a receipt from a Details screen:
- Click the to open the , and select any space. The List screen is displayed.
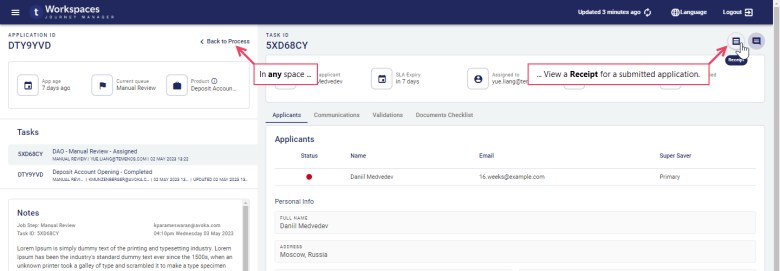
- In the item list, locate an application or task that you want to view a receipt for and select it. The Details screen for the selected item is displayed.
- On the Details screen, click .
The Receipt modal window is displayed, showing the application information.
Scroll bars and navigation tools are available, allowing you to access all of the receipt. If there are multiple receipts, you can use the Receiptselector to switch between receipts.
- When you're finished viewing the receipt, click in the top-right corner of the modal window to close it and return to the screen you started from.


