Prefill a Cascading Dropdown in Composer
Journey Manager (JM) The transaction engine for the platform. | Platform Developer | All versions This feature is related to all versions.
Manager allows you to update XML data that defines a cascading dropdown in a Composer form from the form properties defined within Manager.
To prefill a cascading dropdown:
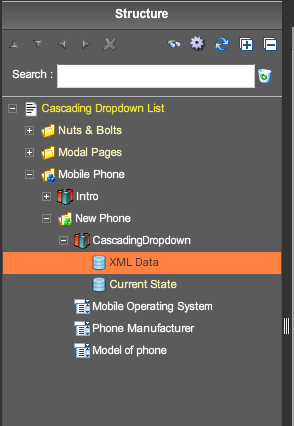
- Open the structure panel in Composer and navigate to the XML data element to adjust the setting for the XML data model bindings in the form before publishing it.
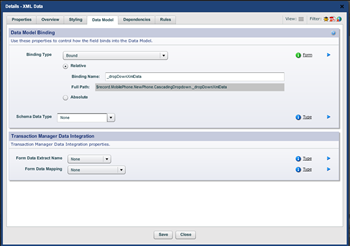
- Open the properties for the xml data. Navigate to the data model tab and change the binding type to Bound. Note the path as you may need it later.
- Publish the form to Manager.
- Navigate to your form in Transaction Manager and click on properties in the Form Versions block for the form you are making these changes to. Here we are going to add a new form property with some modified XML that will be used to update the form in Manager.
- Click new and fill in the Name and set the data type to String. A new field will become visible; this is where you add the modified xml that will be used to update the form. For this example, another manufacturer was added to the XML from the original example used.
<root> <os name="Android" value="Android"> <manufacturer name="HTC" value="HTC"> <model name="One" value="One"/> <model name="One X" value="One X"/> </manufacturer> <manufacturer name="Samsung" value="Samsung"> <model name="Galaxy S3" value="Galaxy S3"/> <model name="Galaxy Note 3" value="Galaxy Note 3"/> <model name="Galaxy S4" value="Galaxy S4"/> <model name="Galaxy Express" value="Galaxy Express"/> <model name="Galaxy XCover 2" value="Galaxy XCover 2"/> <model name="Galaxy Fame" value="Galaxy Fame"/> </manufacturer> <manufacturer name="OnePlus" value="OnePlus"> <model name="OnePlus One" value="OnePlus One"/> </manufacturer> </os> <os name="Windows Phone 7" value="Windows Phone 7"> <manufacturer name="Nokia" value="Nokia"> <model name="Lumia" value="Lumia" /> <model name="Lumia 625" value="Lumia 625" /> </manufacturer> <manufacturer name="Samsung" value="Samsung"> <model name="OMNIA 7" value="OMNIA 7" /> </manufacturer> </os> <os name="iOS" value="iOS"> <manufacturer name="Apple" value="Apple"> <model name="iPhone 5" value="iPhone 5"/> <model name="iPhone 5S" value="iPhone 5S"/> <model name="iPhone 5C Green" value="iPhone 5C Green"/> <model name="iPhone 5C Blue" value="iPhone 5C Blue"/> <model name="iPhone 5C Yellow" value="iPhone 5C Yellow"/> <model name="iPhone 5C Pink" value="iPhone 5C Pink"/> <model name="iPhone 5C White" value="iPhone 5C White"/> </manufacturer> </os> </root> - Click Save and navigate back to the starting form page. Now click Data Config, located in the same field as Properties from earlier. In data config navigate to the Property Prefill Mapping tab. Now click the edit button.
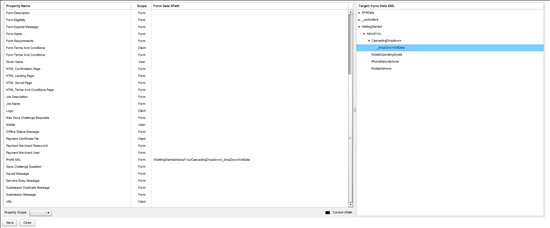
- On this page you will see a list of properties in a large table. Scroll down till you see the one you created earlier. On the right hand side of the page you will see the Targets pane click through the links there to open the path you saw when you changed the bindings for the Xml data in composer it should be something like the picture below.
- Drag
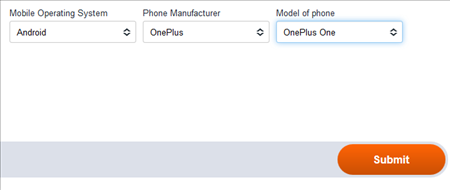
_dropDownXmlDataover to the property you created to make the link. Click Save and then save again when it returns to the data config page. Return to the form page. Now when you load the form in Manager, it will reflect the changes made to the XML.
Next, learn about form property prefill mapping.


