GitLab CI Tutorial
PlatformApplicable to all products in Temenos Journey Manager.
GitLabGitLab is a web-based Git-repository manager with wiki and issue-tracking features, using an open-source license, developed by GitLab Inc. is a version control system supporting Continuous Integration. This article explains you how to store content GitLab using two distinct strategies: a minimalist source-only method, and a complete build environment method.
Prerequisites
This tutorial assumes you have already done the following:
- Obtained GitLab server login access with enough privileges to create projects. Ask your administrator to create a project with the
.gitignorefile. - Installed Git client. You can download a Windows client at https://git-scm.com/download/win
- Completed the Jenkins CI tutorial
Objectives
- Create a GitLab project on a GitLab server.
- Create a
.gitignorefile in the project to ignore all but thesrc/*folder in our project, providing the minimalist approach. - Initialize a local GitLab repository in an existing Jenkins CI workspace containing the Transact Fluent SDK.
- Clone the GitLab project to the local repository.
- Check-in the local artifacts generated by the Transact Fluent SDK
- Hook the Jenkins CI project to the GitLab project.
- Run the Jenkins CI project to pull from GitLab and execute the CI pipeline.
- Alter the
.gitignorefile to add all files to GibLab, exceptbuild.properties, providing the complete approach. - Push all files to GitLab.
- Create a
build.properties-TEMPLATEfile, so the GitLab project contains a template for newbuild.propertiesfiles. - Push the new template file to GitLab.
Minimal Version Control
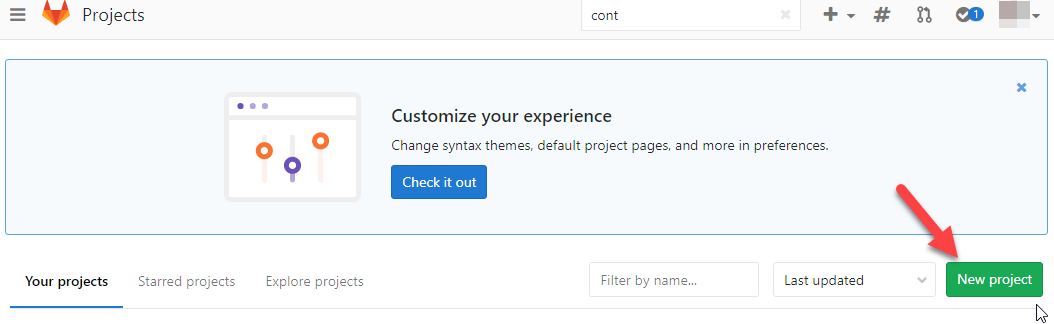
- Login to GitLab and click New project.
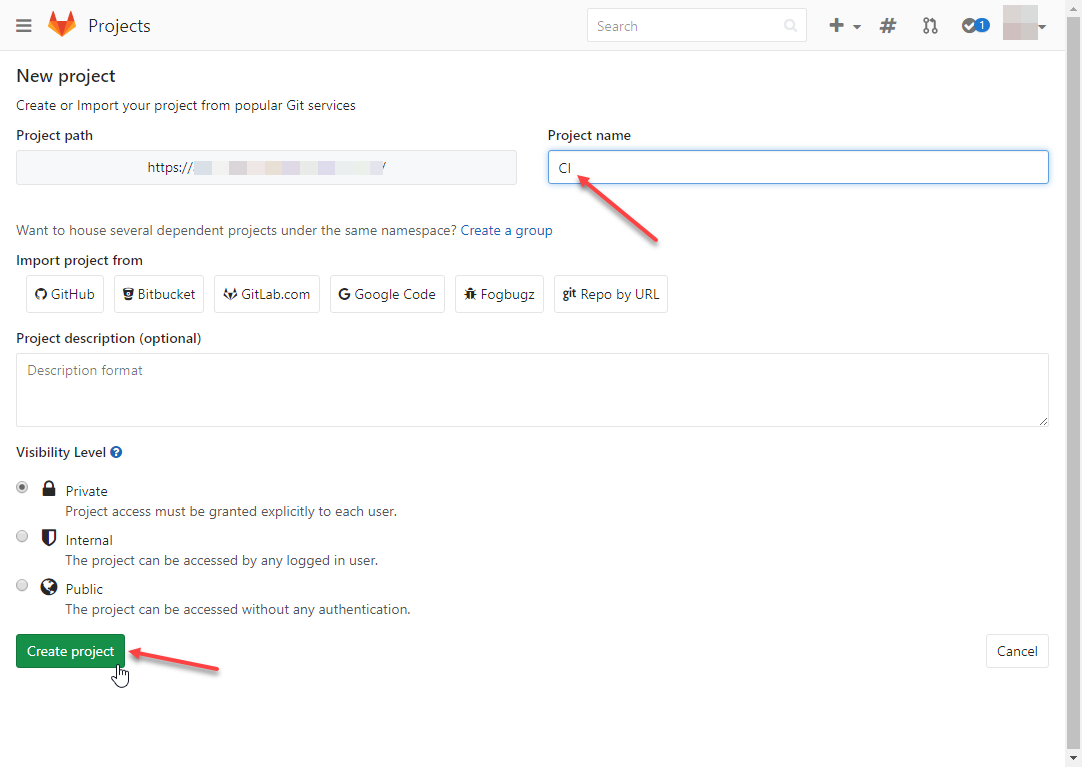
- Enter a name and click Create project.
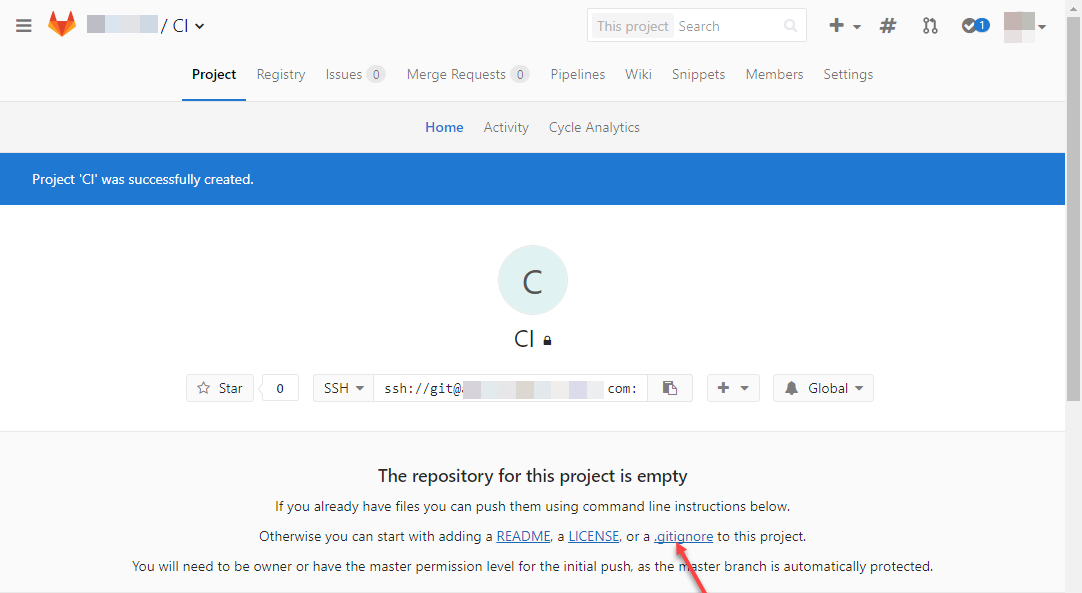
- Click on the .gitignore link.
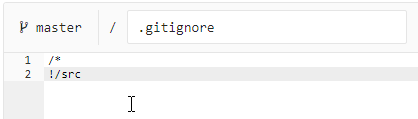
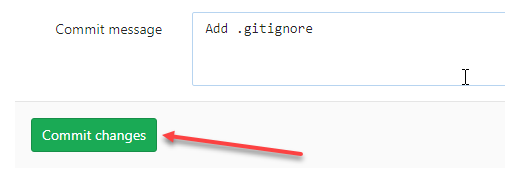
- Enter the following values, which will cause commits to ignore all files except those in the src folder, and click Commit changes.
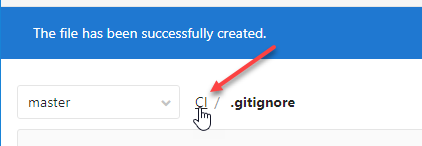
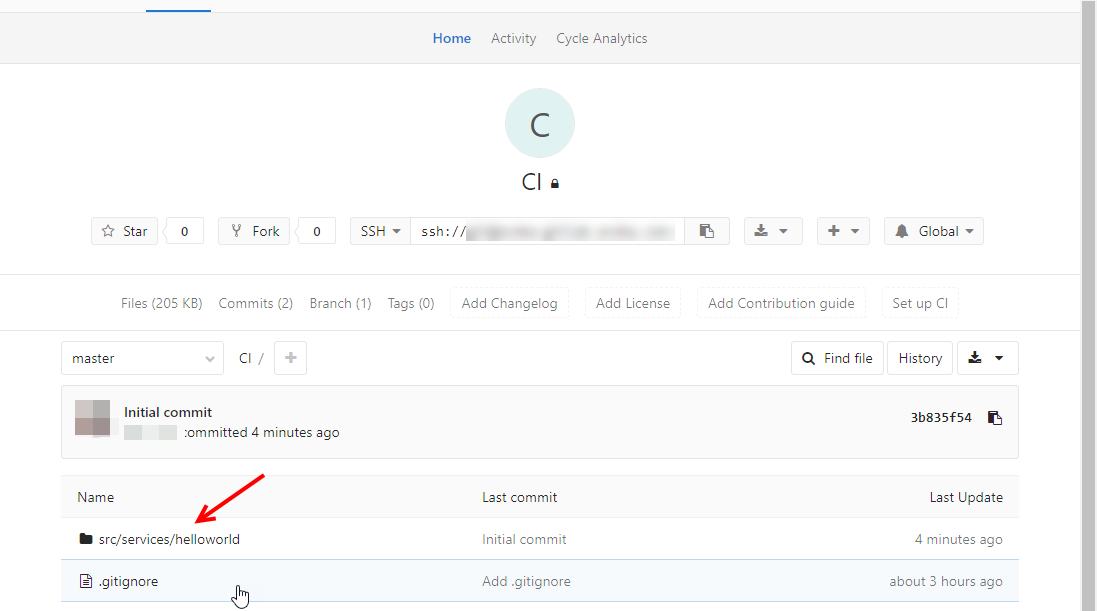
- Click the project name part of the breadcrumb.
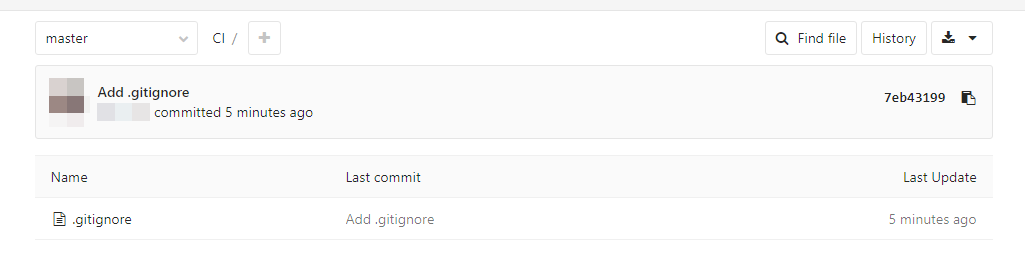
- You will see the file has been committed.
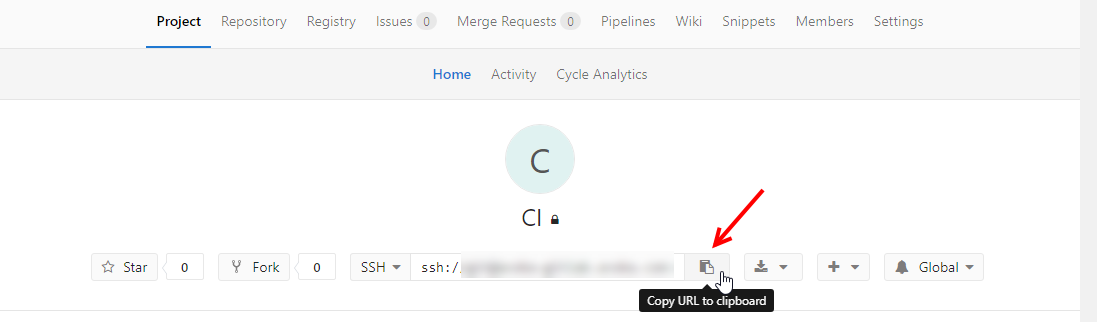
- Click on the project name breadcrumb in the header.
- Copy the project ssh URL to the clipboard to use in the following commands
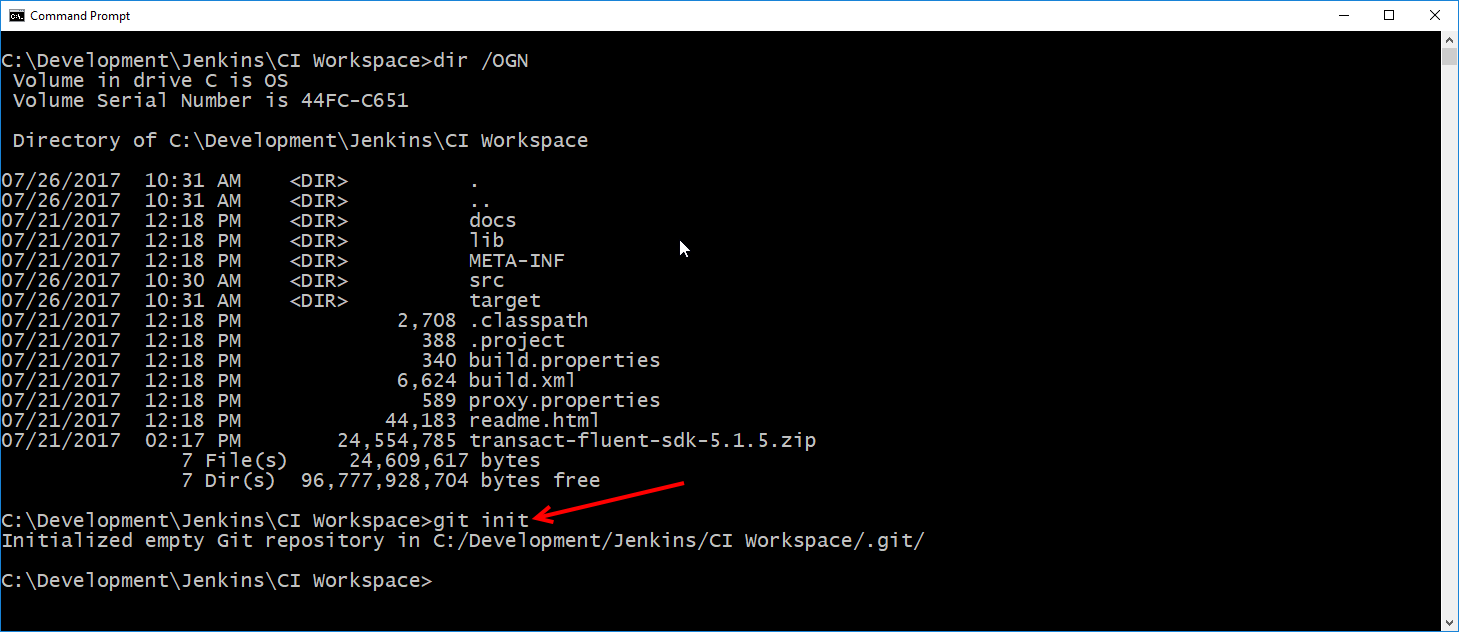
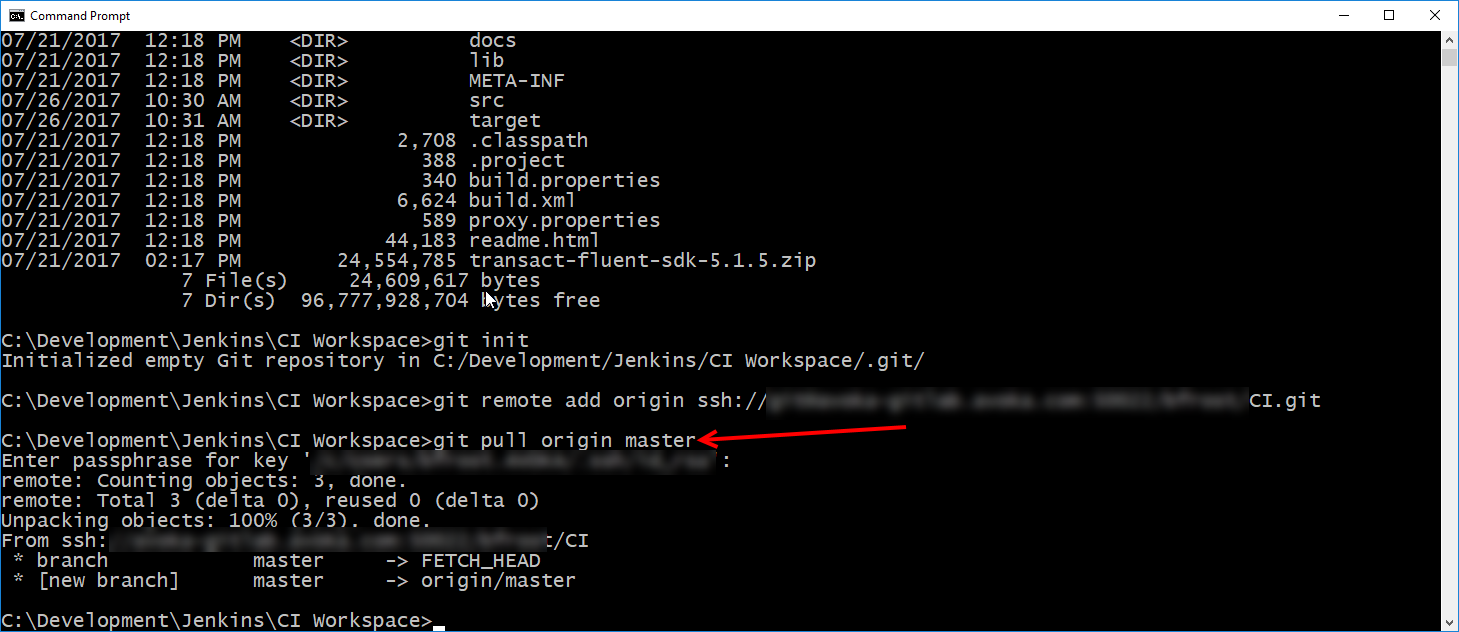
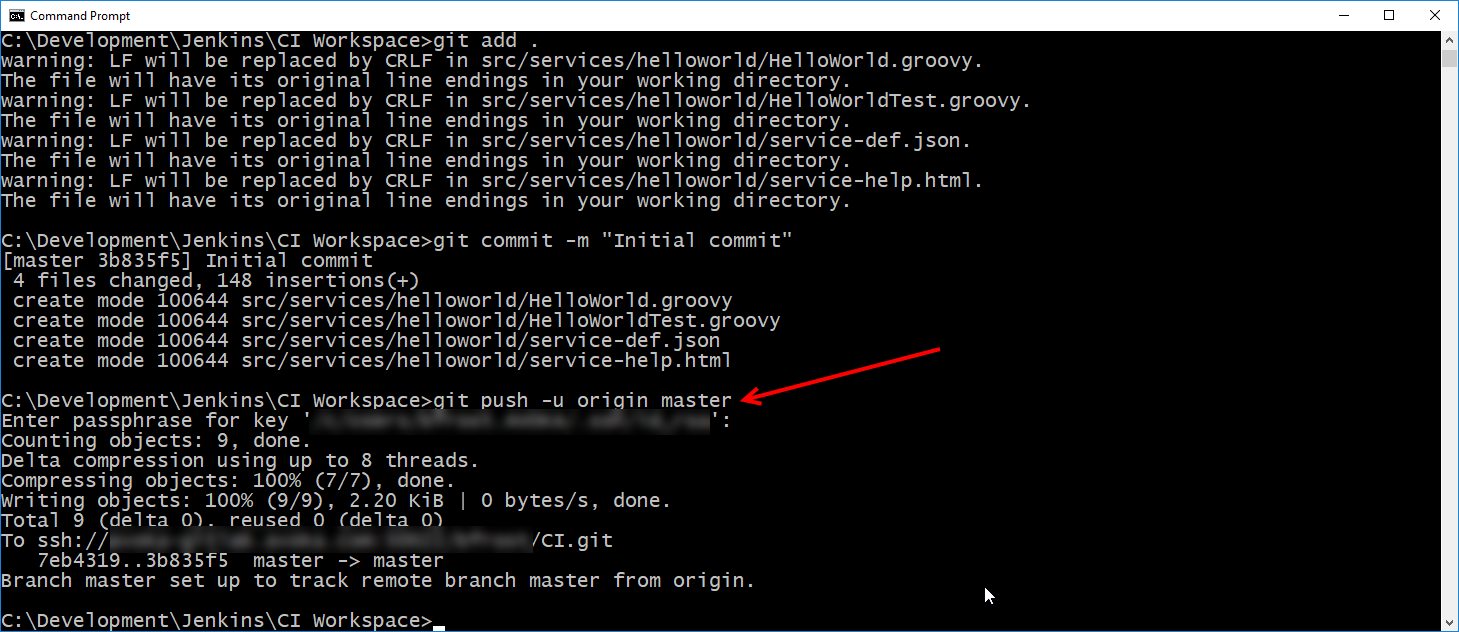
- Open a command prompt, type
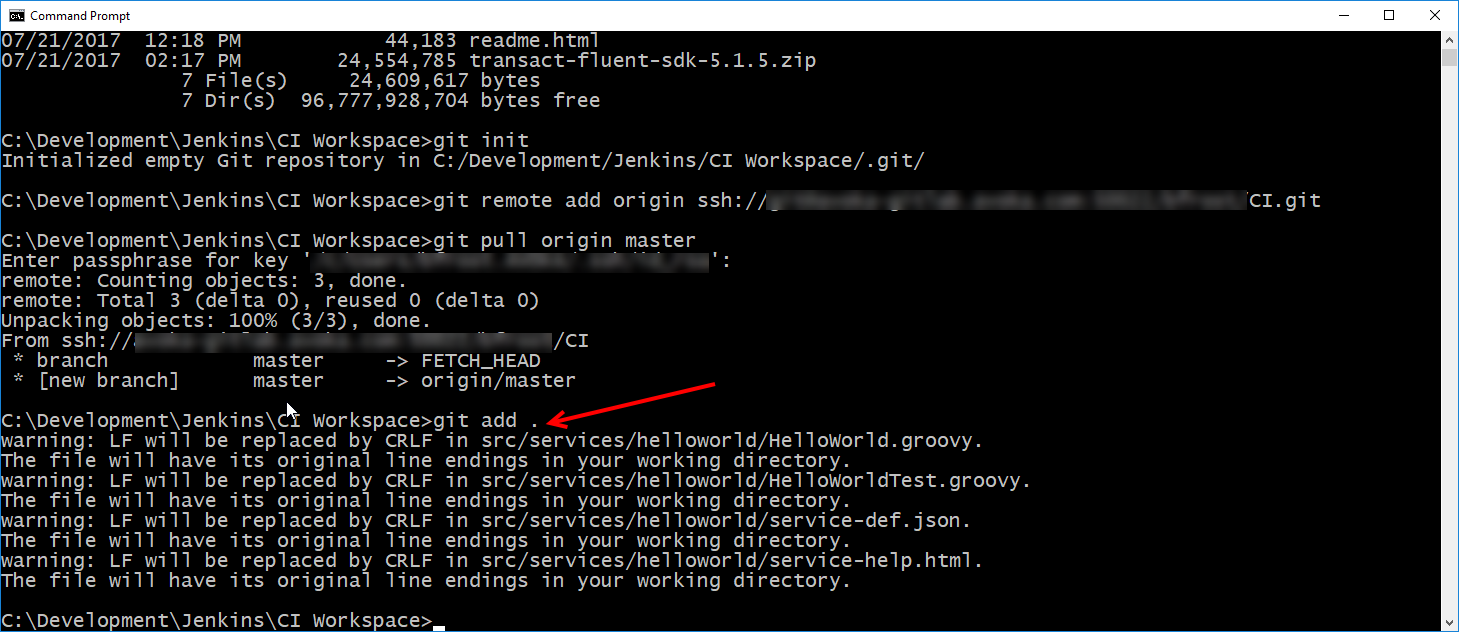
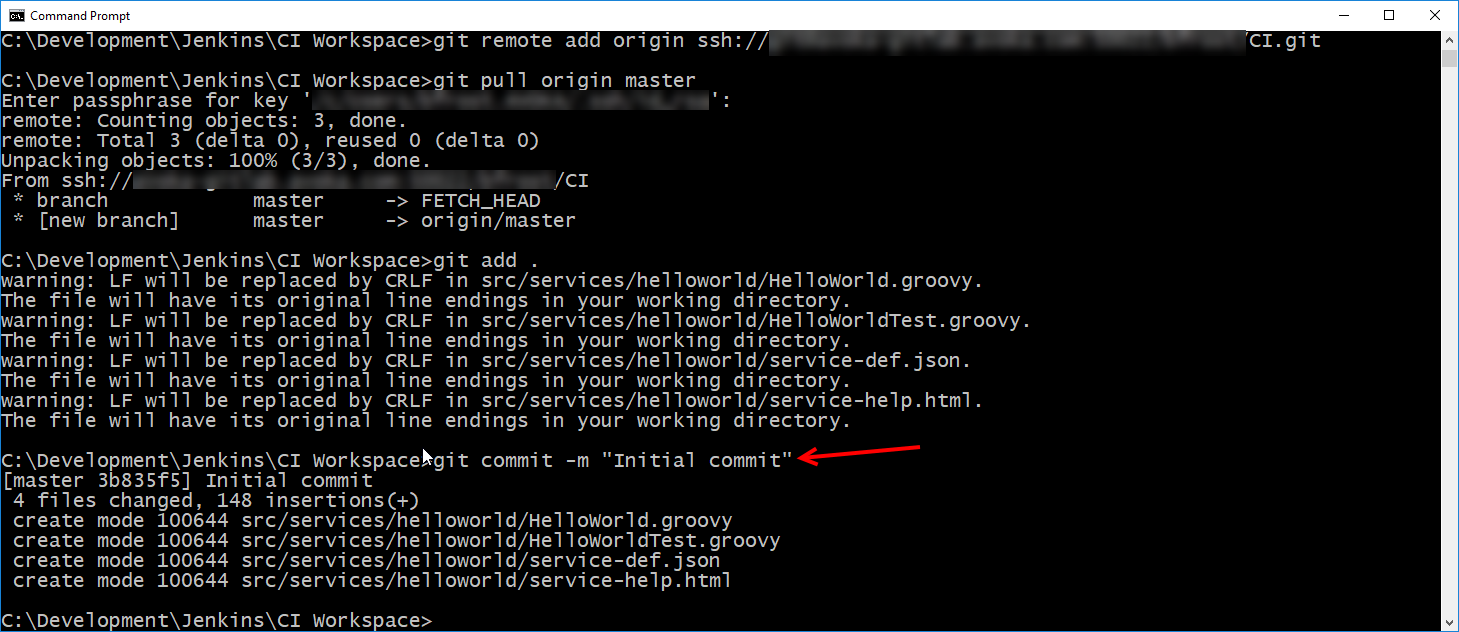
cdto the CI Workspace folder, then typegit initand click Enter to establish the current directory as a local Git repository git initgit remote add originand type your Git project URLgit remote add origin <your Git project URL>git pull origin mastergit pull origin mastergit add .git add .git commit -m "Initial commit"git commit -m "Initial commit"git push -u origin master. The local files that match the .gitignore rules have now been stored in the GitLab projectgit push -u origin master- Refresh the GItLab project page and you will see the src folder and its children are now stored in the project.
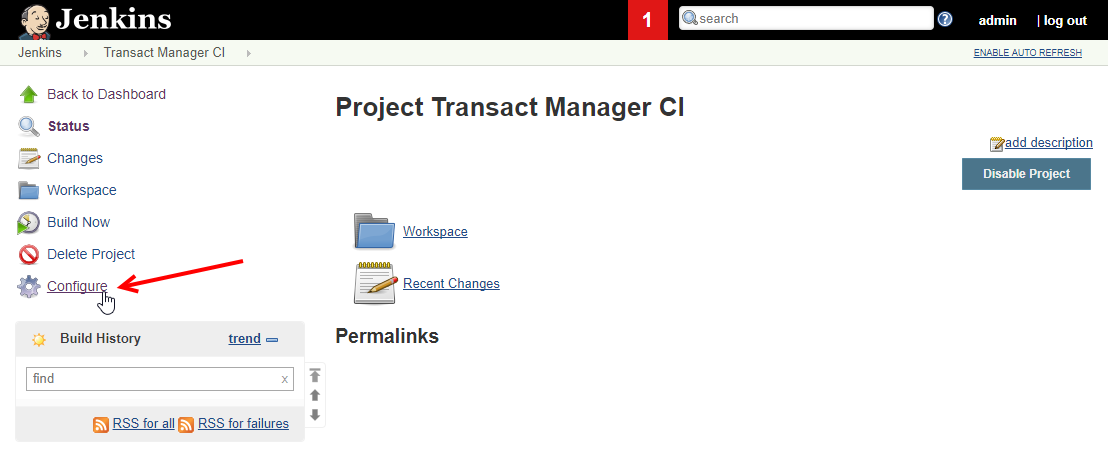
- Click Configure link to configure the Jenkins project to poll changes from GitLab and trigger a build, if there are any changes found.
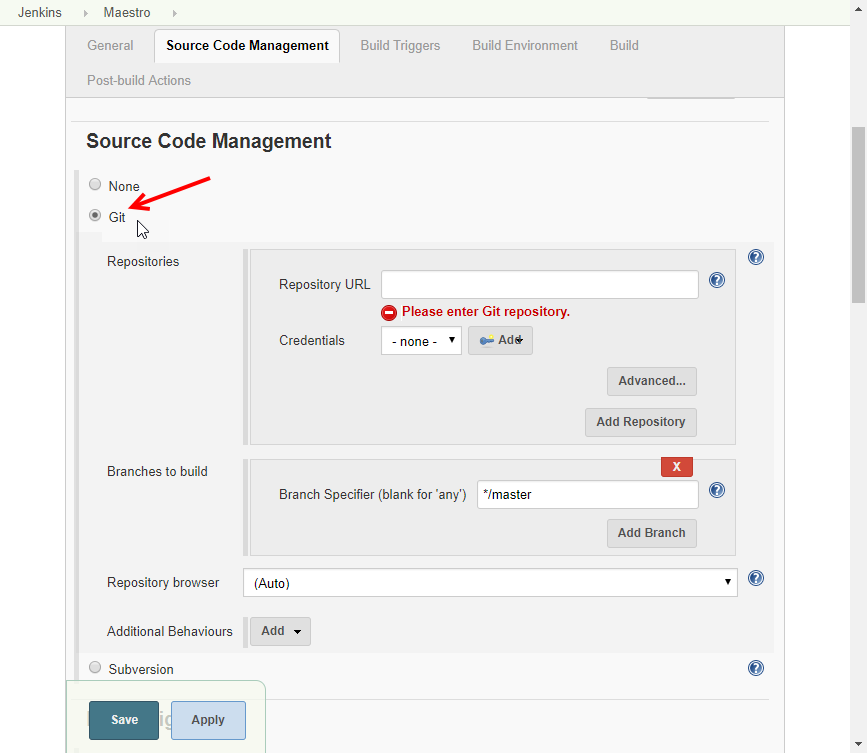
- Scroll down to Source Code Management and select the Git radio button.
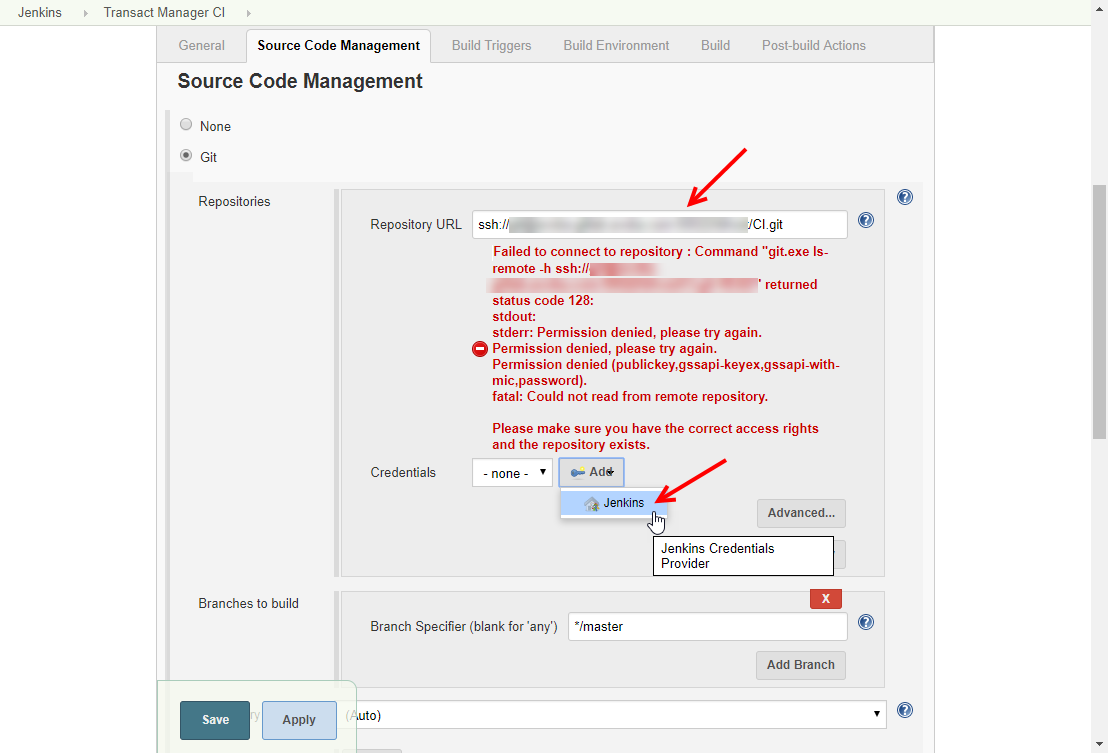
- Enter the GitLab project URL and tab out of the field - red credential error messages will appear. Click Add and select Jenkins to add a new credential
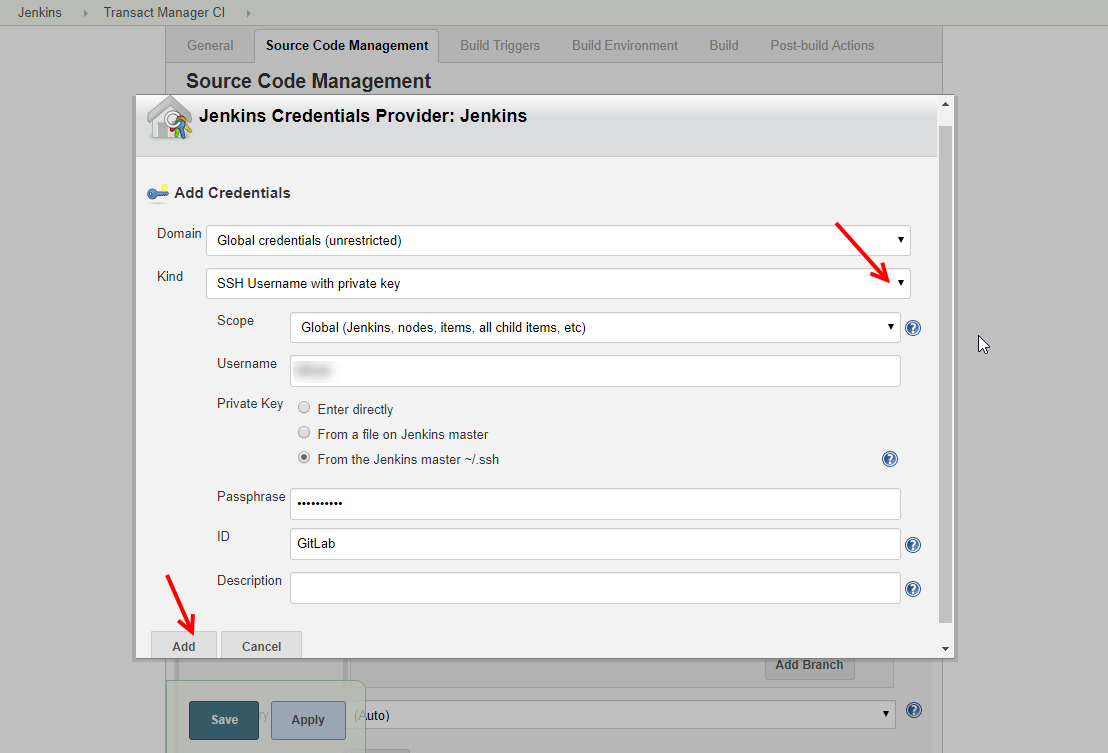
- Select the Kind of credential to add. Enter additional fields according to the credential Kind chosen - the dialog will vary. Click Add
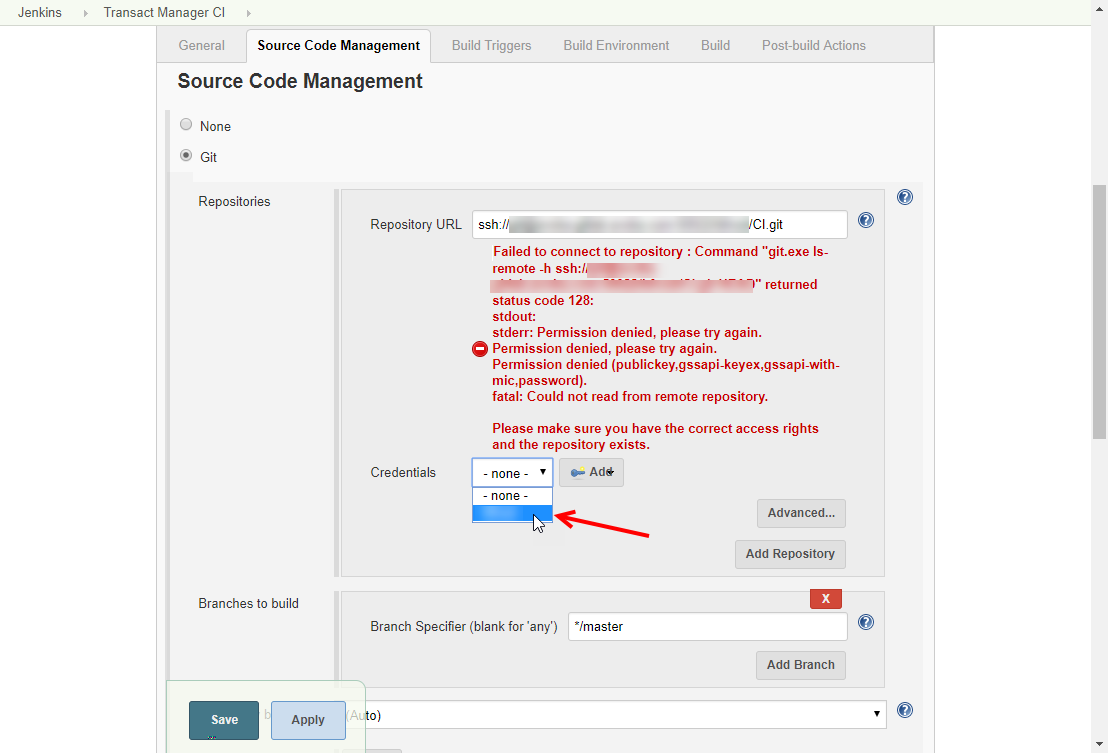
- Back on the Source Code Management block, select the newly added credential from the dropdown.
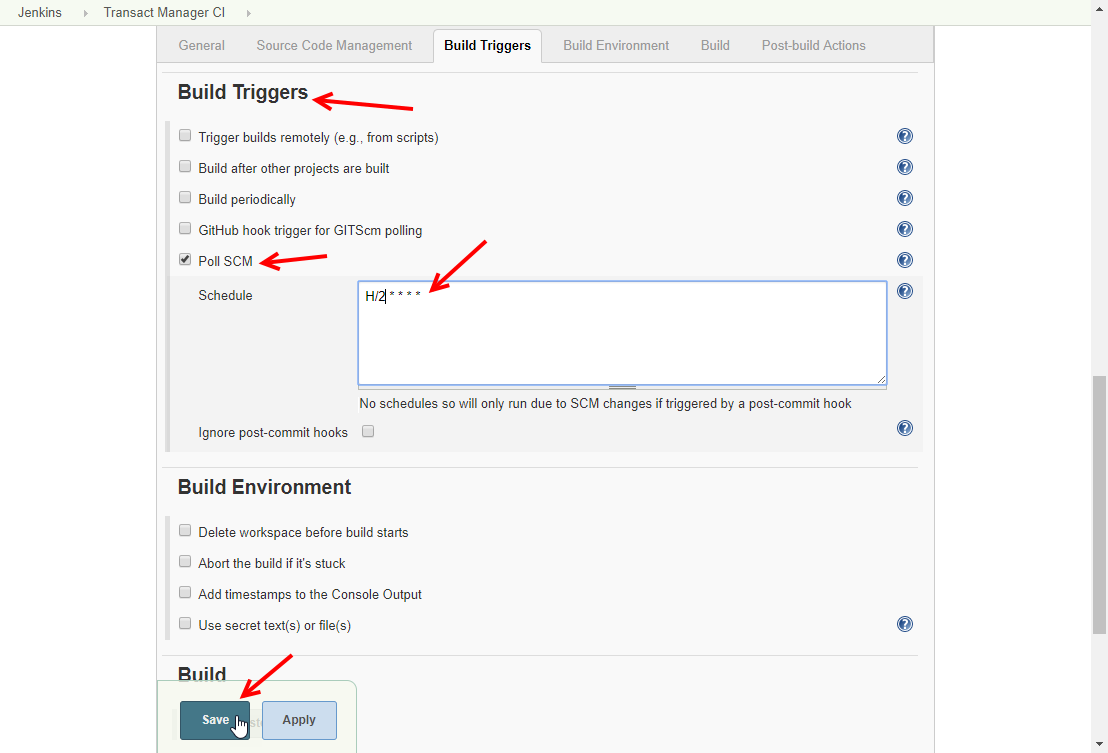
- Scroll down to Build Triggers and click Poll SCM
- Enter
H/2 * * * *in the Schedule text area to poll GitLab every 2 minutes and click Save. - Enter these commands from a CMD prompt to change a local file and check it into GitLab.
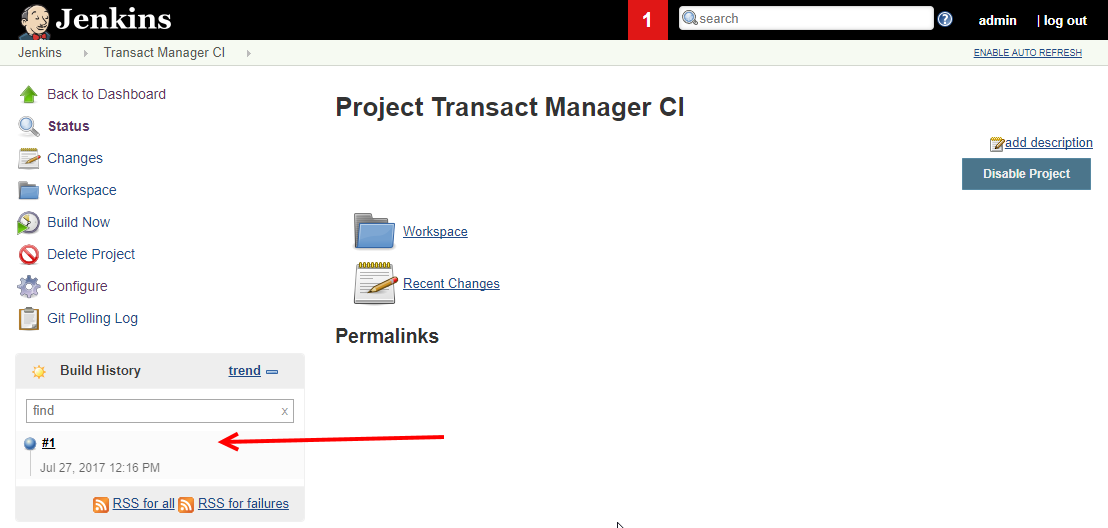
- Within few minutes, a new build will be triggered, and you will seethe build output in the Build History section.
- The build is complete now.


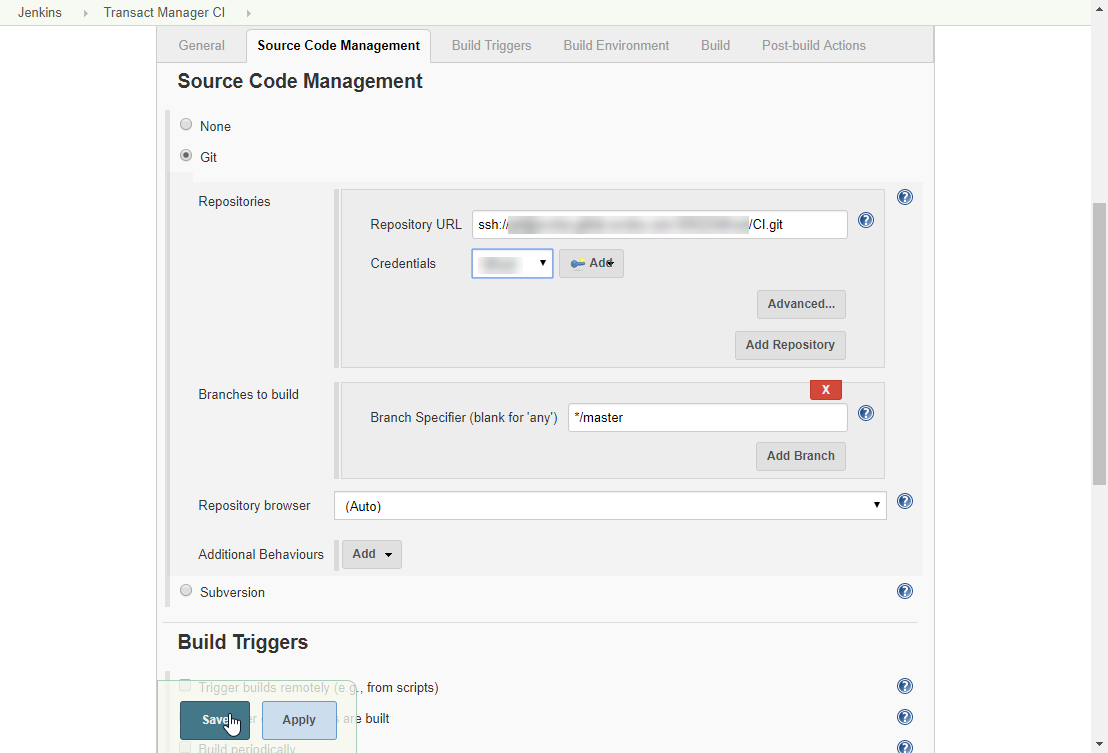
The GitLab credentials should validate and the red errors disappear
					cd "C:\Development\Jenkins\CI Workspace"
					edit src\services\helloworld\service-help.html
					git add .
					git commit -m "Triggering Jenkins Build"
					git push -u origin master
Complete Version Control
At this point, you will have a GitLab project populated only with the files you have created locally. It will not contain the Transact Fluent SDK files, because we ignored them with the rules we created in the .gitignore file.This minimalist method does save space in the GitLab repository, but it may not be ideal in terms of deploying to a new server. Any new server would need to have the Transact Fluent SDK installed on it before pulling the GItLab project.
We can convert the minimalist approach to a complete approach simply by changing the .gitignore file, adding additional files and committing to the GitLab project. Now, when the project is pulled from GitLab, the complete Transact Fluent SDK comes with it, so it can be deployed on a new server and it is ready to go.
We want to add all files from our local folders to GitLab, but we want to exclude the build.properties file, because it contains sensitive passwords.
- Edit the contents of your local
.gitignorefile, which should include/build.propertiesnow. - Add new files to GitLab by entering the following commands:
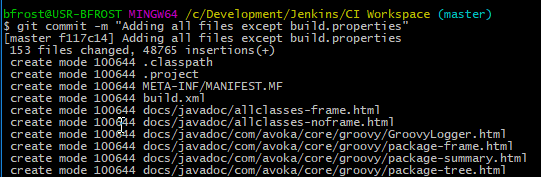
- Check the git commit command output.
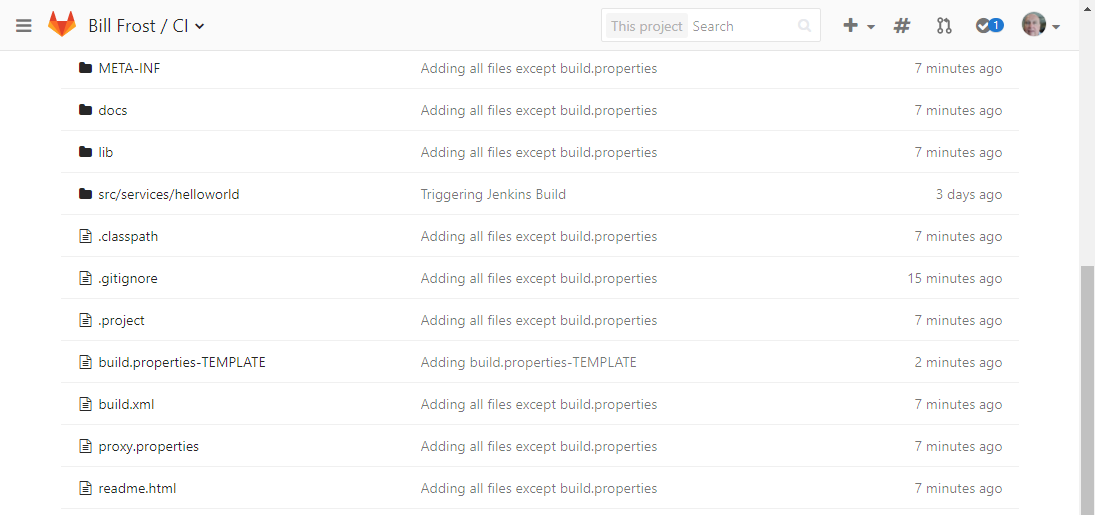
- Now, we have all files in the GitLab project, except
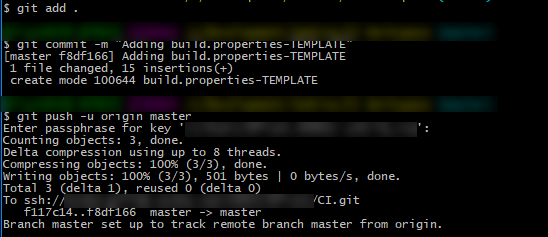
build.properties. As we don't know what goes in thebuild.propertiesfile, we should add abuild.properties-TEMPLATEfile that contains the defaultbuild.propertiesfile from the Transact Fluent SDK. Extract thebuild.propertiesfrom the zipped Transact Fluent SDK file, and rename it to thebuild.properties-TEMPLATE. - Now, our GitLab project contains all of the Transact Fluent SDK files, except for our customized
build.propertieswith the sensitive passwords, but it does have abuild.properties-TEMPLATEfile, so a new user can use it to construct their ownbuild.propertiesfile. - Your GitLab project should now look like this.
git add .
git commit -m "Adding all files except build.properties"
git push -u origin master
git add .
git commit -m "Adding build.properties-TEMPLATE"
git push -u origin master
Next, learn about Jenkins CI.