SpringboardThis topic is related to Springboard. |
Form Builder |
Retail DAO 4.0This feature was updated in Retail DAO 4.0.
SMB DAO 1.4This feature was updated in SMB DAO 1.4.
Lending 1.0This feature was introduced in Lending 1.0.
This guide includes items that need to be manually configured because they are not supported by the current SDK.
Environment setup
So, who can benefit from reading this documentation? There's something here for all of your Springboard project team members:
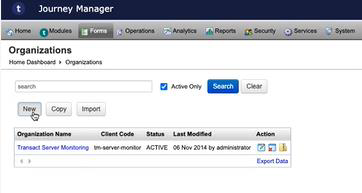
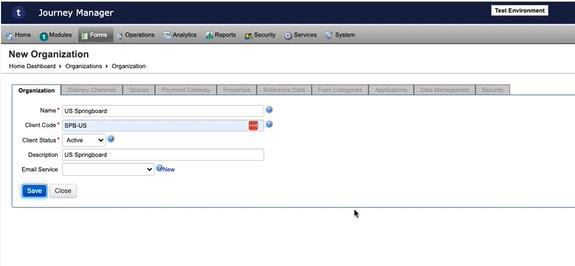
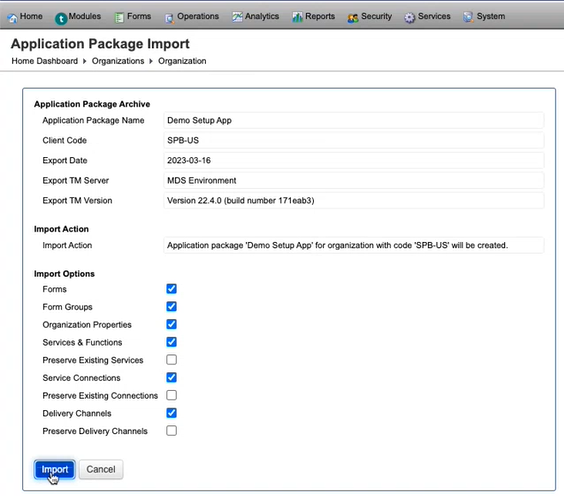
Create a new organization with the following details.
Name: Client Name
Client code: SPB-US
Description:
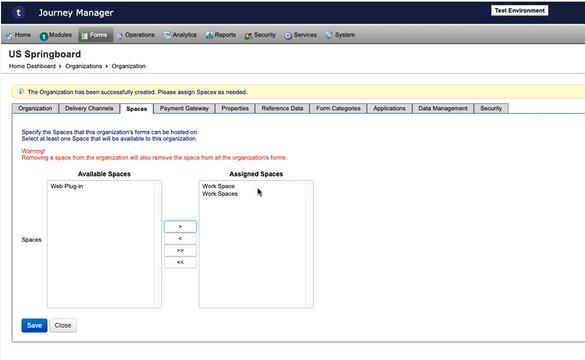
Expose Work Space and Work Spaces space to the new organization.
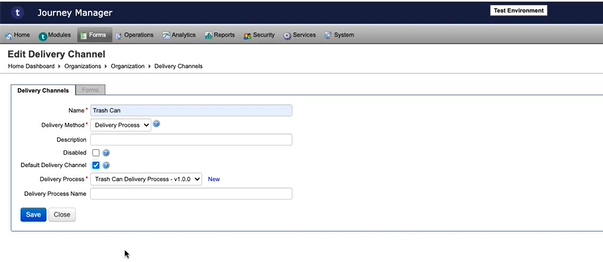
Create Trash Can Delivery channel and set as default delivery channel. For any form that doesn’t have a delivery process will have a trash can delivery.
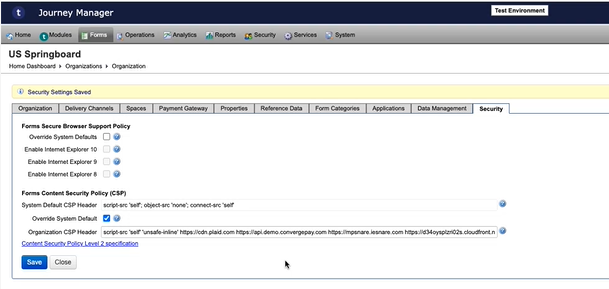
Update CSP headers.
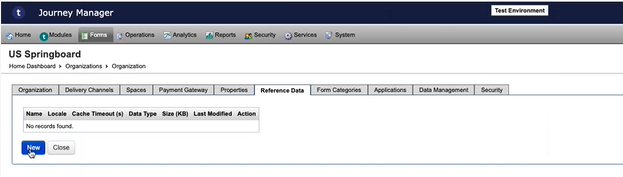
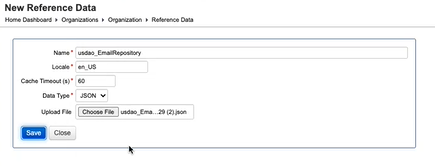
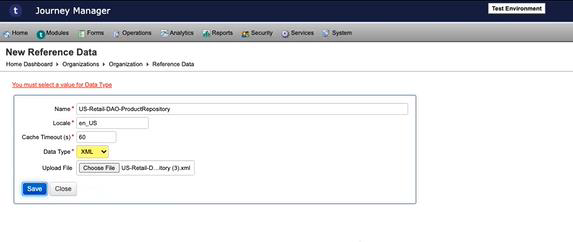
Create reference data for each purchased line of business: Lending, Retail DAO, or SMB DAO. The screenshots below show how to do this for Retail DAO.
For Retail DAO reference data:
US-Retail-ProductRepository
Usdao_EmailRepository
For SMB DAO reference data:
US-SMB-DAO-ProductRepository
US-SMB-Owners-ProductRepository
us-smb-dao_EmailRepository
us-smb-owners_EmailRepository
For Lending reference data:
US-Retail-Lending-ProductResposity
Uslending_EmailRepository
STATE_CODE
VEHICLE_TYPE
‘US-Retail-DAO-ProductRepository' reference data – will be default product xml. Create Lending and SMB DAO if needed.
Create usdao_EmailRepository reference data. Create Lending and SMB DAO if needed.
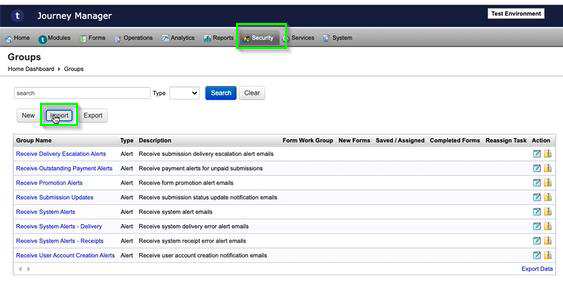
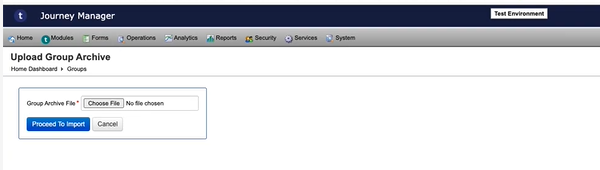
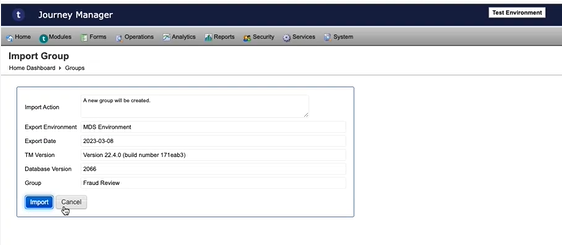
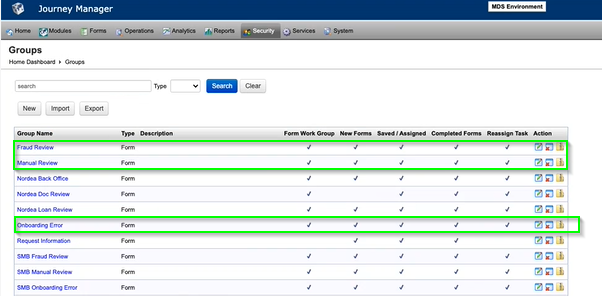
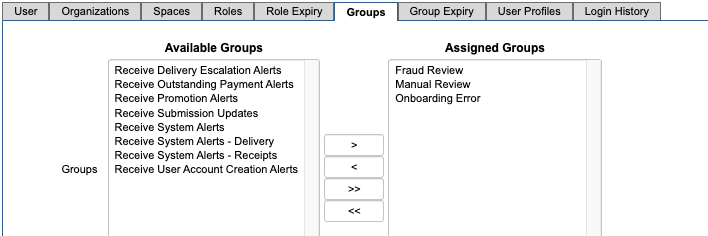
Create the following groups:
Fraud Review
Manual Review
Onboarding Error
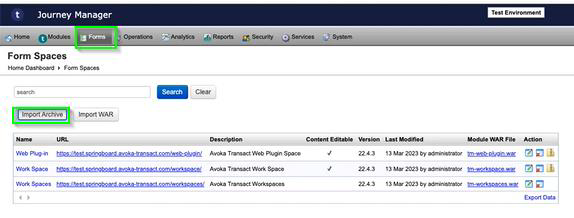
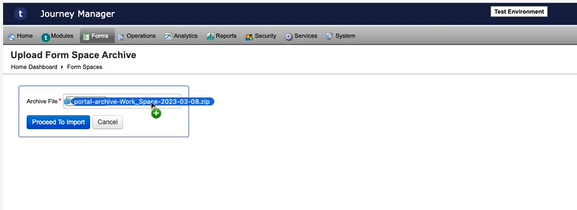
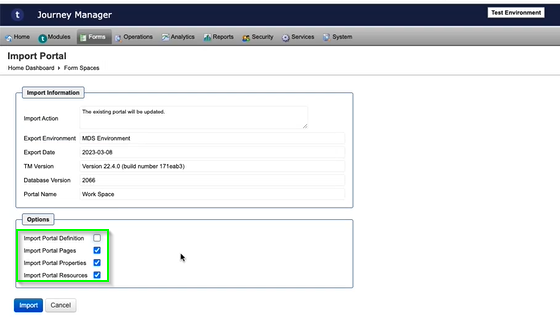
Update “Work Space” space archive
Update “Work Spaces” space archive
Update config project to clean up all credentials to remove Temenos credentials.
Update org property of retail project for config service name.
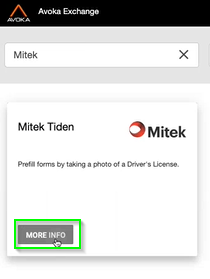
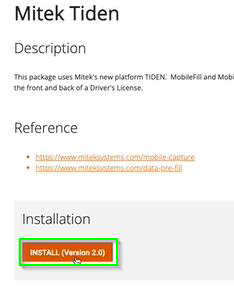
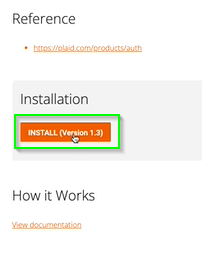
Download Mitek and Plaid from Journey Exchange.
Log into Journey Exchange, select the Client name when prompted.
Search for Mitek and install it.
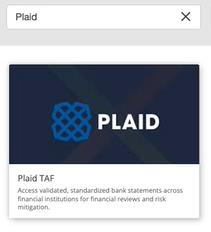
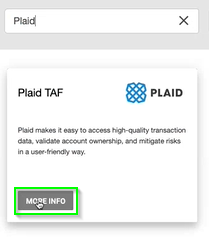
Search for Plaid and install it.
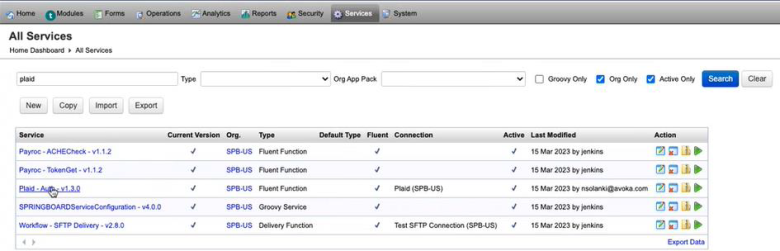
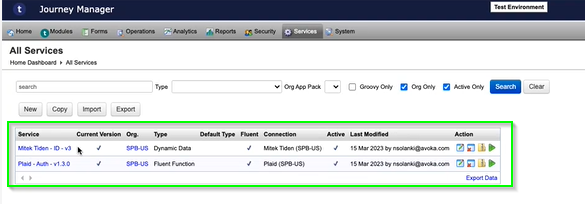
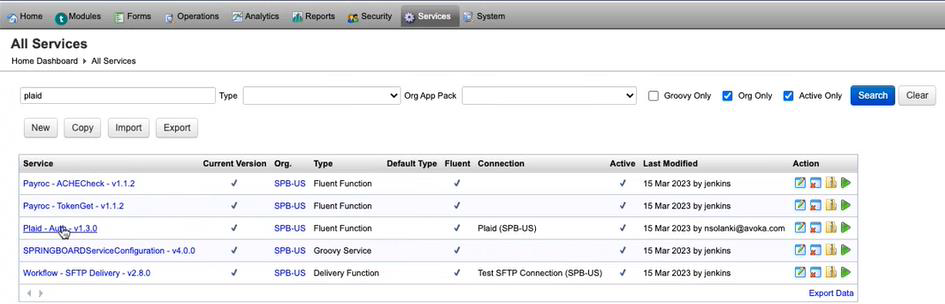
Back in Journey Manager, you should see Mitek and Plaid listed under Services.
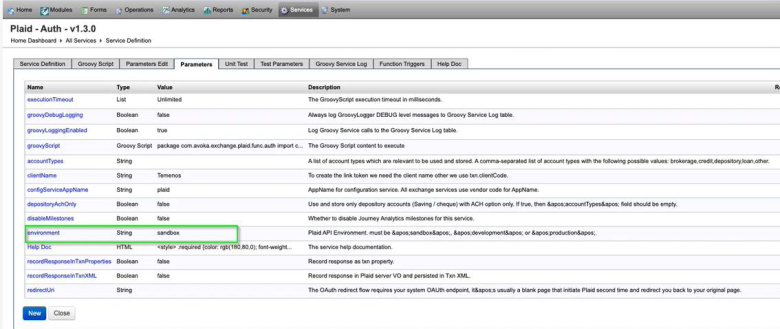
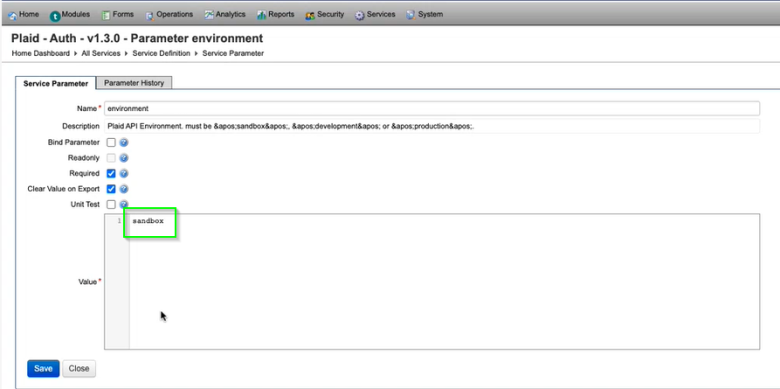
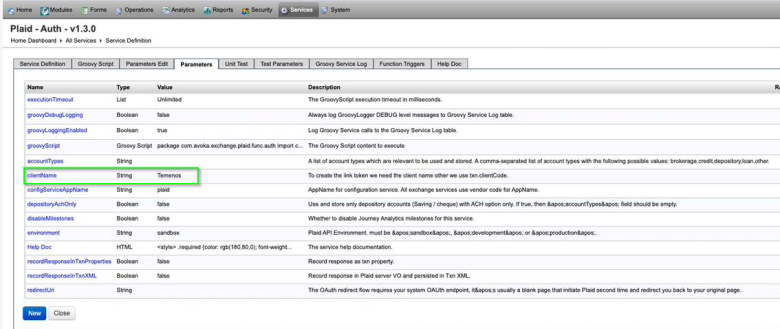
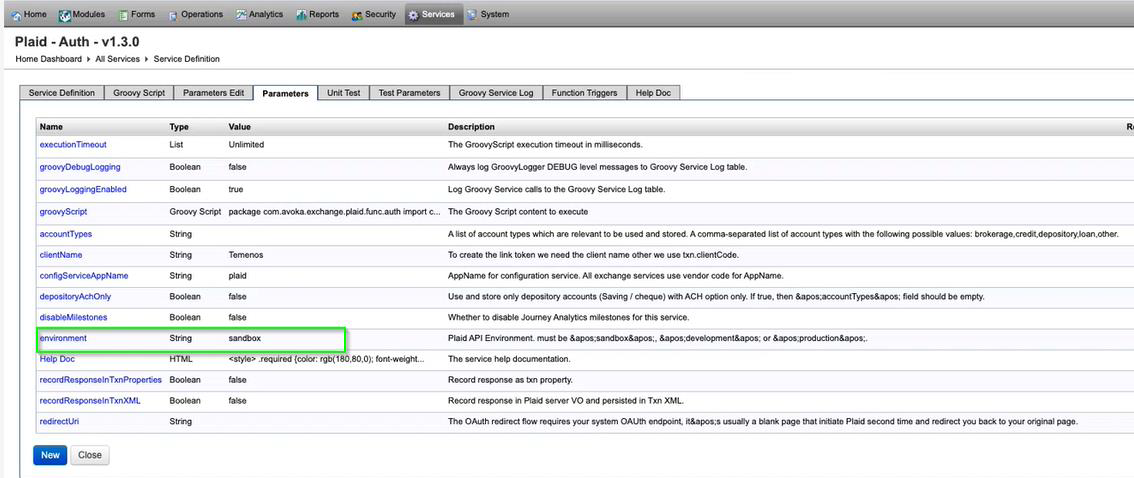
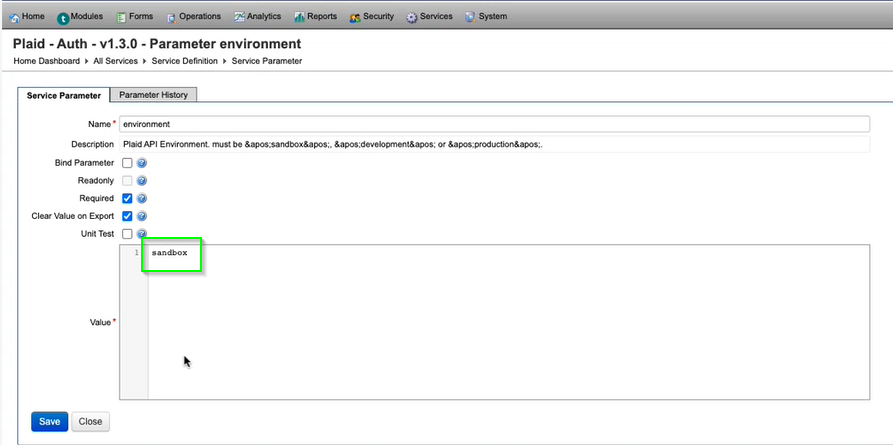
Update Plaid environment name.
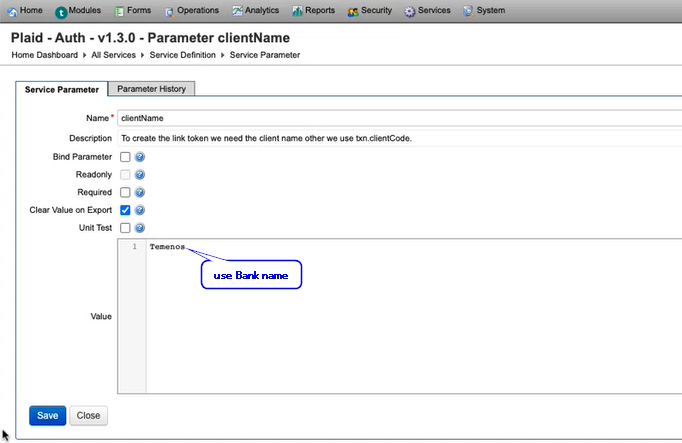
Update Plaid Client Name
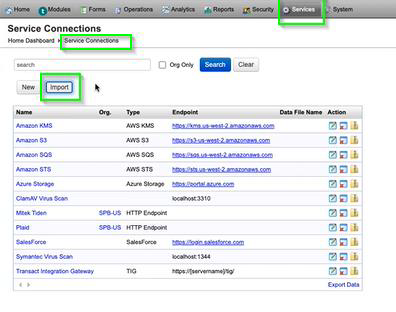
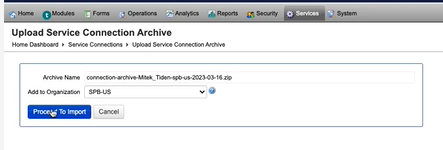
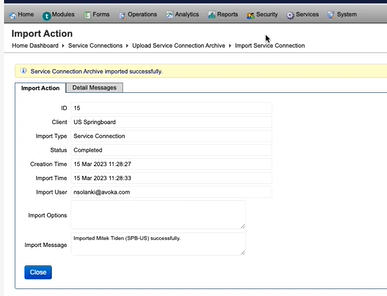
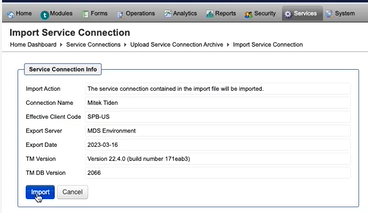
Upload Service Connection archive.
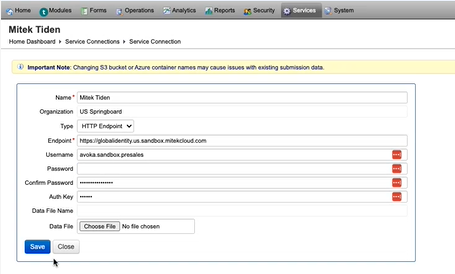
Configure the Mitek connection details.Repeat the same process for Plaid.
Configure credentials for "Prove Service Connection" under Service Connections.
Deploy Springboard
Ask the Cloud team to run the pipeline to deploy Springboard.
Provide the Cloud team with the client IP and URL to Payroc to be whitelisted.
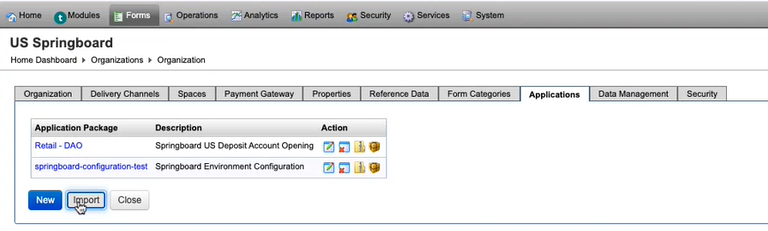
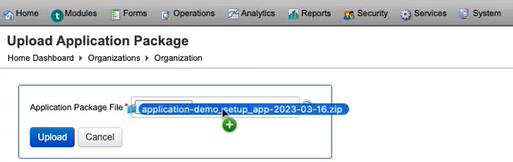
Manually deploy the Brand Builder app (not currently part of Springboard, so manual deployment is required).
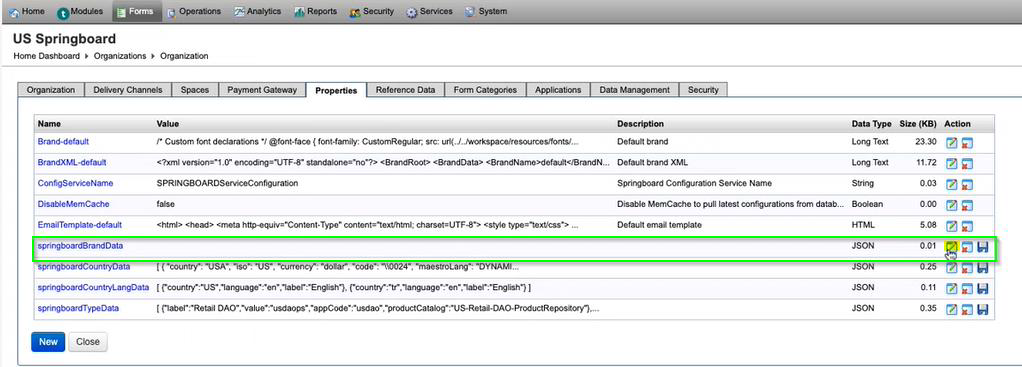
Update brand builder org properties.
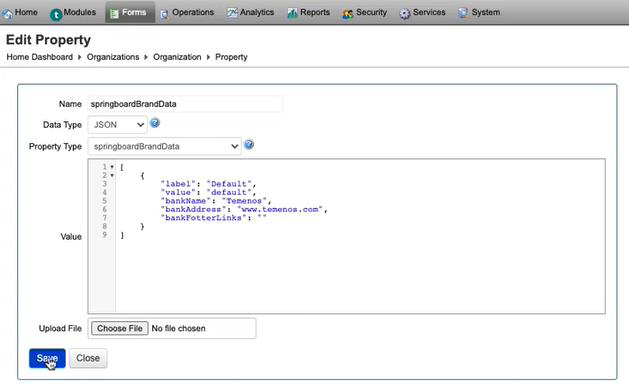
Update Springboard Brand Data (current bug raised with Journey product team)