Creating a Project
An Open UX project is used to store all of the assets related to a particular Journey Manager application. These assets include configuration files, JavaScript files, images, stylesheets, and third-party packages from the NPM repository.
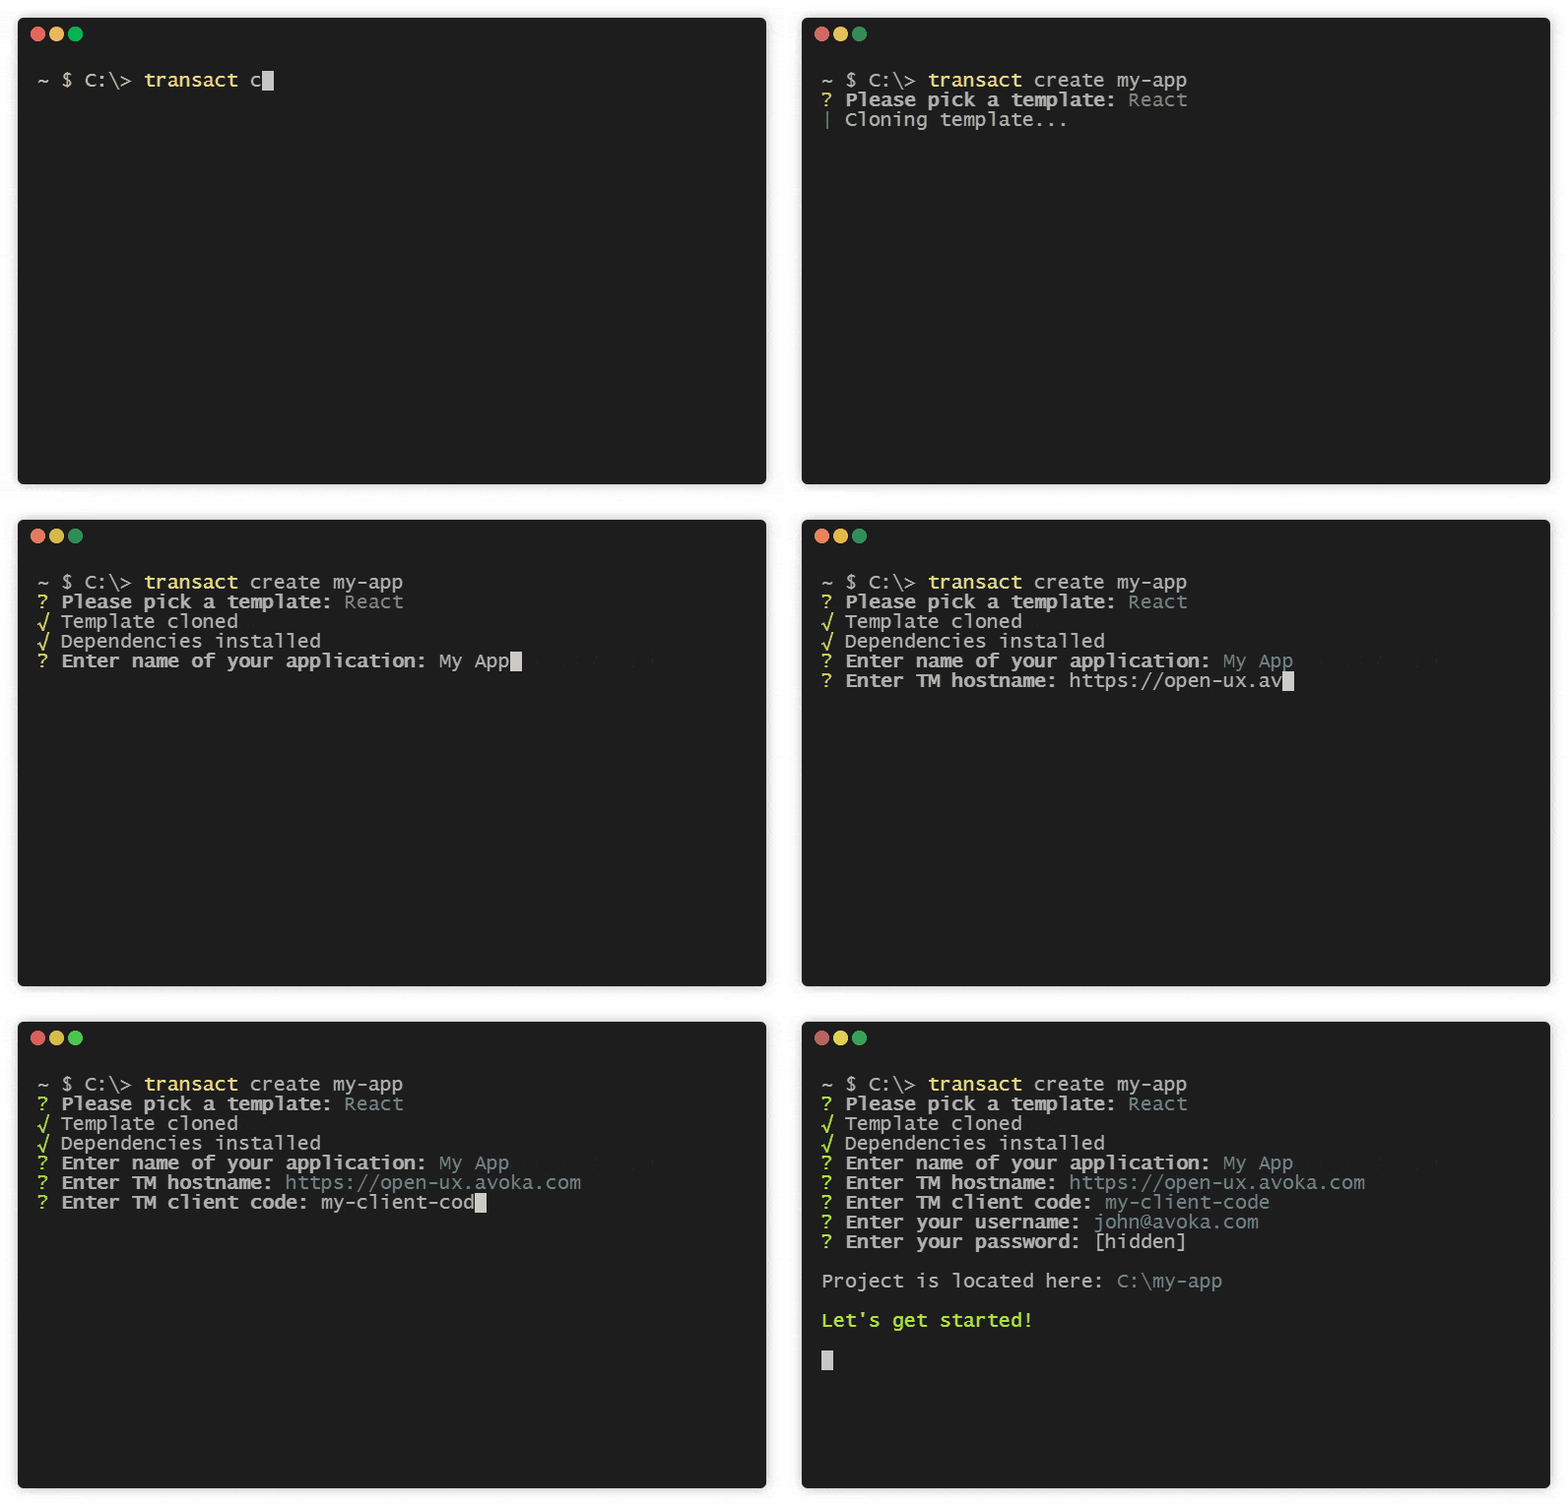
To create a project, run the following command:
transact create PROJECT_NAME
Replace PROJECT_NAME with the name of your project.

When you run this command, a series of prompts will request further details about the project.
| Prompt | Description |
|---|---|
| Template | The starting point for your project. Options include:
Default value: |
| Application name | The name of your application. Default value: |
| TM hostname | The Journey Manager server where you'll deploy your application. For example, this could be a local instance of Journey Manager or a sandbox training environment instance. Default value: |
| TM client code | The name of your Organization within Journey Manager. Default value: |
| Username, Password | Journey Manager credentials, used to authenticate with Journey Manager during deployment. |
If you're a React developer, stick with the default template. If you're not a React developer (or if you don't want to use a scaffold), you can learn about the alternatives in Using Templates below.
For details about the other properties, read the configuration section in Deploying an Application.
Using Templates
When you run the transact create command, the first prompt asks you to select a template. By selecting a template, you start your project from a predefined scaffold.
Currently, there are three options to choose from:
- React
- Remote Repo
- Skip
Here's what they provide.
Option 1: React
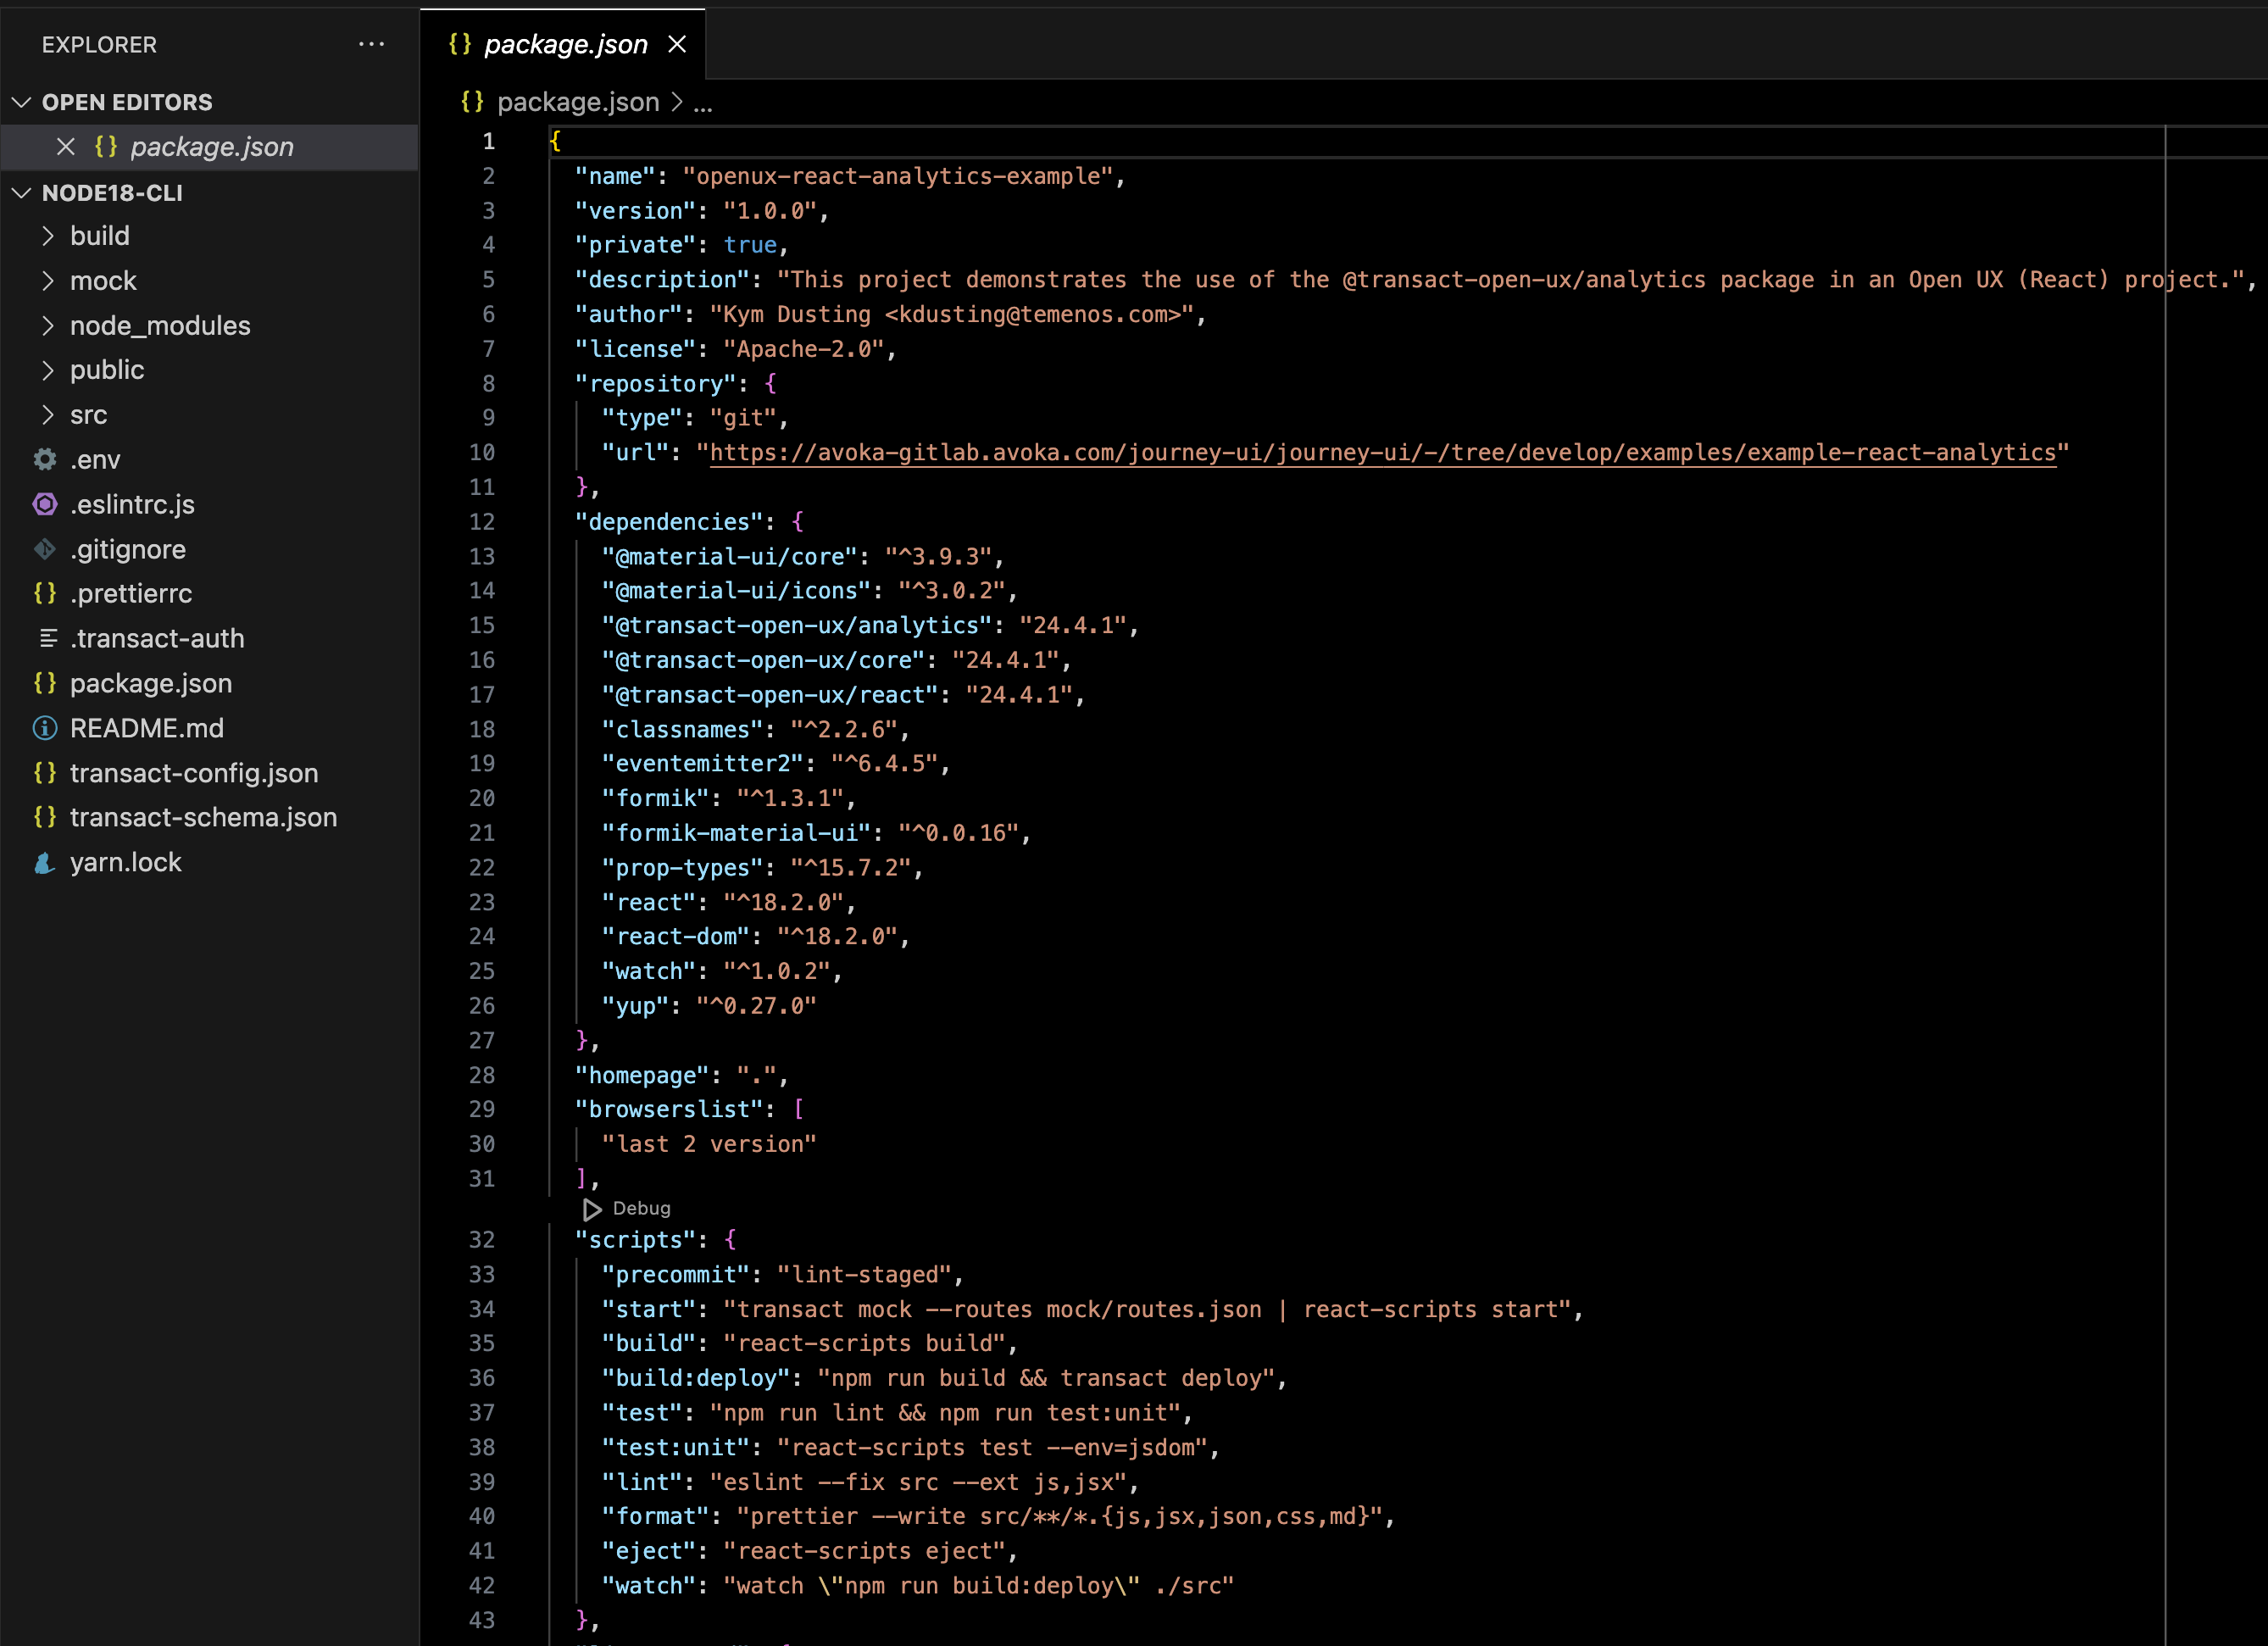
By using the React template, your project will be scaffolded with a fully functional React-based Journey Manager application.

The React template demonstrates many Open UX features and is an excellent starting point for developers looking to gain a quick understanding of the various patterns and best practices.
This template also includes a complete build pipeline that allows you to preview the application on your local computer and build an optimized version of the application for use in production.

To learn more about working with Open UX's React library, read the Quick Start guide or the Open UX React library documentation.
Option 2: Remote Repo
As much as we love the React template, we know that many developers have their own preferences. For this reason, we provide the Remote Repo option which allows you to create your own templates and then use those templates as the starting point for your projects.
To use this option:
- Store a project scaffold in a remote Git repository.
- Create a new Open UX project using
transact create, and select the Remote Repo template. - Enter the path of the Git repository.
The format of the Git repository path is specific to the Git server you're using. Here are some examples for some popular Git servers.
# GitHub
username/repo

# Gitlab
gitlab:username/repo

# Bitbucket
bitbucket:username/repo
You can use the --template flag with the transact create command to avoid having to manually select the template:
# fetch from GitHub
transact create --template username/repo my-new-project

# fetch from GitLab or BitBucket
transact create --template gitlab:username/repo my-new-project
transact create --template bitbucket:username/repo my-cloned-project

# fetch from private GitLab repo that has a deploy key
transact create --clone --template https://gitlab+deploy-token-1:[email protected]/username/my-project.git my-new-project
If you're fetching from a private repository, you need to use the --clone flag.
info
Your template does not need to include the configuration files, such as transact-config.json, as these files will be generated by the transact create comand.
Option 3: Skip
If you want to create a project from (almost) complete scratch, select the Skip option. This generates a scaffold that contains only the following files.
node_modules/.transact_authpackage.jsontransact-config.jsontransact-schema.jsonyarn.lock
As you can see, it's mostly just configuration files, and if you take a peek inside the package.json file, the Open UX Core Library is the only dependency:
{
  "name": "transact-js-app",
  "version": "1.0.0",
  "description": "Transact Open UX Application",
  "dependencies": {
    "@transact-open-ux/core": "^0.1.2"
  }
}
The Remote Repo template is ideal for users who want to setup their own build pipeline, use a JavaScript framework that isn't officially supported, or define their own templates.
Existing Projects
If you already have a project directory, you don't have to create an entirely new directory with the transact create command. You can setup a project within an existing directory.
To do this, navigate into the existing directory:
cd my-transact-project
Then run the transact create command:
transact create
This will create the required configuration files for deploying your application. However, you still need to install at least one of the Open UX libraries; to learn how to do this, see Installation.
Command Options
Here is a complete list of the options available via the transact create command.
Usage: create [options] [directory-name]

create a new transact-open-ux application

Options:

  -t, --template <templateName>   Skip prompts and use an open-ux or remote template
  -f, --force                     Overwrite target directory if it exists
  -c, --clone                     Use git clone when fetching remote template
  -n, --name <appName>            Skip app name prompt and use value in generated config
  -b, --build-dir <buildDir>      Skip build directory prompt and use value in generated config
  --tm-host <tmHost>              Skip TM host prompt and use value in generated config
  -c, --client-code <clientCode>  Skip TM client code prompt and use value in generated config
  -u, --username <username>       Skip username prompt and use value in generated config
  -p, --password <password>       Skip password prompt and use value in generated config
  -h, --help                      output usage information
To see this list on the command line, run the transact create command with the --help flag.
transact create --help