Quick Start
This guide will help you get started with Open UX as quickly as possible. It assumes a basic understanding of JavaScript development and some experience with the React library.
To get started with Open UX, we'll follow these steps:
- Have a local Journey Manager instance available to use. Or if you don't have one, you can contact the Knowledge Team to request access to a sandbox training environment Journey Manager instance.
- Install the Open UX CLI
- Create a Project with the React Template
- Launch a Local Server
Your Journey Manager Instance
You require a Journey Manager instance so you can host forms that use Open UX. And in order to deploy and test your Open UX applications, you will need to have the following information about that Journey Manager instance:
- Journey Manager hostname
- Username
- Password
- Client Code (which is for the Journey Manager Organisation you are using)
These details are required when creating your project with the Open UX CLI.
Install the Open UX CLI
Follow the installation instructions for accessing @transact-open-ux/cli from Artifactory.
Create a Project with the React Template
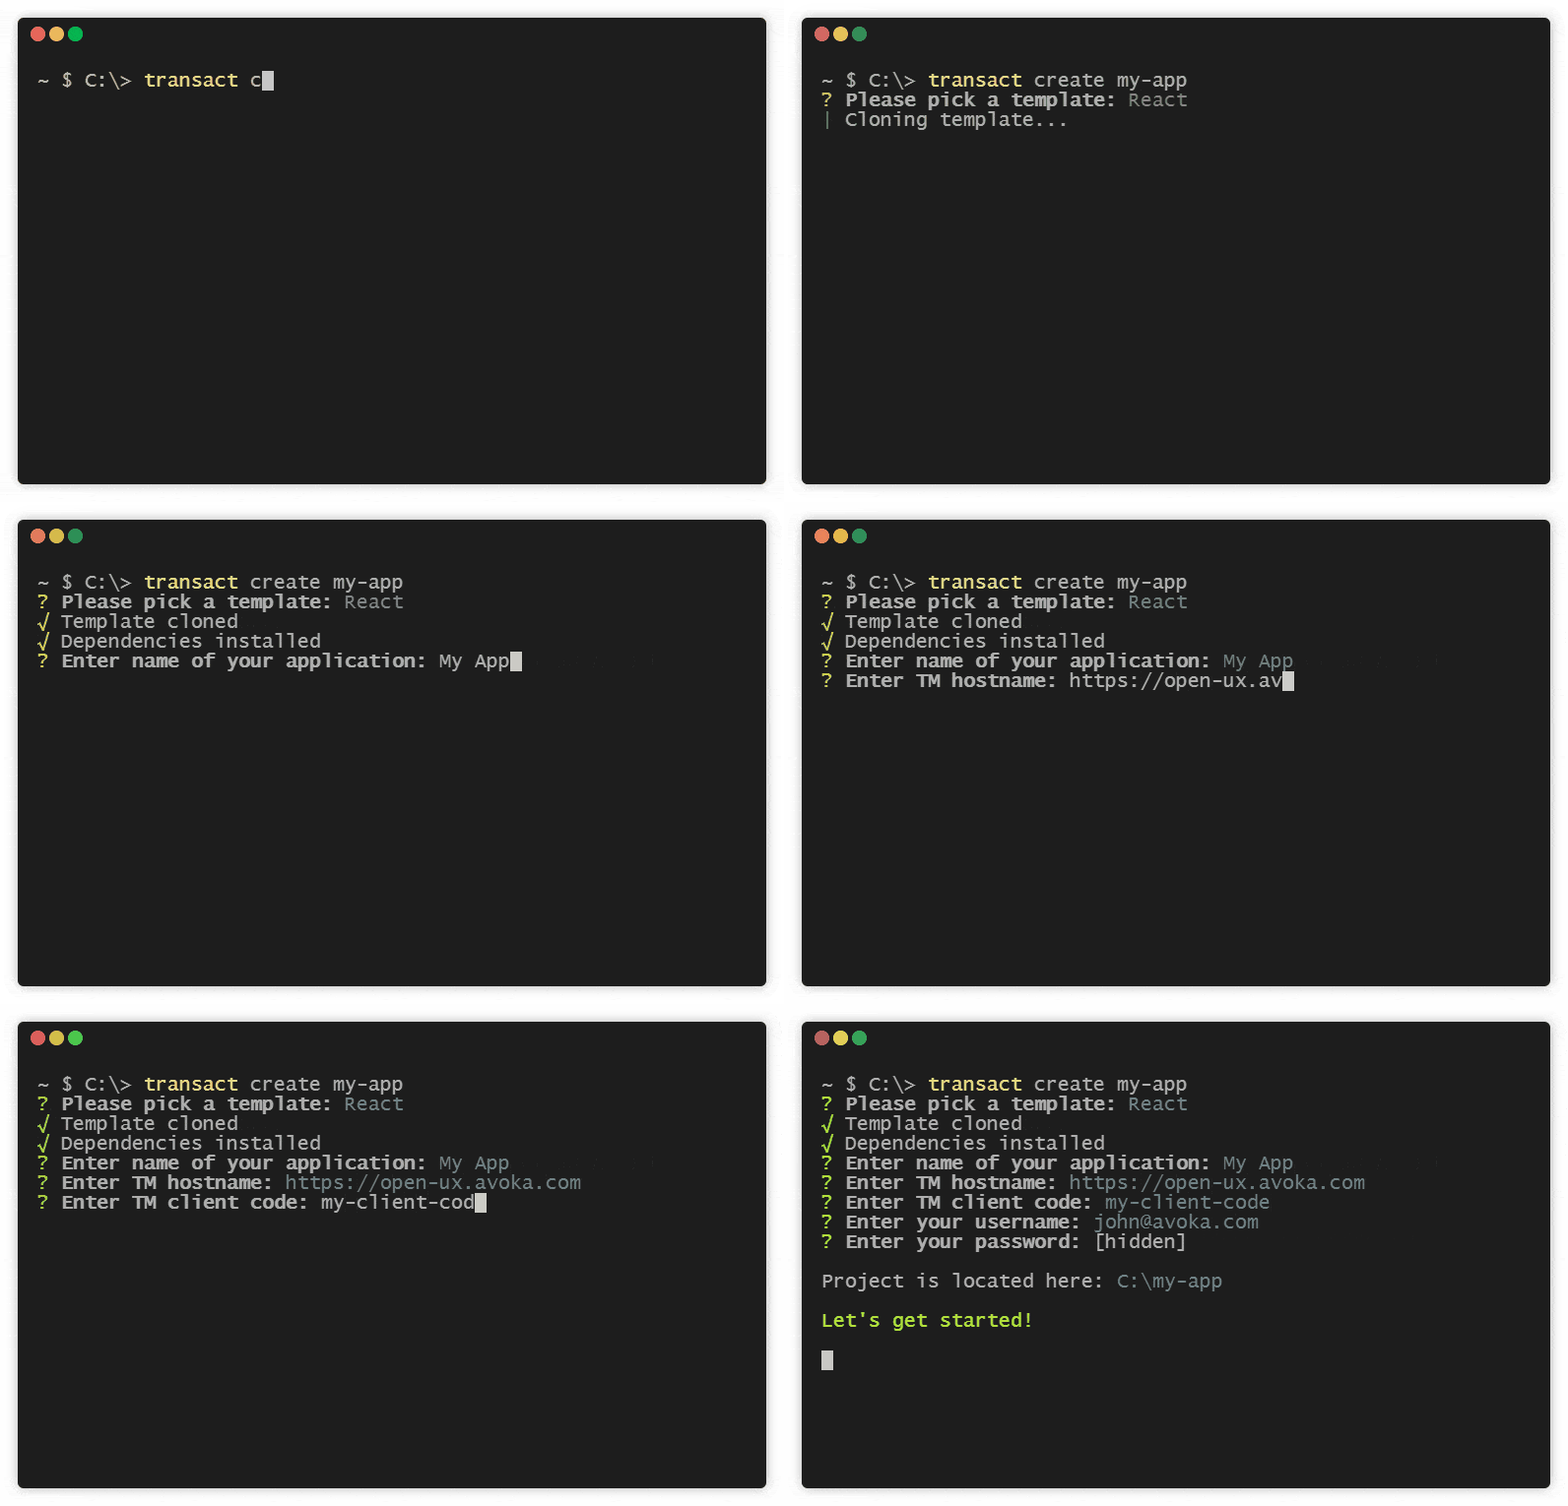
To create an Open UX project, run the following command:
transact create QUICK-START-EXAMPLE
Replace QUICK-START-EXAMPLE with the name of your project.
To start, you're prompted to select a template. Select React which should be the first option. This will setup the project with a set of folders, files, and packages that are ideal for React development.
Next, you're prompted to enter the following information:
- Application Name
- Hostname
- Client Code
- Username
- Password
You can accept the default value for Application Name. For the remaining items, use the hostname,username, password, and client code that are for your specific Journey Manager instance.

If you need to change these values later, update the .transact-auth and transact-config.json files inside your project's directory.
Launch a Local Server
To see what the generated project looks like, navigate into the project's directory:
cd quick-start-example
Then run the start command:
npm run start
This starts a local server on your computer, making a preview available at http://localhost:3000 (or another port if 3000 is already in use). The preview opens automatically in your default browser, and is refreshed each time you save your changes.
When using the React template, a mock API server is started when the project's local server starts. You can see how the start command does this in the package.json file:
 "scripts": {
    "start": "transact mock --routes mock/routes.json | react-scripts start"
}
This means all API requests are handled locally, rather than being sent to an external server. To learn more about this process, see Mock during development.
What's Next?
This introduction to Open UX has only been the tip of the iceberg. To discover the extent of what's possible, we recommend the following: