Configure Eclipse IDE
Eclipse requires a Groovy plugin to be setup before you can work with Groovy projects. Eclipse does include Ant support, and it will automatically detect a Java JDK if you have one installed correctly.
You can obtain a Groovy plugin from the Groovy Eclipse page on GitHub. Follow the instructions there to configure your IDE appropriately.
The following steps outline Journey SDK development in Eclipse once you have Java, Groovy and Ant configured.
- Open the Journey SDK project - the SDK project includes libraries and a scaffold task to create your own projects.
- Scaffold a new project - this new project is where you will build your Journey Platform application.
- Add the Journey SDK libraries to Ant - this enables Ant tasks to resolve required classes.
Detailed instructions follow.
Import the Journey SDK project
Open the Eclipse IDE, and select File > Import... menu.
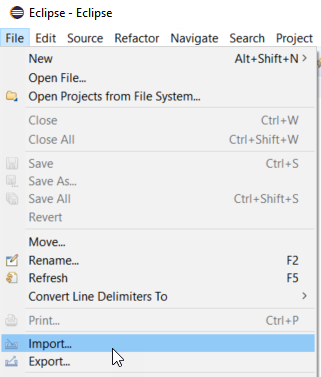
The Select Import Wizard dialog is displayed.
Select General > Existing Projects into Workspace, then click Next.
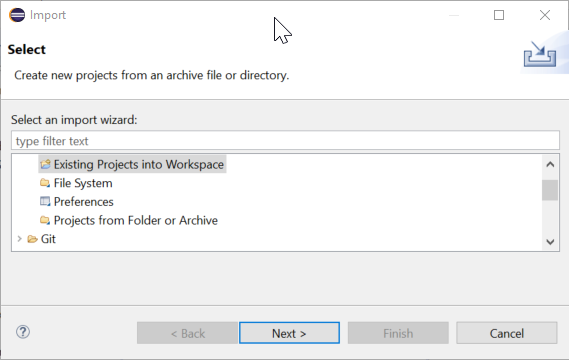
The Browse For Folder dialog is displayed.
Select your Journey SDK root folder, then click OK.
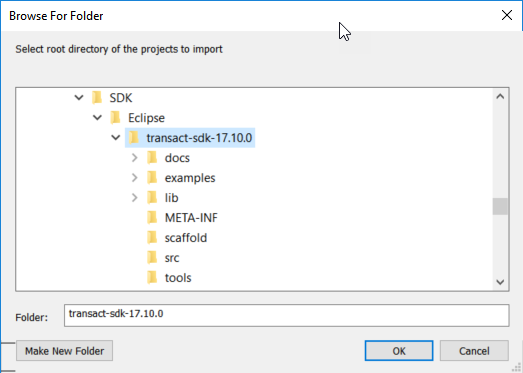
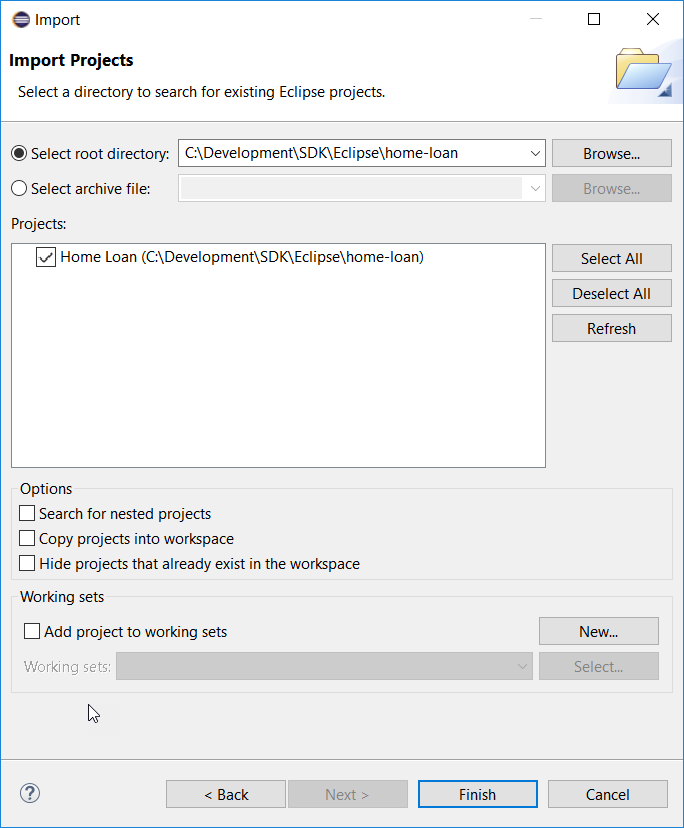
The Import Projects dialog is displayed.
Accept the defaults for other parameters or configure them as required, then click Finish.
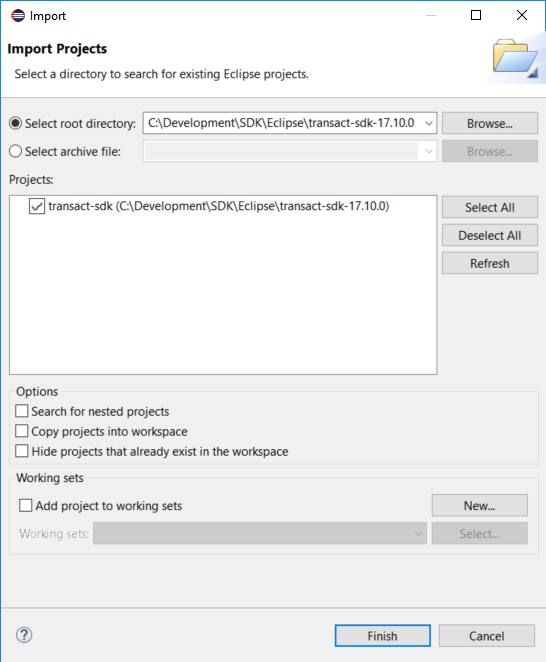
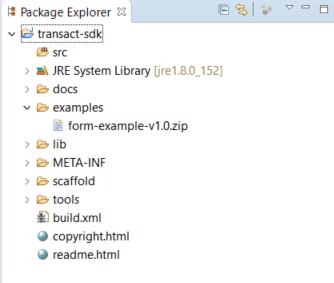
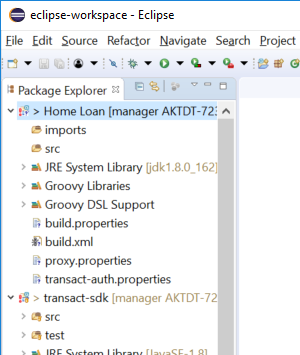
The SDK project is displayed in the Package Explorer pane.
Select Window > Show View > Ant to display the Ant pane.
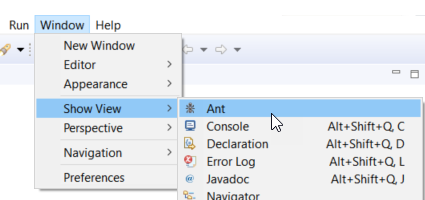
The Ant pane is displayed to the right of the editor pane.
Make Journey SDK available by adding
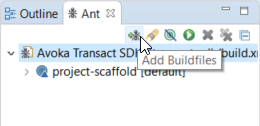
build.xmlto the Ant pane.In the Ant pane:
Click the Add Buildfiles icon.

The Buildfile Selection dialog is displayed.
Select the SDK's
build.xmlthen click OK. This is thebuild.xmlfile in the same folder as the scaffold folder.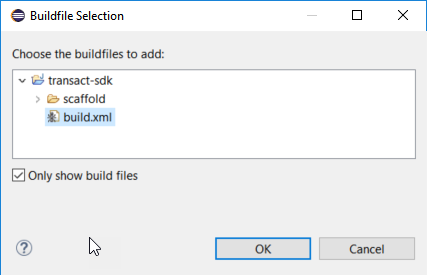
Alternatively, you can locate the
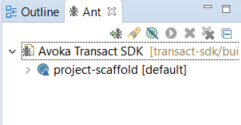
build.xmlfile in the Package Explorer and drag and drop it into the Ant pane.The Journey SDK is now available in the Ant pane.
Scaffold a new Eclipse project
In the Ant pane, select the
project-scaffoldtask and click the Run icon.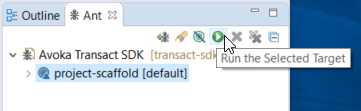
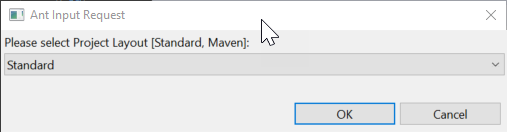
Alternatively, you can double-click the
project-scaffoldtask.Enter appropriate values for Project Name, Project Folder and Project Layout when prompted and click OK.


A new project will be created in a folder with the name you entered under the Journey SDK root folder.
Import the scaffolded project
Select File > Import....
The Select Import Wizard is displayed.
Select General > Existing Projects into Workspace then click Next.
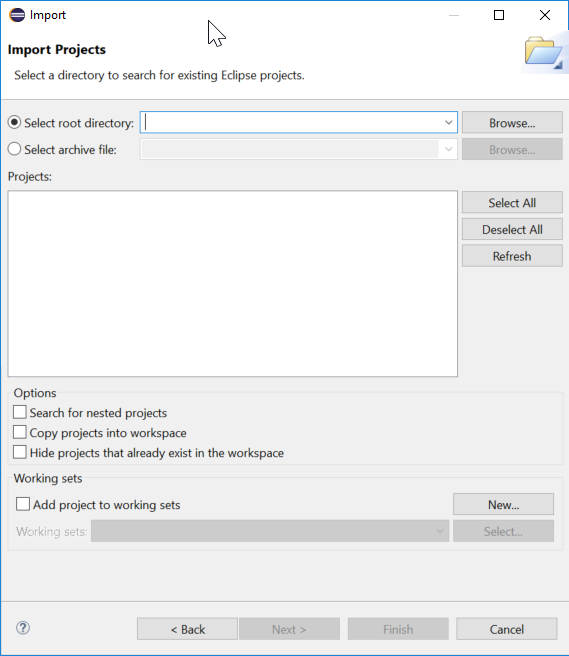
The Import Projects dialog is displayed.
Click Browse....
The Browse For Folder dialog is displayed.
Browse to and select the
home-loanfolder, then click OK.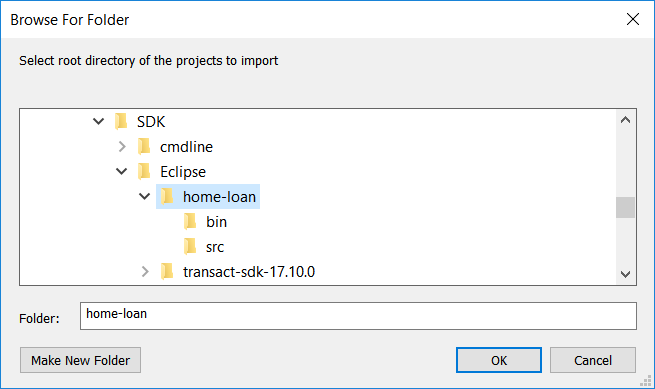
The Home Loan project is displayed in the Projects list.
Ensure the Home Loan project is selected and click Finish.
Your new project is displayed in the Package Explorer.
Update the
transact-auth.propertiesfile with your Journey Manager credentials.In Package Explorer, expand the Home Loan project item, locate the
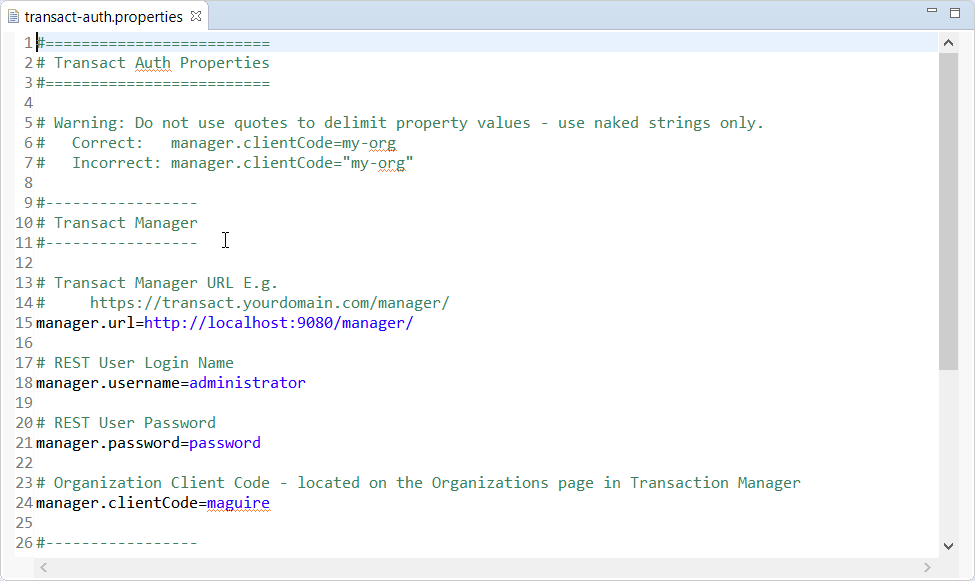
transact-auth.propertiesfile and open it.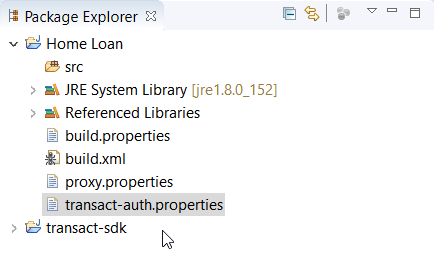
Update the file contents with your Journey Manager credentials and server details, then save the file.
Make the Home Loan project's Ant tasks available by adding the project's
build.xmlto the Ant pane.In the Ant pane:
Click the Add Buildfiles icon. The Buildfile Selection dialog is displayed.
Navigate to the Home Loan project folder, select the
build.xmlfile, and click OK.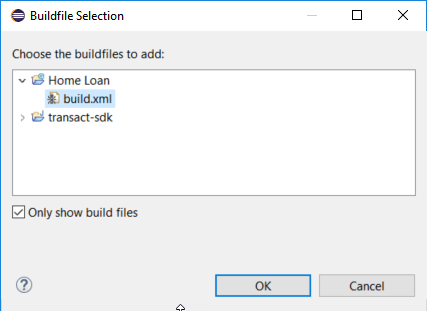
Alternatively, you can locate the project's
build.xmlin the Package Explorer and drag and drop it into the Ant pane.caution
Take care to add the new project's
build.xmlfile, not the main SDKbuild.xmlfile.
Expand the Home Loan project build file in the Ant pane to view the new project's Ant tasks.

Add Journey SDK Libraries to Ant
Open the Eclipse IDE then select Window > Preferences.
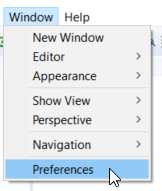
The Preferences dialog is displayed.
In the left pane, select Ant > Runtime to display the Runtime preferences in the main pane.
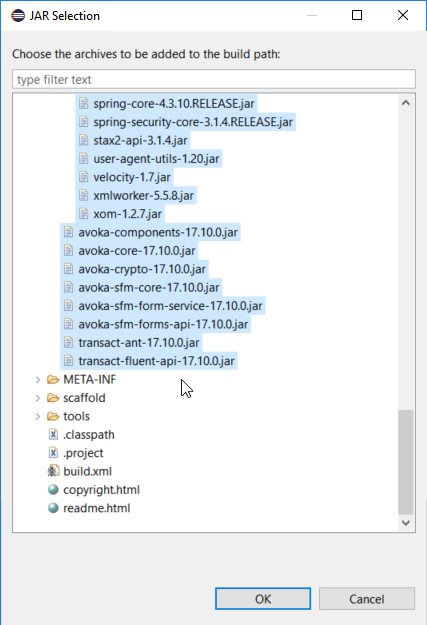
In the main pane, select the Ant Home Entries (Default) item then click Add Jars....

The JAR Selection dialog is displayed.
Navigate to the
transact-sdklib folder, then select all of the JAR files under it and click OK.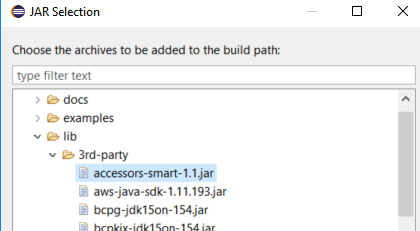
Click Apply and Close.
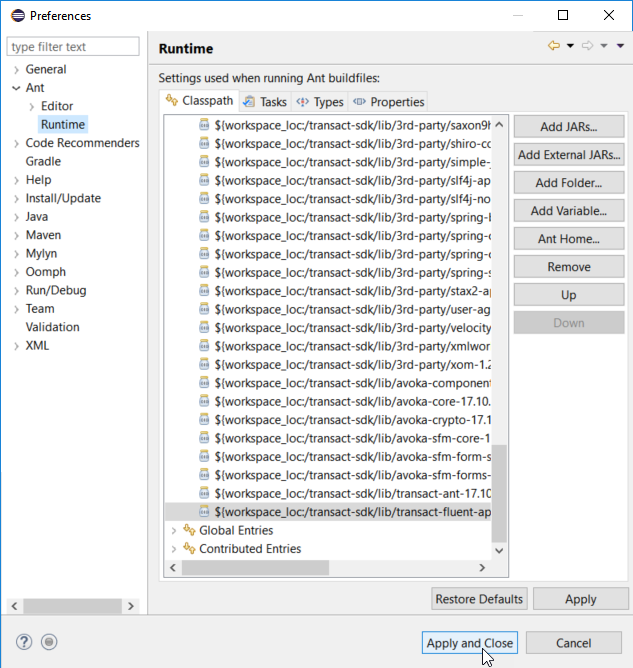
The Ant environment for the Home Loan project is now configured correctly.