Application Package Quick Start
This guide is a quick walk-through of creating and deploying a new Journey Platform application using the Ant tasks supplied with the SDK. Prior to undertaking this exercise, you need to have installed the SDK prerequisites and the SDK itself, as described in SDK/IDE Setup. You should also have scaffolded a new Home Loan project as part of the setup instructions, and edited the transact-auth.properties file with your credentials.
Learning outcomes from this exercise
Upon completion of these step-by-step instructions, you will have completed the following tasks.
- Scaffold a new Application Package into the Home Loan project.
- Copy an example form from the SDK to the Application Package.
- Deploy the Application Package to your Journey Manager server.
Then, in the Journey Manager Console, you will verify the result.
- Search for your new form.
- Render your new example form.
Finally, we show how you can work with your own Maestro form instead of using the example form included with the SDK.
Exercise Steps
We'll be running the Ant targets in this exercise from IntelliJ on Windows. The SDK has been unzipped in the folder C:\Development\SDK\Intellij.
Scaffold a new Application Package into the project
In the Ant Build panel:
Select the
app-scaffoldtarget and click the Run icon. Alternatively, you can double-click theapp-scaffoldtarget to run it.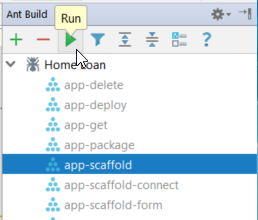
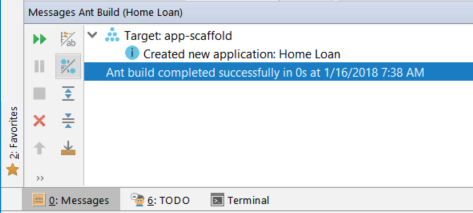
Check the result in the Messages window. You can display the Messages window with the Alt+0 (zero) keyboard shortcut.
Copy the example form from the SDK
To make this exercise quicker to perform, we've included a pre-built Maestro form in the SDK. You need to copy the example form from the SDK into the correct place in the Application Package to remind you of the need for this step when you eventually create your own forms.
Expand the
srcfolder in the Project pane, then expand theforms.homeloanfolder.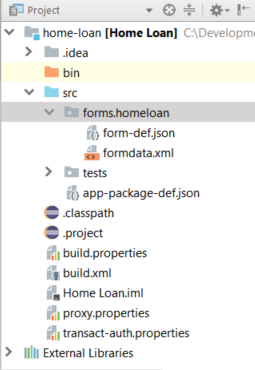
Select View > Tool Windows > Terminal to open the Terminal window. Alternatively, you can press Alt+F12.
Enter the appropriate command for your operating system.
- Windows
- Unix/Linux
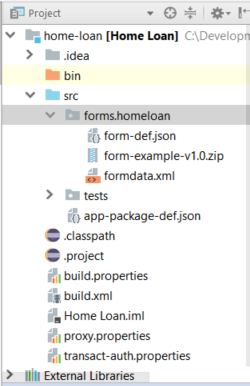
copy ..\transact-sdk-21.5.0\examples\form-example-v1.0.zip src\forms\homeloan
cp ../transact-sdk-21.5.0/examples/form-example-v1.0.zip src/forms/homeloanThe Project window should now look like this:
Deploy your project to JM
Here we run the app-deploy Ant target to deploy the Application Package to the configured JM server.
In the Ant Build pane:
Select the
app-deploytarget and click the Run icon. Alternatively, you can double-click theapp-deploytarget.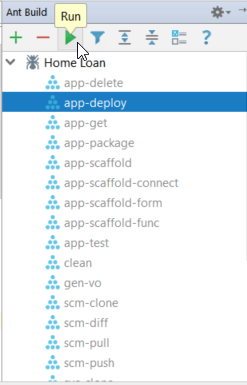
Check the result in the Messages window. You can display the Messages window with the Alt+0 (zero) keyboard shortcut.
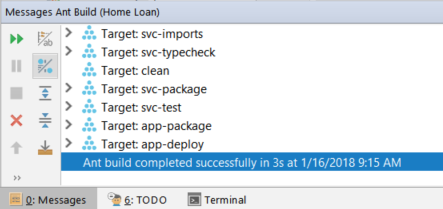
Your Application Package, including the example form, will now be deployed to JM.
Verify the form in Journey Manager
Here we locate the new form in JM and render it.
- Login to JM.
- Select Forms > Forms from the menu.
- Enter
loanin the search field. - Click Search.
- Click the Form Test Render icon.
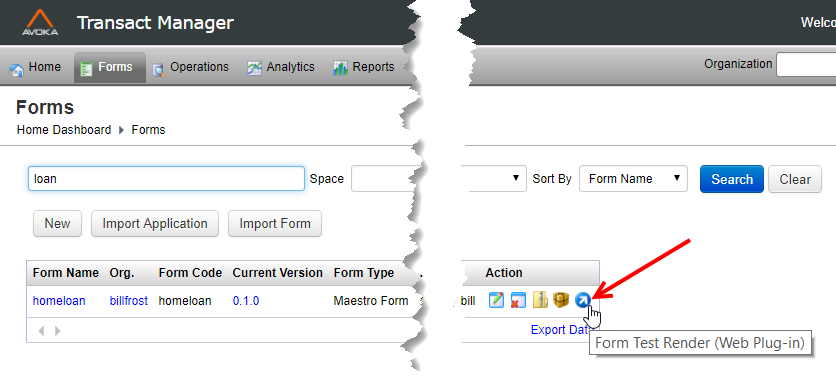
info
Even though the example form is available in Journey Manager, it will not be available to you in Maestro because it has credentials from a development server. It is only provided as a convenience for the sake of this quick start exercise.
Creating your own Maestro form
Now that you have deployed the supplied example form to your JM server, you might want to create your own form so you can work with it in Maestro.
Follow these steps to create and download your own Maestro form version archive file.
Build a Maestro form
Here we build a Maestro form that has been designed and is ready to build.
In the Maestro designer, click the dropdown beside the Build button, and select Build with Options.

The Build Options dialog is displayed.
Select the Build Option Use Transact Functions (requires TM 17.10 +), and click Build.
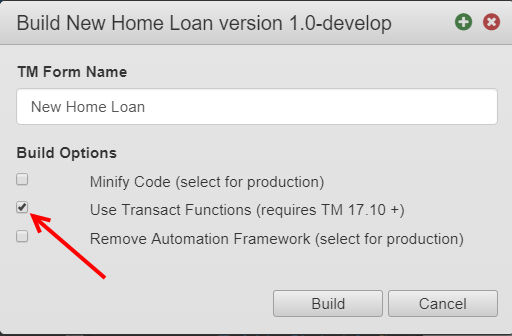
The Actions dialog is displayed.
Click Download TM Form Version.
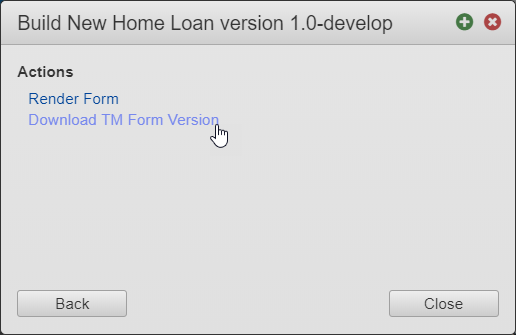
The form version archive file is downloaded in a format suitable for including as a form in an Application Package.